
Welcome to CivilGEO Knowledge Base
Welcome to CivilGEO Knowledge Base
The Zoom To command enables the user to search and zoom to a specific location or address on the Map View.
To use this command, the user must have a Base Map Layer added to the project. Refer to this article in our knowledge base to learn how to add a Base Map Layer to a project. In addition, a CRS (Coordinate Reference System) must have been defined for the project. Refer to this article in our knowledge base to learn how to assign a CRS to a project.
Follow the steps given below to use the Zoom To command:
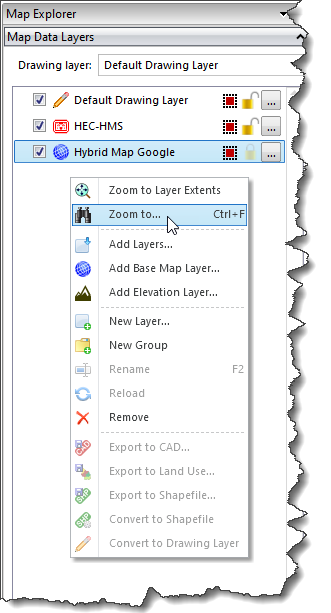 Note: If the HEC-HMS project is in Local CRS, then the Zoom to command in the context menu remains disabled.
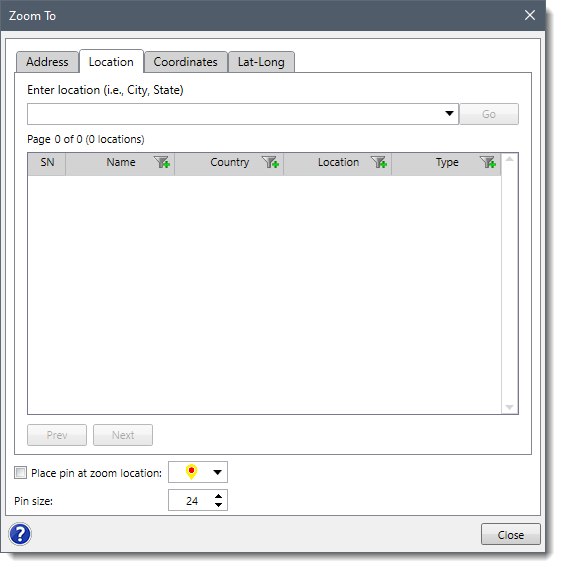
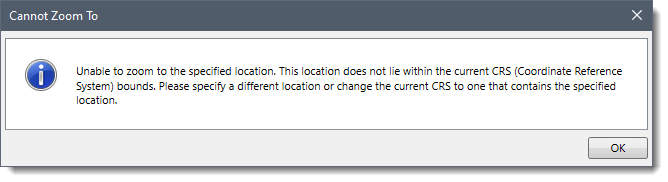
Note that the software will not be able to zoom to the selected location if the location is outside of the project’s defined CRS (Coordinate Reference System) bounds. If this occurs, the software will display the following informational dialog box describing the issue.
While performing 2D modeling, different types of errors may occur due to problematic cells present in the model. For example, the simulation may be slowed down, or the application may crash while iterating through these problematic cells.
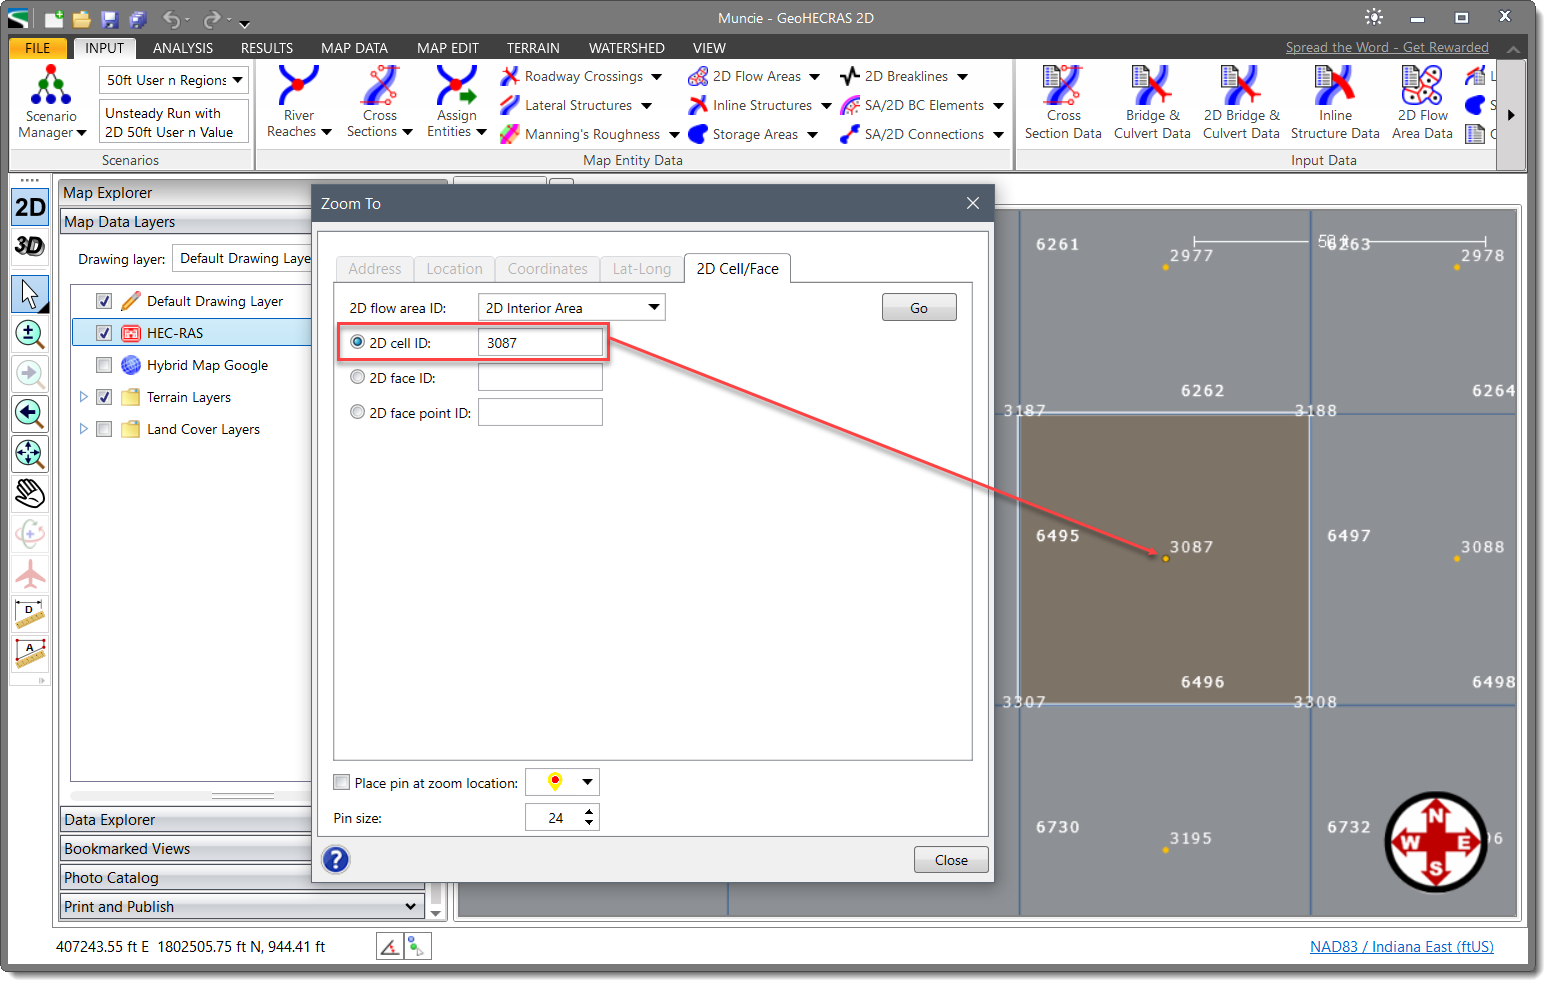
In GeoHECRAS, the 2D Cell/Face option of the Zoom To command allows the user to view and examine the problematic 2D cells to troubleshoot in the complex 2D flow models.
Note that if the computational window gives an error on a specific cell, the user can utilize this information in the 2D Cell/Face tab to troubleshoot the errors in the 2D flow models.
When using the Zoom To command for 2D cells, select the 2D Cell/Face tab from the Zoom To dialog box.
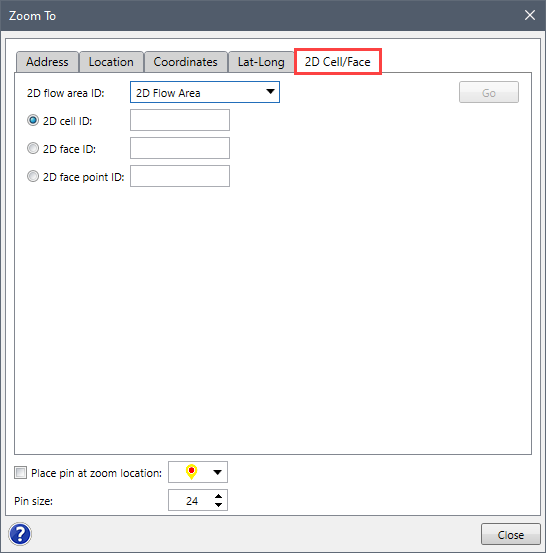 Note: If the HEC-RAS project is in Local CRS, then all the tabbed panels of the Zoom to dialog box remain disabled except for the 2D/Cell Face.
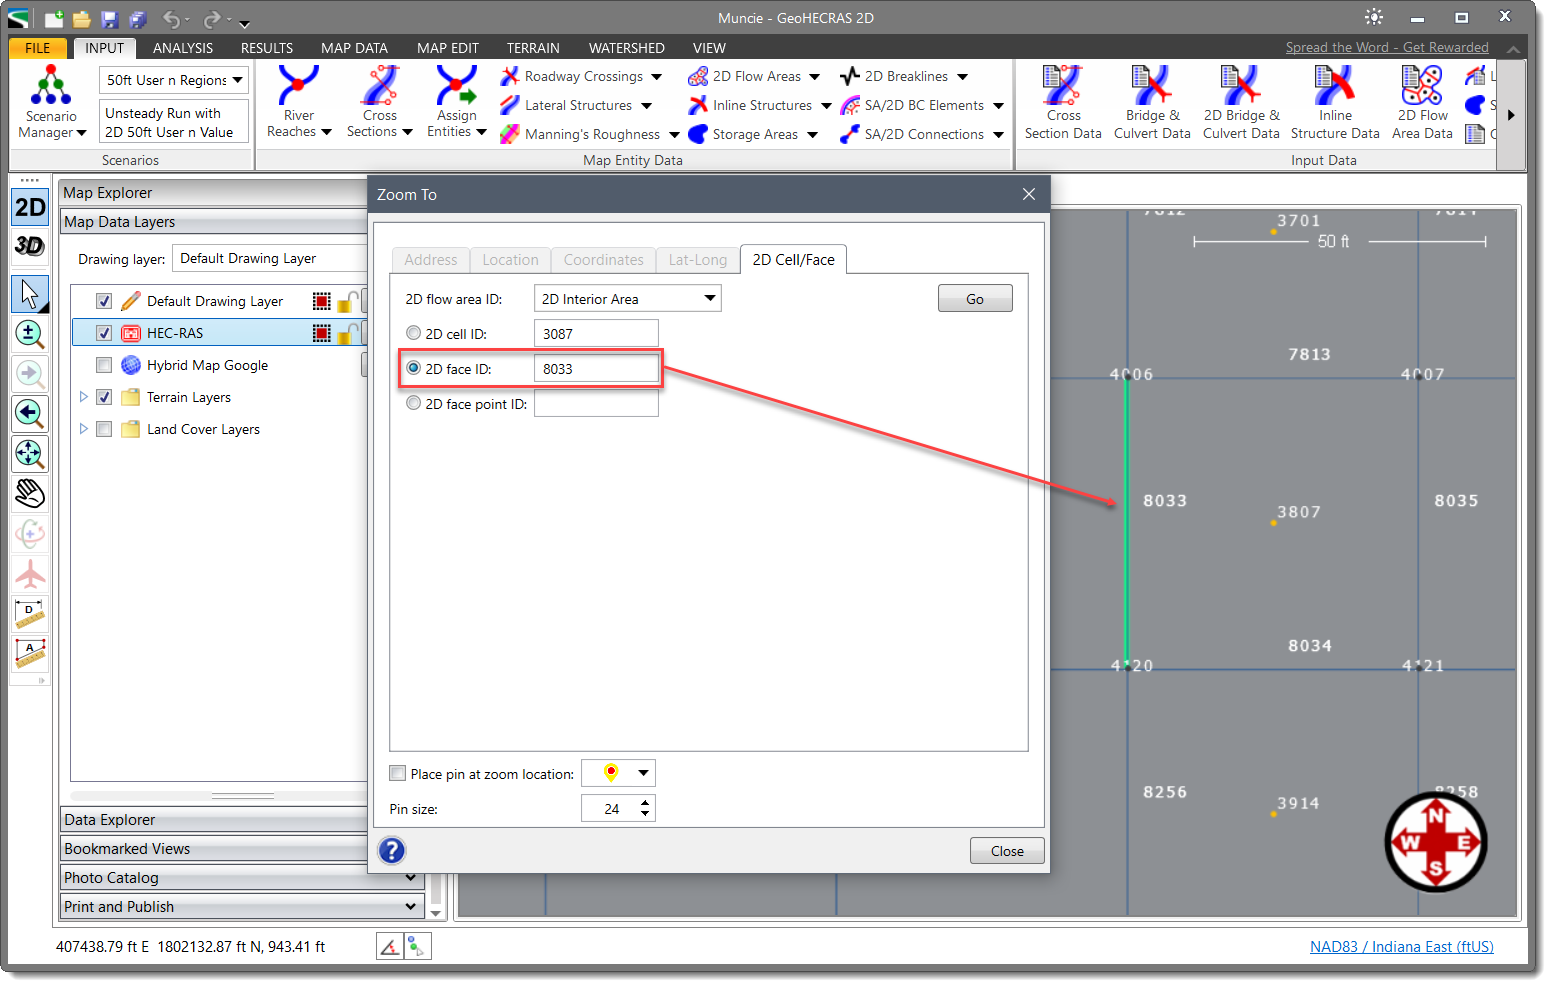
The panel consists of the following options:
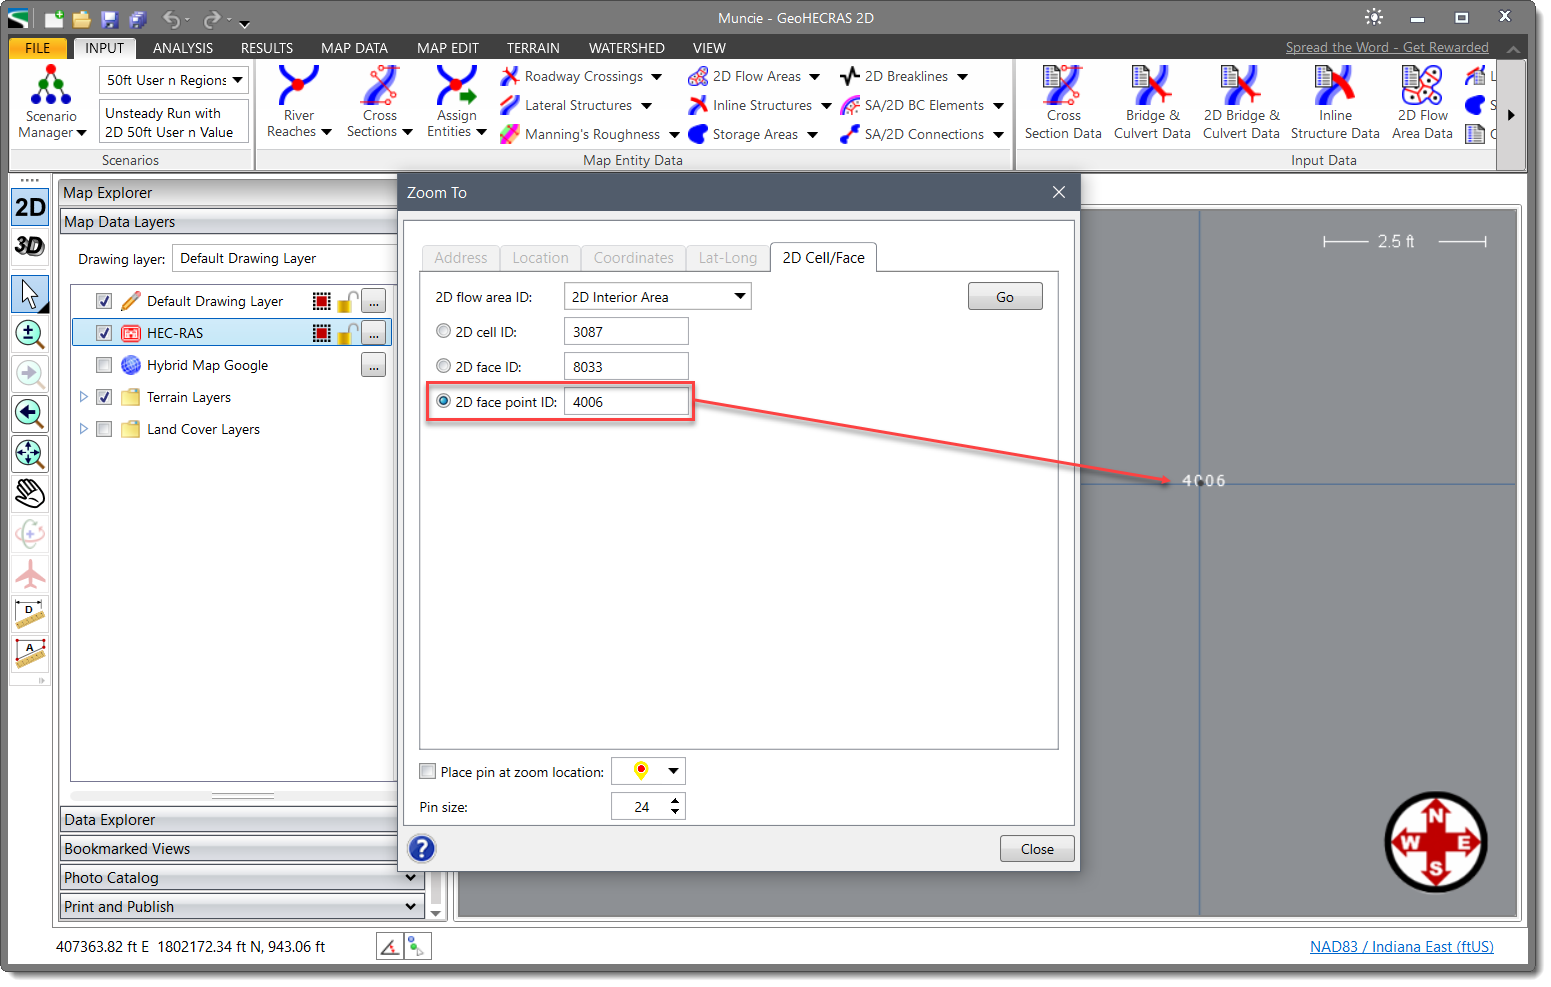
Note that the user can turn on/off the different HEC-RAS elements display properties of the 2D flow area such as cell IDs and face point IDs from the 2D Flow Area Display Properties section of the HEC-RAS Properties dialog box. Refer to this article in our knowledge base to learn more about HEC‑RAS element display properties.


CivilGEO G2 Reviews
4.8/5.0 Rating, Over 230 Reviews

GeoHECRAS is recognized as the top Civil Engineering Design Software with an average of 4.8 out of 5.0 rating from over 230 real user reviews on G2.


We use cookies to give you the best online experience. By agreeing you accept the use of cookies in accordance with our cookie policy.
When you visit any web site, it may store or retrieve information on your browser, mostly in the form of cookies. Control your personal Cookie Services here.


