
Welcome to CivilGEO Knowledge Base
Welcome to CivilGEO Knowledge Base
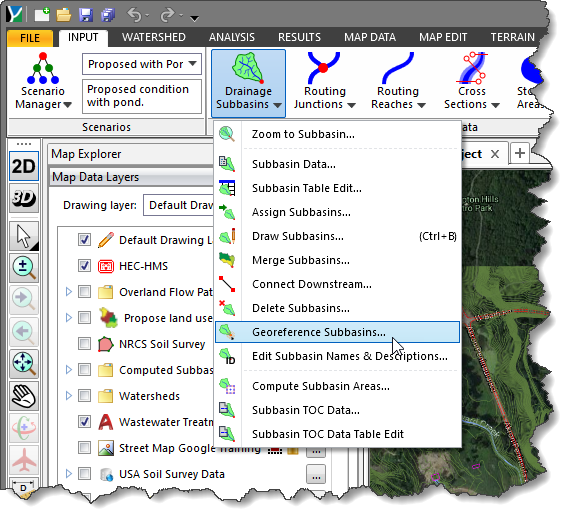
When the GeoHECHMS software imports a model, it automatically places the subbasins on the Map View. However, if the original model was not spatially georeferenced, the subbasins will not align with any loaded background base map. While the software can operate without any issues in this situation, the user may prefer to have the subbasins georeferenced to the background base map. Therefore, it may become necessary to georeference the imported subbasins.
The Georeference Subbasins command is used to manually georeference each of the subbasins to the background base map displayed in the Map View. The process of georeferencing subbasins to the Map View can be a trial-and-error process—especially when the exact location of the original subbasins is not known. Using the Georeference Subbasins command, the georeferencing process can be accelerated.
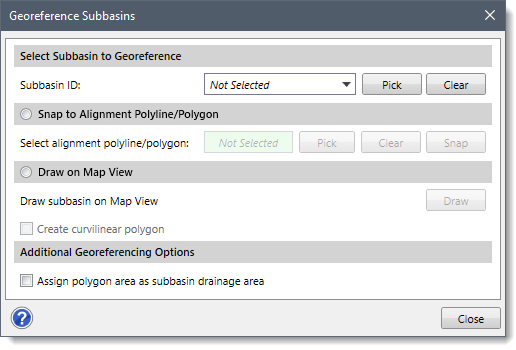
Follow the steps below to georeference an existing subbasin:
![[Pick] button](/wp-content/uploads/sites/25/2023/03/Georeference-Subbasins-Command-Image-3.png)
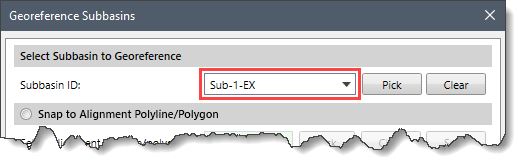 Alternatively, choose the subbasin from the dropdown combo box adjacent to the Subbasin ID entry.
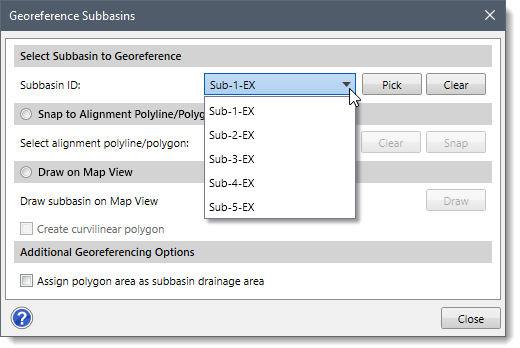 Note that if a subbasin has been preselected prior to running this command, the selected subbasin will be displayed in the Subbasin ID dropdown combo box.
Once the subbasin has been selected, the user can choose between the following options to georeference the subbasin.
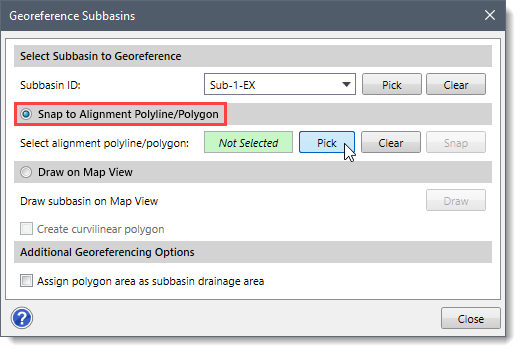
If an existing river alignment centerline for the selected subbasin exists on the Map View, the Snap to Alignment Polyline/Polygon can be used to snap the HEC-HMS subbasin to the alignment polyline/polygon.
Follow the steps below to snap the subbasin to the selected alignment polyline or polygon:
![[Snap] button](/wp-content/uploads/sites/25/2023/03/Georeference-Subbasins-Command-Image-7.png)
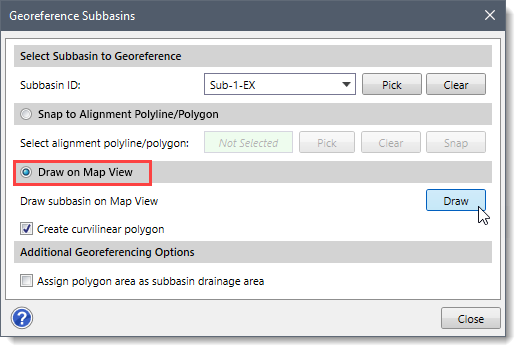
This section allows the user to draw the subbasin polygon on the Map View.
Follow the steps below to draw the storage area on the Map View:
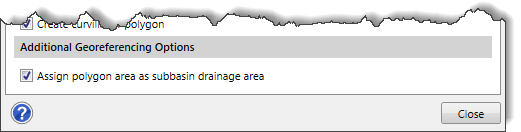
This section contains the Assign polygon area as subbasin drainage area checkbox option. The user can turn on this checkbox for assigning the polygon area as the subbasin’s drainage area. By default, this checkbox option is unchecked when the dialog box is displayed.


CivilGEO G2 Reviews
4.8/5.0 Rating, Over 230 Reviews

GeoHECRAS is recognized as the top Civil Engineering Design Software with an average of 4.8 out of 5.0 rating from over 230 real user reviews on G2.


We use cookies to give you the best online experience. By agreeing you accept the use of cookies in accordance with our cookie policy.
When you visit any web site, it may store or retrieve information on your browser, mostly in the form of cookies. Control your personal Cookie Services here.


