
Welcome to CivilGEO Knowledge Base
Welcome to CivilGEO Knowledge Base
Windows Management Instrumentation (WMI) is the infrastructure for data management and operations on all Windows-based operating systems. Its purpose is to help administrators manage different Windows operational environments, including remote systems.
An Alias is an abstraction introduced as part of the Windows command line tool. It provides simplified keywords to execute complex queries from the command line. Aliases capture the features of a WMI class that are relevant to some specific tasks such as disk or network administration. Visit this link to know more about WMI aliases.
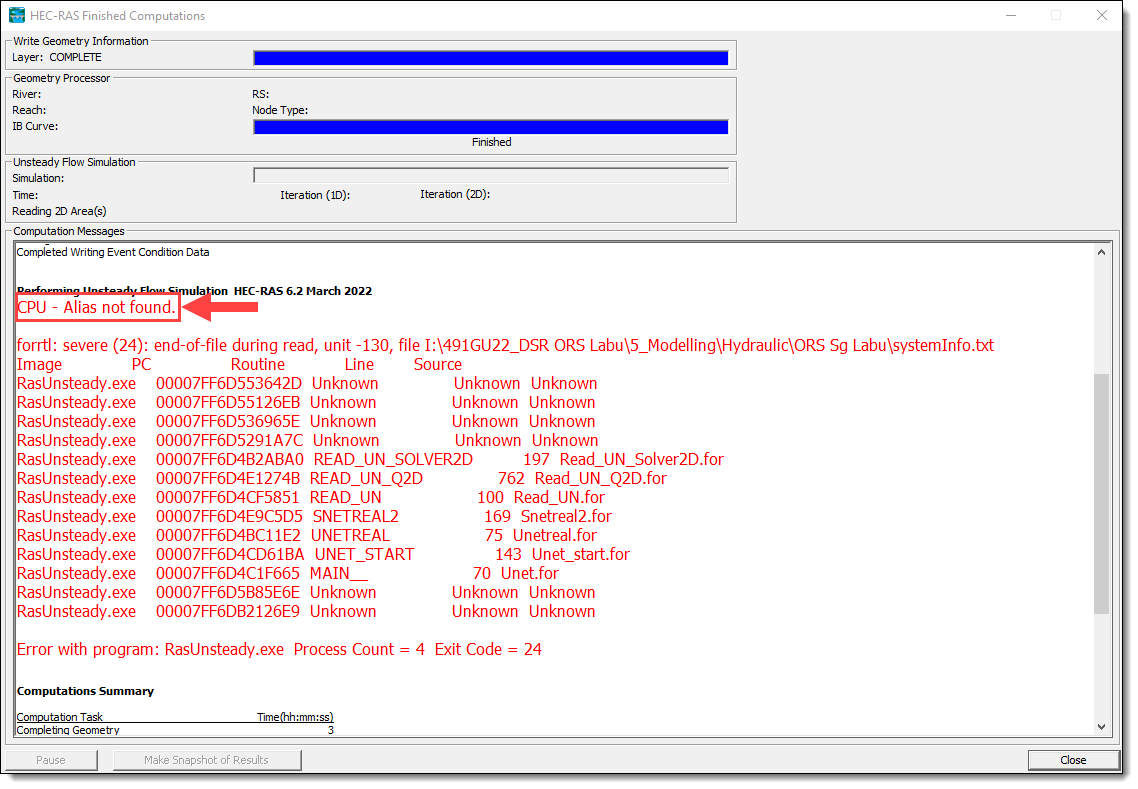
When accessing WMI local or remote data in an application or script, the user may encounter errors ranging from missing classes to access denial. These errors may also affect the HEC-RAS analysis computation with a “CPU – Alias not found” error, as shown below. For such errors, WMI troubleshooting can be performed to troubleshoot possible errors.
Note that if WMI returns error messages, be aware that this may not only indicate problems in the WMI service or WMI providers. Failures can also originate in other parts of the operating system and emerge as errors through WMI.
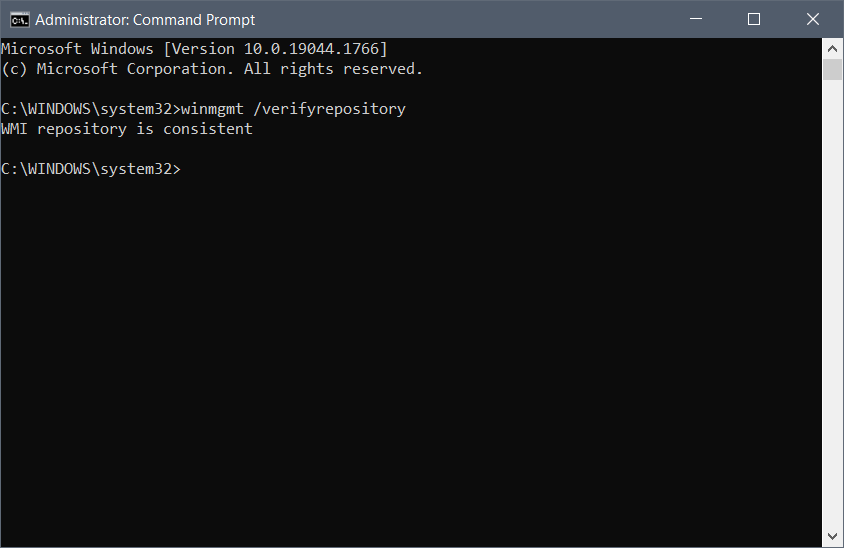
To check whether the WMI service is running correctly or not, run WMI Diagnosis Utility.
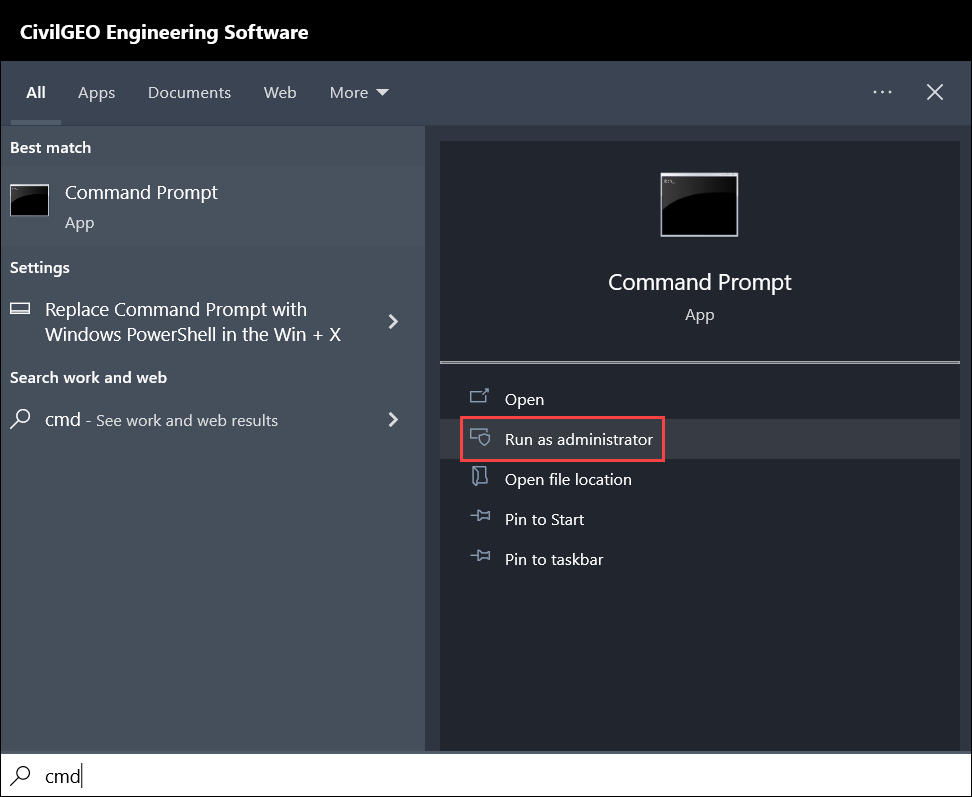
If you encounter any issue with the WMI service, perform the steps given below to run the WMI diagnosis:
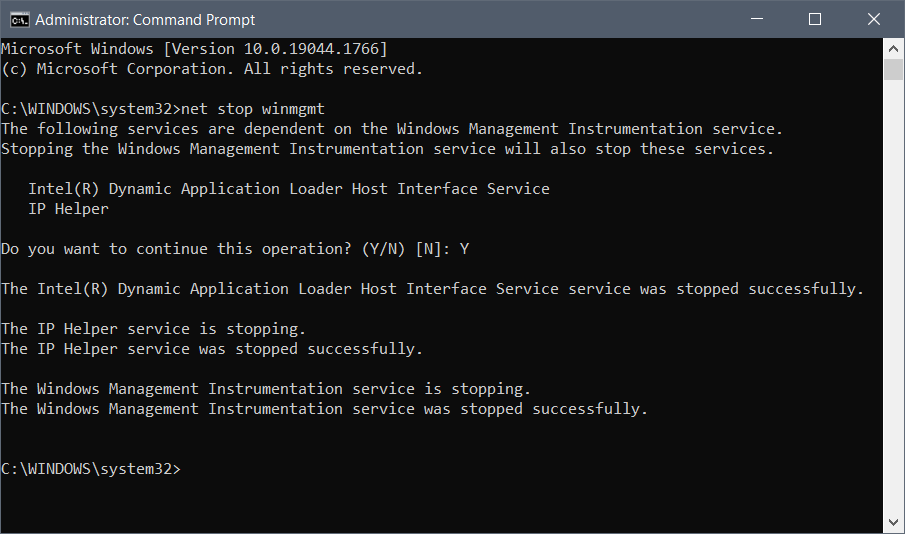
If the WMI repository does not self-correct even after performing Step 3 and Step 4, the user has to rebuild the entire WMI repository from scratch.
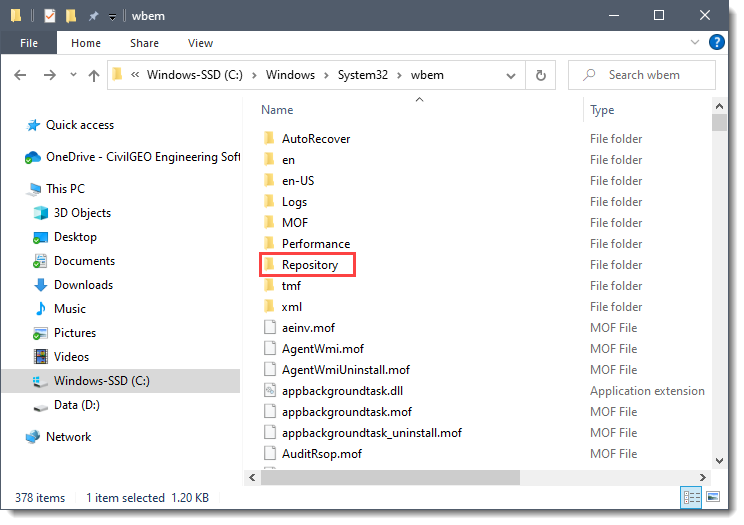
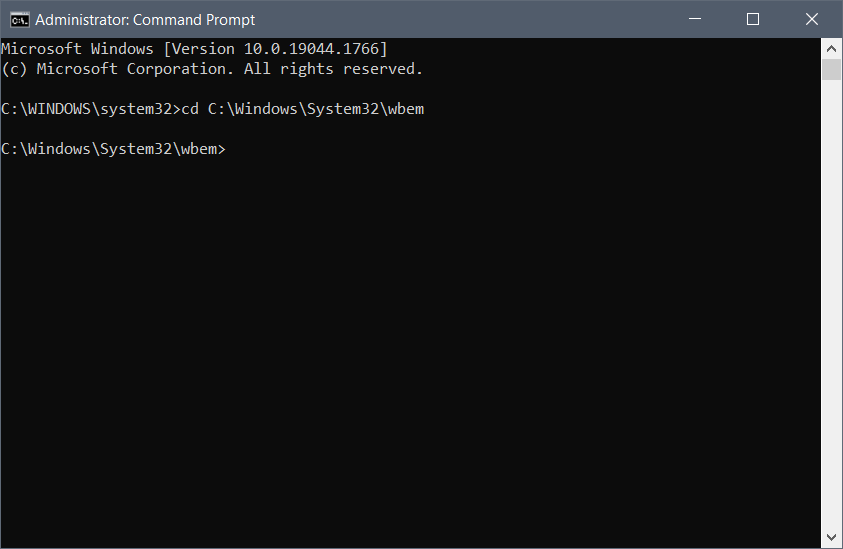
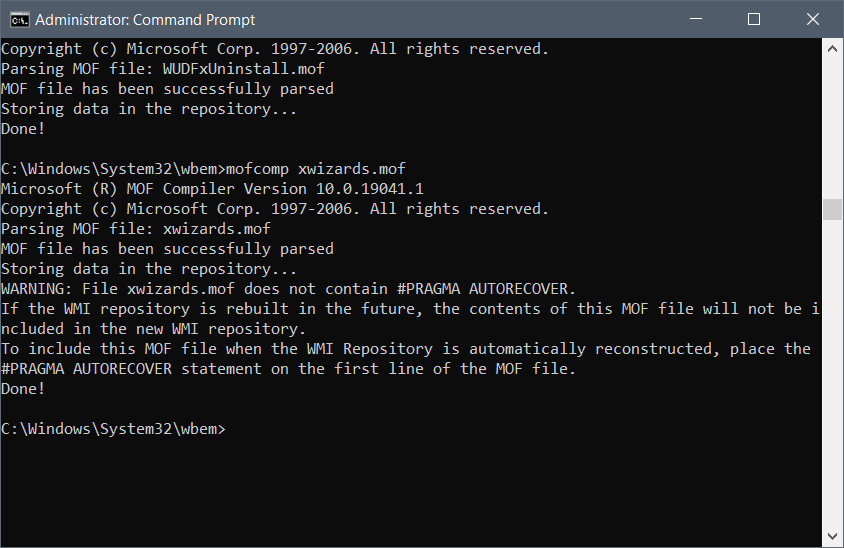
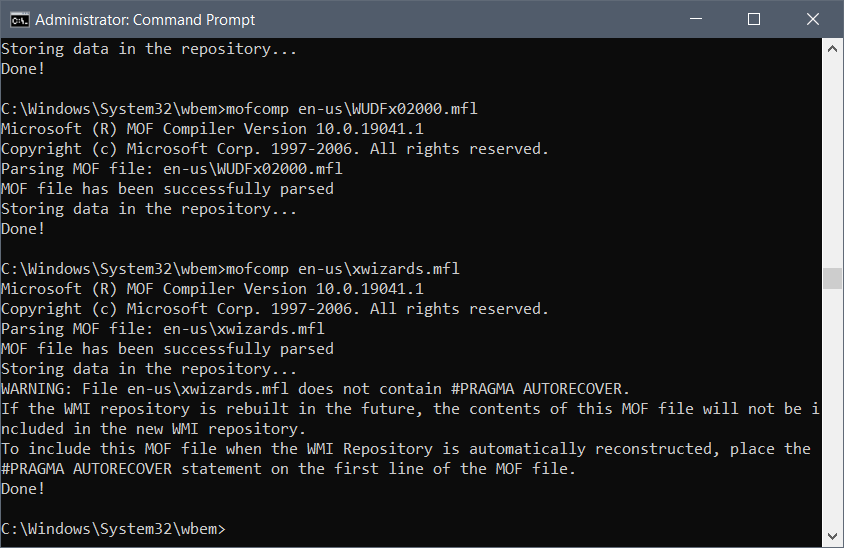
Follow the steps given below to rebuild the entire WMI repository:


CivilGEO G2 Reviews
4.8/5.0 Rating, Over 230 Reviews

GeoHECRAS is recognized as the top Civil Engineering Design Software with an average of 4.8 out of 5.0 rating from over 230 real user reviews on G2.


We use cookies to give you the best online experience. By agreeing you accept the use of cookies in accordance with our cookie policy.
When you visit any web site, it may store or retrieve information on your browser, mostly in the form of cookies. Control your personal Cookie Services here.


