
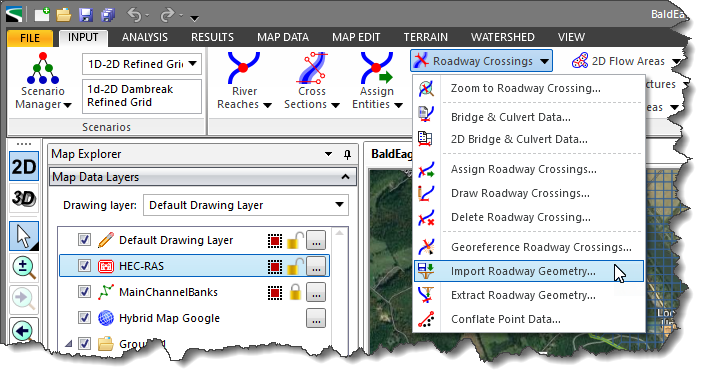
Welcome to CivilGEO Knowledge Base
Welcome to CivilGEO Knowledge Base
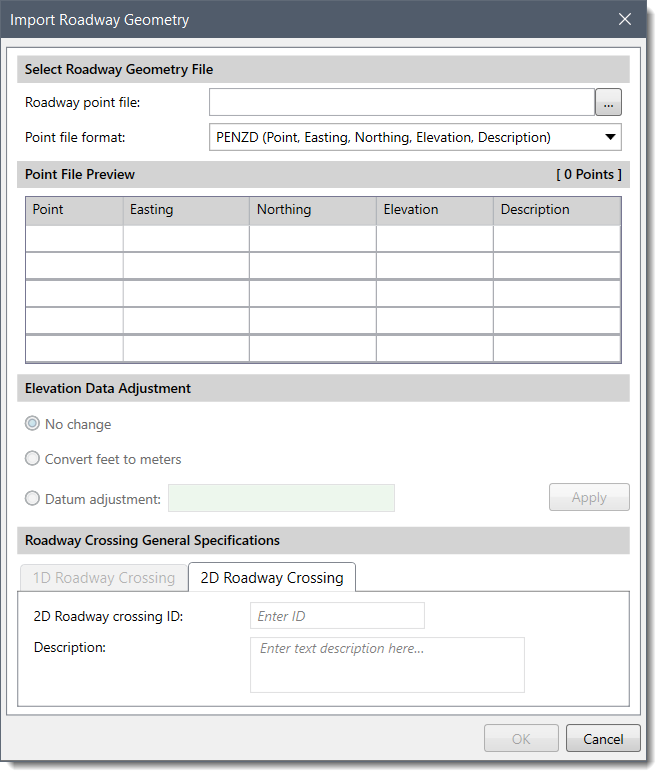
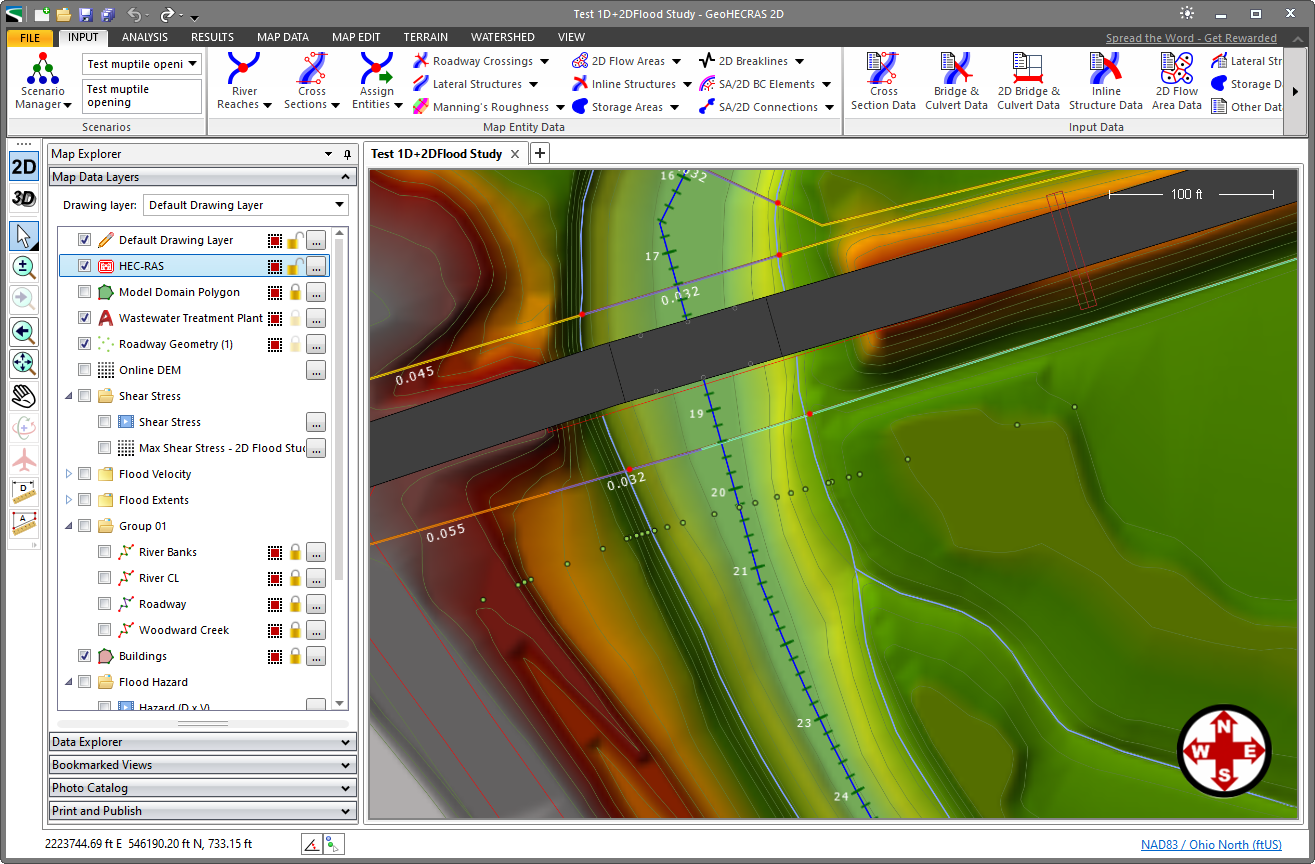
The Import Roadway Geometry command allows the user to import any external geometry data necessary to construct roadway geometry.
Follow the steps below to use the Import Roadway Geometry command:
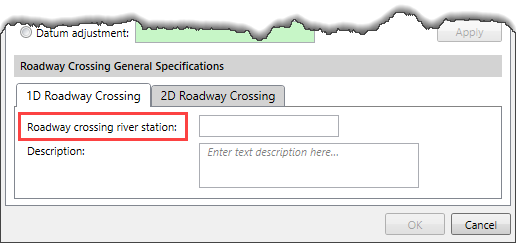
Note that the 1D Roadway Crossing panel will be enabled when the project contains at least one river reach with two cross sections defined for it.
The following sections describe how to use the Import Roadway Geometry command and interact with the above dialog box.
The Select Roadway Geometry File section allows the user to select the roadway point file. The file needs to be in an ASCII text file format, with either commas, tabs, or spaces delimiting the data fields contained within each row of the file.
The first row within the file that contains 3 floating point numbers is used to start the import roadway crossing process. Whenever a blank line is encountered within the data file or the direction between three adjacent points changes too much, the software interprets this as the start of a new roadway crossing.
The following survey file formats are supported:
The software will attempt to determine the file format based upon the file extension. However, the user can change the file format to be used after the file is selected.
For reference, Easting = X coordinate and Northing = Y coordinate.
Note that the cross section points must overlay only one river reach for this command to operate. In addition, cross sections should not already exist for the river reach that is being used to construct cross sections from the imported points.
This Point File Preview section shows the first 100 lines contained within the survey point file. It allows the user to see the contents of the survey point file and allows the user to change the file format to be used for importing based upon previewing the contents. After changing the file format, the column headings change in the Point File Preview section.
This optional section allows the user to adjust the survey point data elevation values if the elevation data is in a different unit system or needs to have a datum adjustment.
This section is used to provide general specifications for the 1D and 2D roadway crossings. The Roadway Crossing General Specifications section contains the following panels:
For a 1D roadway crossing, the user is required to enter the river station ID for the 1D roadway crossing in the Roadway crossing river station entry field. This river station ID identifies the upstream end of the roadway crossing.
Whereas for a 2D roadway crossing, the user is required to enter a 2D roadway crossing ID in the 2D Roadway crossing ID entry field.
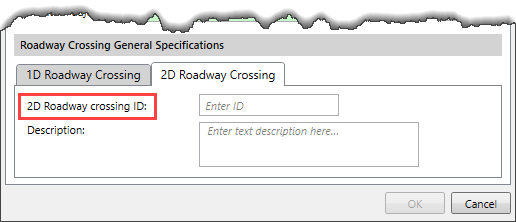
The user can use the Description box of each panel to describe the location of the roadway crossing in more detail.
Clicking on the [OK] button allows the user to import the external geometry data to construct roadway geometry.


CivilGEO G2 Reviews
4.8/5.0 Rating, Over 230 Reviews

GeoHECRAS is recognized as the top Civil Engineering Design Software with an average of 4.8 out of 5.0 rating from over 230 real user reviews on G2.


We use cookies to give you the best online experience. By agreeing you accept the use of cookies in accordance with our cookie policy.
When you visit any web site, it may store or retrieve information on your browser, mostly in the form of cookies. Control your personal Cookie Services here.


