The Draw Land Use command is used to manually define land use on the Map View by interactively painting in the areas of land use. The painted areas are automatically converted into polygons with attribute data associated to the assigned land use. The defined land use polygons are then used to compute the composite hydrologic parameters for each catchment area.
Note that the user does not have to “paint-in” land use for the entire watershed being analyzed. The user can select a “default” land use which is then applied to areas that do not have a land use defined.
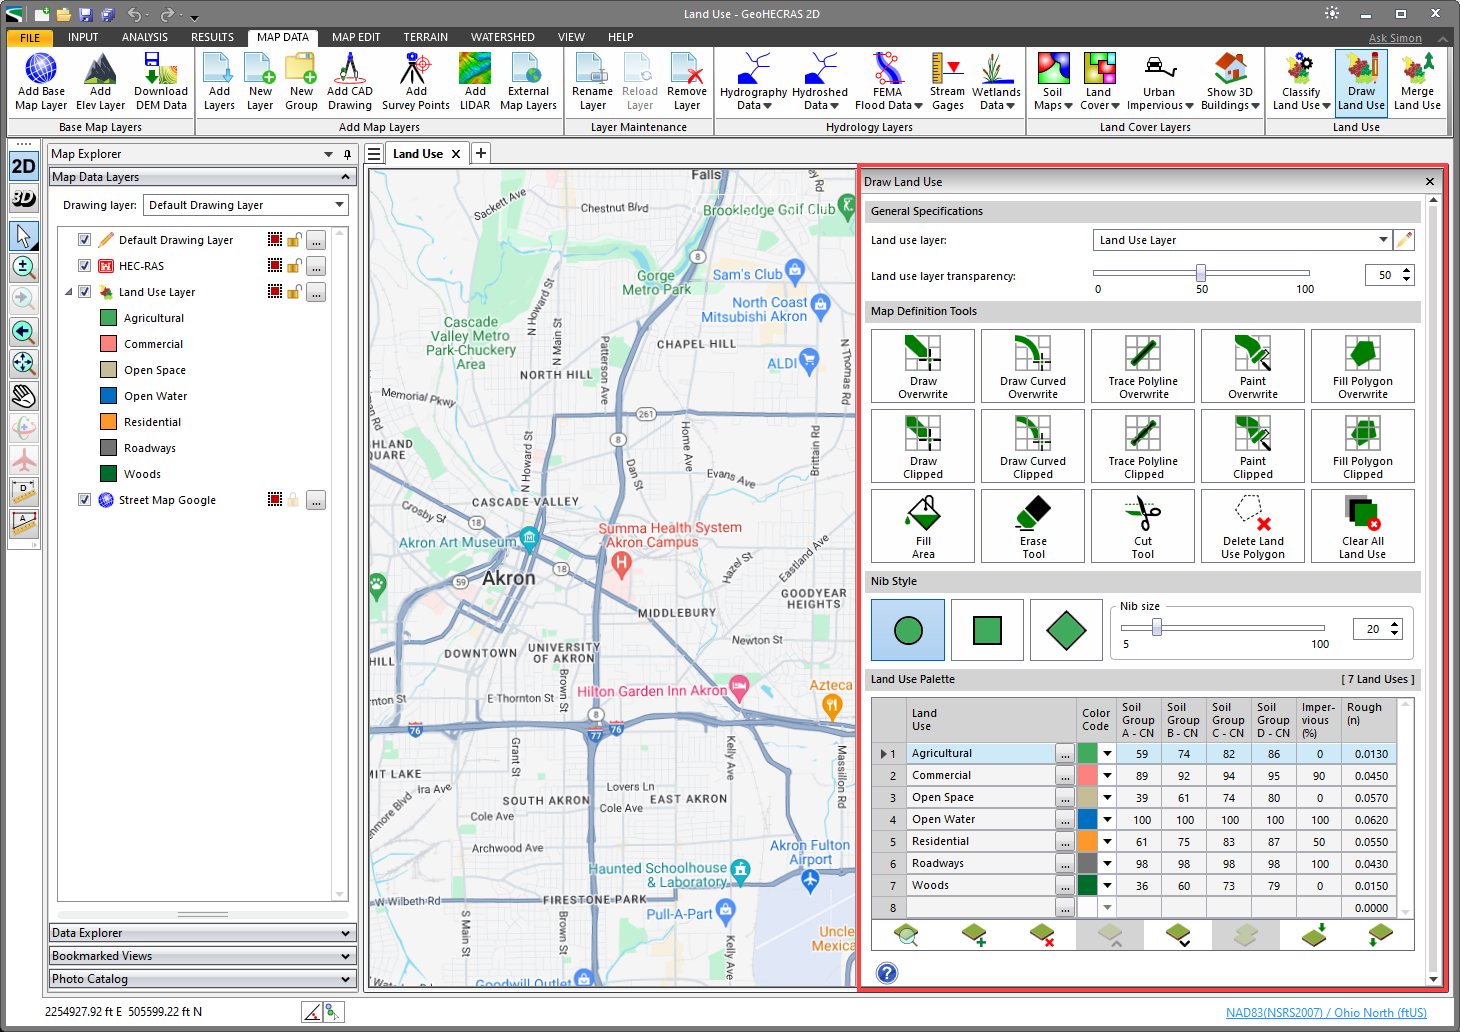
From the Map Data ribbon menu, select the Draw Land Use command. Selecting this command will display the following panel floating to the right side of the Map View.
When selecting this command, if the Map View is in 3D view mode (even if viewing from directly above), the software will force the Map View into 2D view mode. This is because this command needs the user to define areas of land use, and the Map View must be in 2D mode to perform this task.
Note that prior to using this command, the user needs to assign a CRS to the project. Refer to this article in our knowledge base to learn about how to assign a coordinate reference system to a project.
The various subsections of the Draw Land Use panel are discussed below.
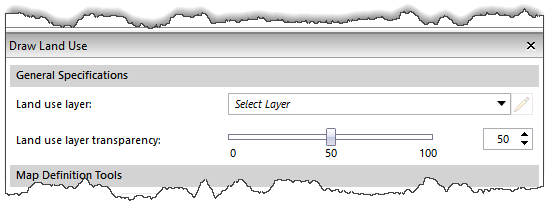
General Specifications
The General Specifications section of the Draw Land Use panel is used to define the following properties:
Land use layer
This entry is used to define the land use layer to add to the land use polygon data.
Clicking on the pencil icon will allow the user to rename the selected land use layer.
In addition, at the top of the listing is an Add New Layer entry, which will create a new layer.
Land use layer transparency
This option adjusts the transparency of the land use being painted using the horizontal slider, allowing the user to see through the defined land use areas to the underlying displayed map. Default transparency value is 50%.
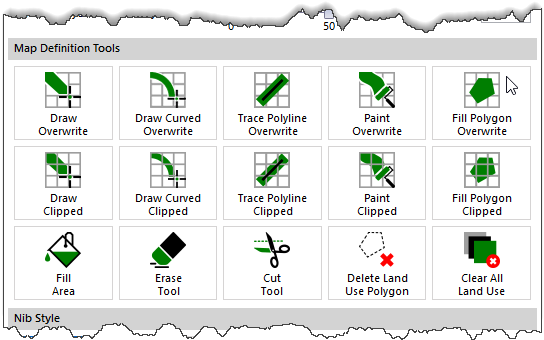
Map Definition Tools
The Map Definition Tools section of the Draw Land Use panel is used to define land use polygon areas and perform various operations on the same. The software provides two modes: overwrite mode and clip mode, which are used to draw straight and curvilinear polylines, trace existing polylines, paint the land use areas, and fill polygons. In addition, the software also provides various tools to edit the drawn land use areas.
The two modes are as follows:
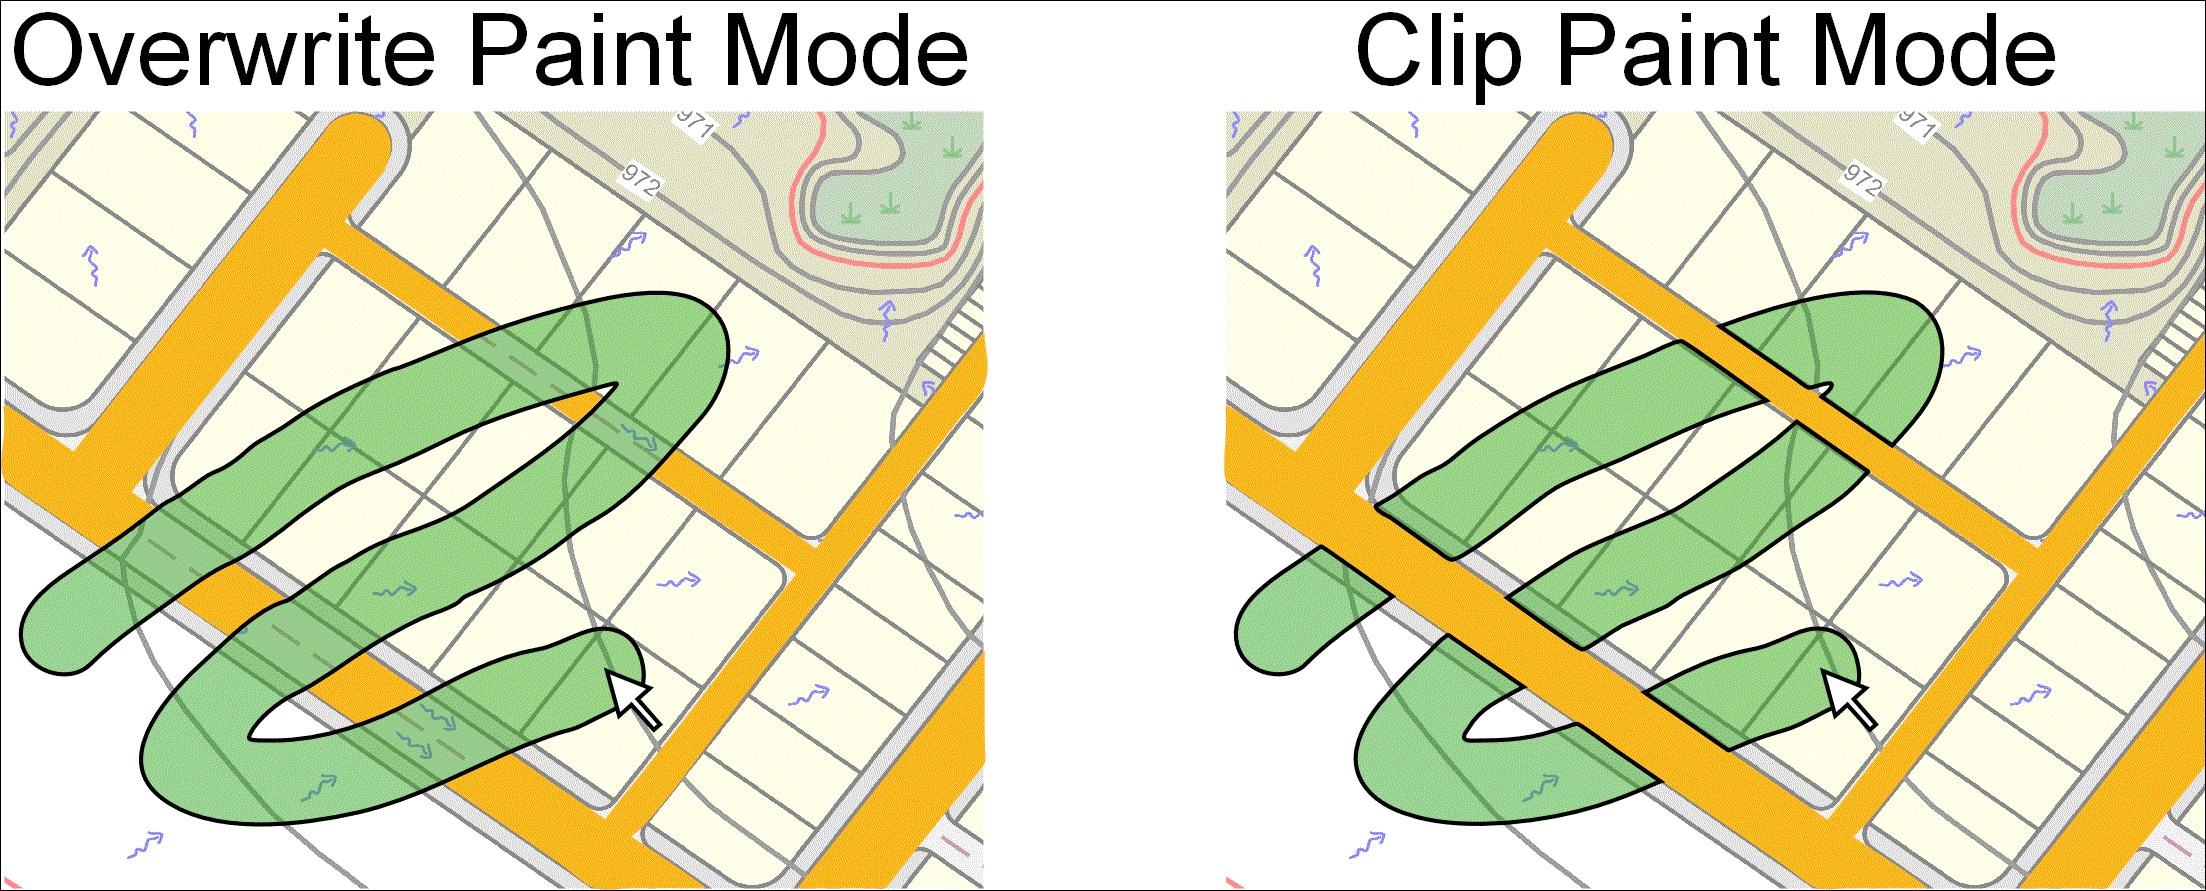
Overwrite mode – Overwrites any existing overlapping land use areas
Clip mode – Clips the current land use painting to existing overlapping land use areas
The different tools provided in the Map Definition Tools section are as follows:
Draw Overwrite: This tool is used to draw straight overwrite lines on the Map View while overwriting existing land use elements.
Draw Curved Overwrite: This tool is used to draw curvilinear overwrite lines on the Map View while overwriting existing land use elements.
Trace Polyline Overwrite: This tool is used to follow an existing polyline while overwriting existing land use elements.
Paint Overwrite: This tool is used to paint the desired area with a wide brush while overwriting existing land use elements.
Fill Polygon Overwrite: This tool is used to fill closed polygon areas while overwriting existing land use elements.
Draw Clipped: This tool is used to draw a straight polyline while clipping to existing land use elements.
Draw Curved Clipped: This tool is used to draw a curvilinear polyline while clipping to existing land use elements.
Trace Polyline Clipped: This tool is used to follow an existing polyline while clipping to existing land use elements.
Paint Clipped: This tool is used to paint the desired area with a wide brush while clipping to existing land use elements.
Fill Polygon Clipped: This tool is used to fill closed polygon areas while clipping to existing land use elements.
The following observations apply to the Draw tool:
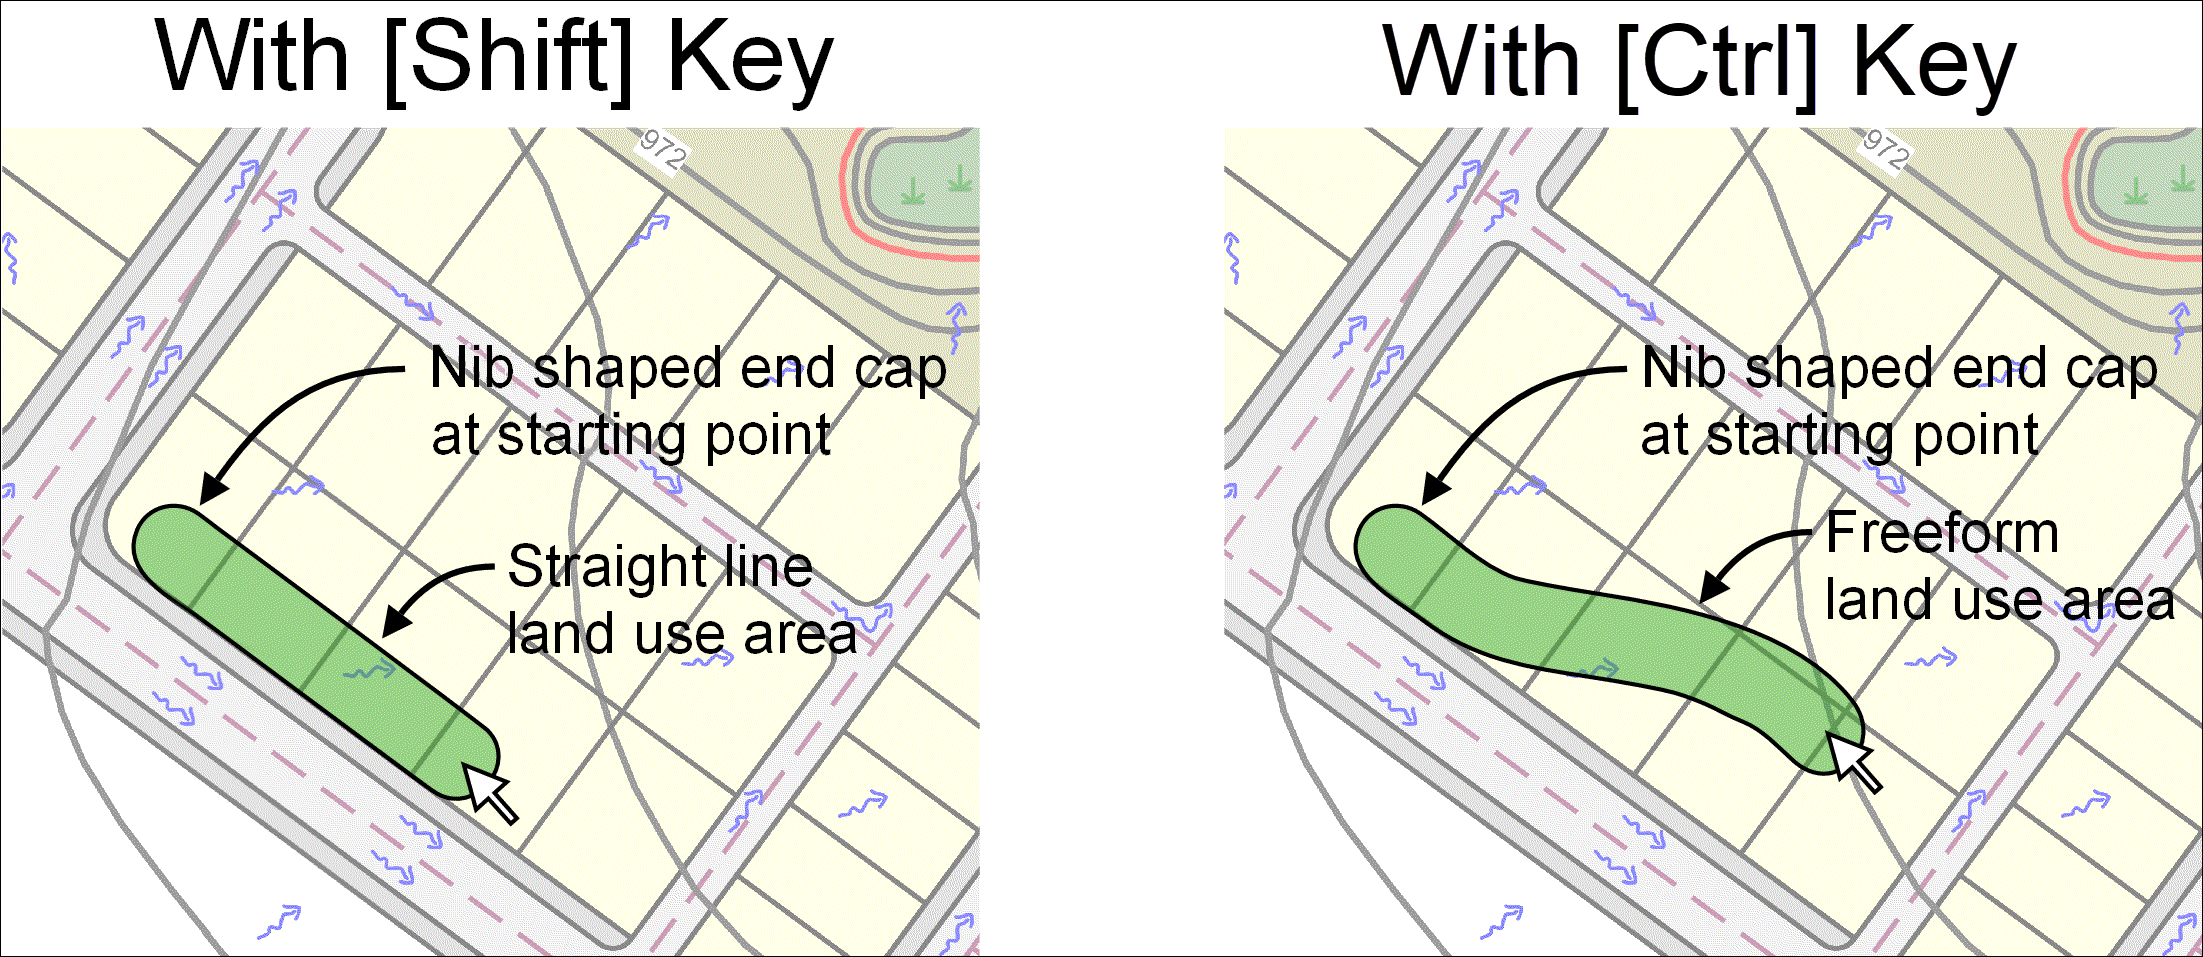
While drawing land use, the start and end points take the shape of the selected nib, as shown below.
When starting to draw land use by holding down the [Shift] key, the drawing is done along a straight line. Similarly, if the user holds down the [Ctrl] key while drawing, the drawing is done along a curvilinear line.
Fill Area
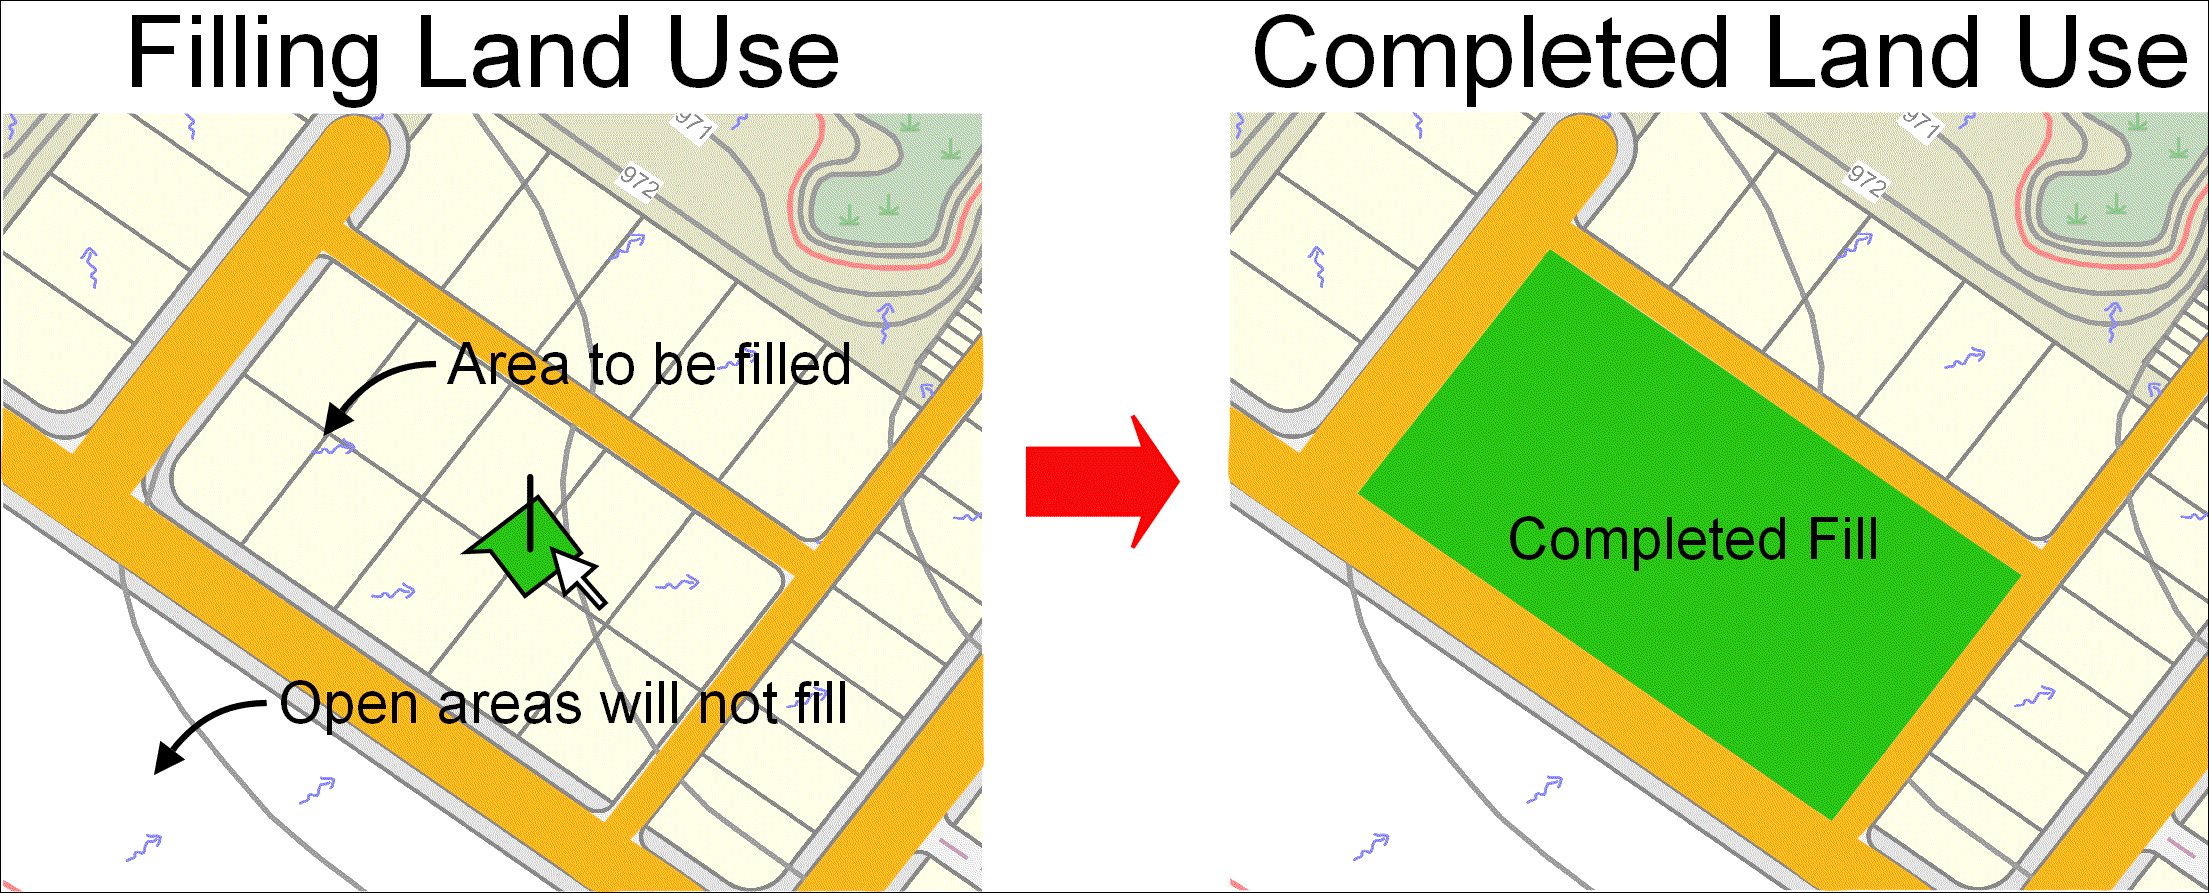
The Fill Area tool can be used to fill-in voids that are surrounded by defined land use areas.
The following observations apply to the Fill Area tool:
Filling will only occur if the selected location is surrounded by other land use polygons. It will not work in areas that are not surrounded.
Filling in an area will cause the currently selected land use to fill into the empty void space.
Adjacent land use areas of the same type will merge with the filled-in land use area.
Erase Tool
The Erase Tool can be used to erase all or part of a land use polygon area.
The following observation apply to the Erase Tool:
Creation of interior holes (doughnuts) is supported when erasing land use areas. For example, the user may erase the park area that is surrounded on all sides by a street land use.
Cut Tool
The Cut Tool can be used to trim a land use polygon area. You can trim by drawing a freeform line or a straight line across the land use polygon, creating separate polygon fragments of the original land use polygon area.
Delete Land Use Polygon
The Delete Land Use Polygon can be used to delete a land use polygon. Choosing the command will create a Select cursor. The delete command will only work on polygons contained in the current land use layer. No other entities will be impacted by this command. Clicking on a land use polygon will immediately delete it.
Clear All Land Use
The Clear All Land Use tool can be used to remove all the land use polygons from Map View.
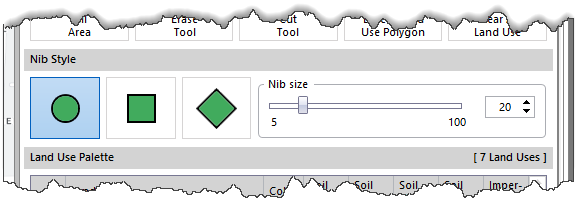
Nib Style
The Nib Style section of the Draw Land Use panel is used to choose a nib style (circle, square, or diamond) and/or adjust the nib size. (A nib is the part of a quill, dip pen, or fountain pen which comes into contact with the writing surface in order to deposit ink.)
The nib size is defined in pixels, and the paint tool and erase tool will change in size according to the selected nib size.
Land Use Palette
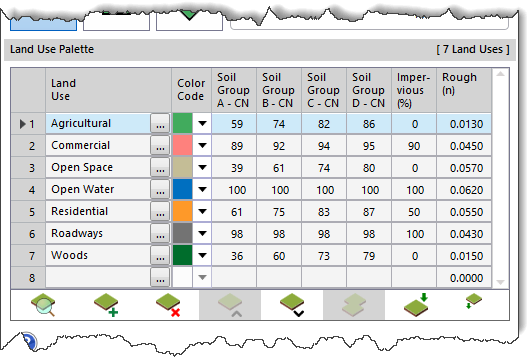
The Land Use Palette section of the Draw Land Use panel is used to define various land uses and their associated properties, as well as allow the user to easily switch between various land uses while painting the land use areas onto the Map View.
The following features are provided in the land use palette section.
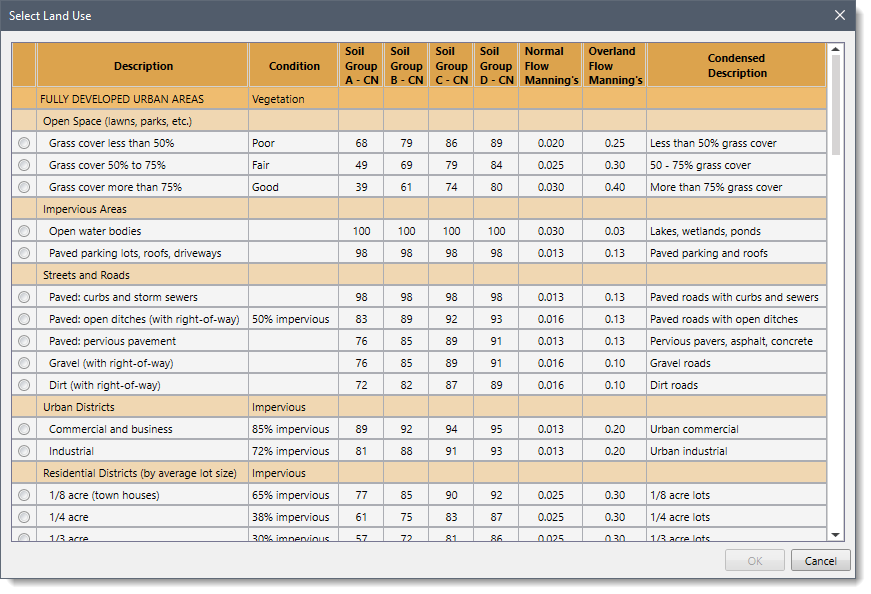
The […] lookup button is used to select the land use with associated curve numbers and impervious values. Clicking on this button will display a Select Land Use lookup table dialog box.
The Impervious (%) column displays the imperviousness associated with a specific land use or land type.
The Rough(n) column displays the Manning’s roughness for a particular land use type. Note that this column is only available in GeoHECRAS.
The following button commands are listed at the bottom of the land use palette.
Zoom Extents: Selecting this button causes the Map View to zoom to the extent of the currently selected (highlighted) land use listed in the palette. If a land use is not selected in the palette, then this button is grayed out (unavailable).
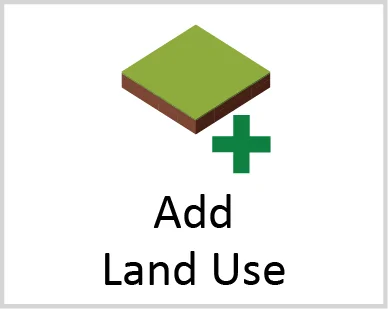
Add Land Use: Selecting this button creates a land use with the default name of Land Use #, where # is replaced with the next number of the total land uses listed. For example, if there are currently four land uses defined and the user clicks on this button, the software will create a new land use with the name Land Use 5. In the event of a naming conflict (i.e., there already exists a land use with that name), the number count gets incremented until there is no conflict. The user can rename the default land use name using the Properties command. Any number of land uses can be created.
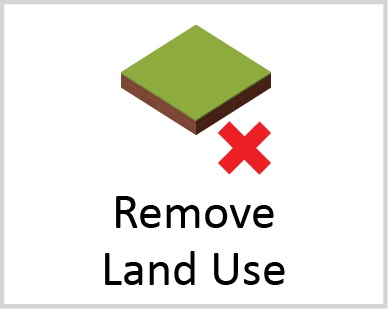
Remove Land Use: Selecting this button will remove the currently selected (highlighted) land use listed in the palette. If a land use is not selected in the palette, then this button is grayed out (unavailable). If land use polygons have already been assigned to the land use to be removed, then the software will display a confirmation dialog box to confirm that it should remove the land use. Any assigned land use polygons will then be deleted from the Map View as well. If there is no land use polygon(s) assigned to the land use to be removed, no confirmation dialog box is displayed.
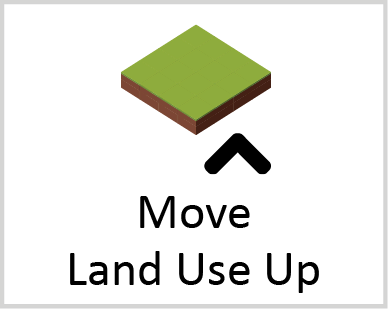
Move Land Use Up: Selecting this button will move the currently selected (highlighted) land use up by one within the palette. If the currently selected land use is at the top of the palette, this button is grayed out (unavailable). If a land use is not selected in the palette, then this button is grayed out.
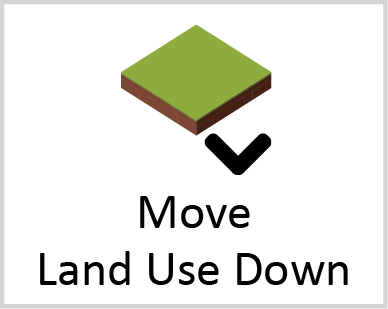
Move Land Use Down: Selecting this button will move the currently selected (highlighted) land use down by one within the palette. If the currently selected land use is at the bottom of the palette, this button is grayed out (unavailable). If a land use is not selected in the palette, then this button is grayed out.
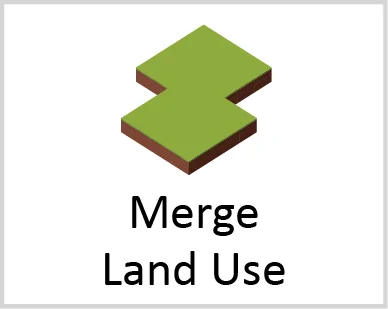
Merge Land Use: Selecting this button will move the selected (highlighted) land use(s) into the current land use. If only the current land use is selected, this button is grayed out (unavailable). More than one land use can be merged at a time. Any assigned land use polygon(s) will also be merged into the current land use (potentially causing adjacent polygons of the same land use to merge as well).
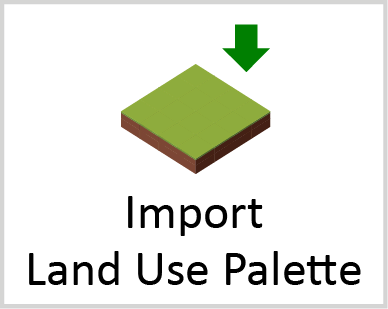
Import Land Use Palette: Selecting this button will display the Import Land Use Palette dialog box, allowing the user to import a previously defined land use palette so that it can be used in the current project.
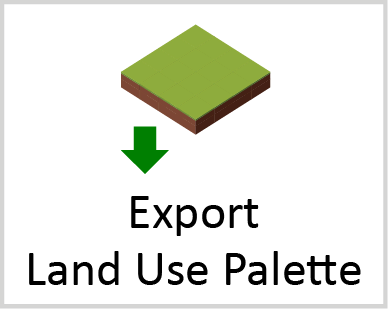
Export Land Use Palette: Selecting this button will display the Export Land Use Palette dialog box, allowing the defined land use palette data to be exported so that it can be used in other projects.
Once the land use layer has been created, the software will then place the created land use layer in the Map Data Layers panel. Clicking on the […] button adjacent to the created land use layer will display the Land Use Properties dialog box, which allows the user to perform the following:
To define various land uses and their associated properties
To style the border associated with the land use polygon(s)
To change the image’s transparency
To change the current CRS (coordinate reference system) of the project, etc.
Refer to this article in our knowledge base to learn more about the Land Use Properties dialog box.
When you visit any web site, it may store or retrieve information on your browser, mostly in the form of cookies. Control your personal Cookie Services here.
For perfomance reasons we use Cloudflare as a CDN network. This saves a cookie "__cfduid" to apply security settings on a per-client basis. This cookie is strictly necessary for Cloudflare's security features and cannot be turned off.
In order to use this website we use the following technically required cookies
wordpress_test_cookie
wordpress_logged_in_
wordpress_sec
Preference cookies enable a website to remember information that changes the way the website behaves or looks, like your preferred language or the region that you are in.
For purposes of marketing, optimization of products and services, we use services of ZoomInfo on this website.
The ZoomInfo WebSights snippet drops three cookies to track Unique Visits:
1. _pxhd - Related to the Perimeter X security layer (Perimeter X isused to prevent bot attacks).
2. _cfduid - Related to the CloudFlare security layer (CloudFlare is the Network Security protocol that ZoomInfo uses to orchestrate the rate limiting rules).
3. visitorId - This is how WebSights identifies recurring visitors