The Network License Server is assigned port number 7081 by default to communicate with the software license requests from client computers on the network. However, there may be a situation where there is a port conflict with another software program that is using the same port number. In this situation, the Network License Server can be assigned a different port number to resolve this conflict.
Assigning a Different Port Number to the Network License Server
This section describes how to assign a different port number to the Network License Server.
Follow these steps:
- On the computer in which the Network License Server is installed on, log in as an administrator (i.e., not a standard user).
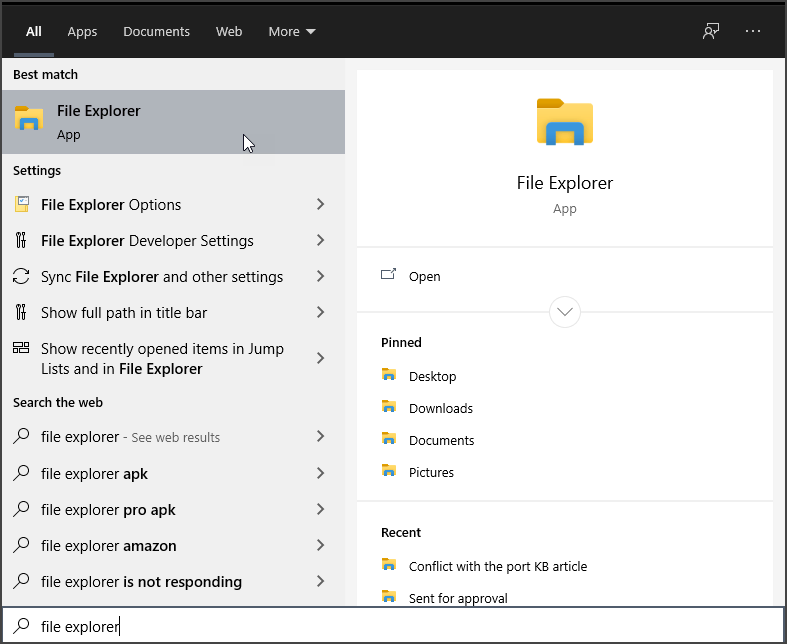
- Click on the Windows Start button, then type File Explorer into the search box, and then press the Enter key.
- Using the navigation panel on the left side, select Local Disk (C:) ► Program files (x86) ► CivilGEO ► LSConfigurationUtility folder as shown below.
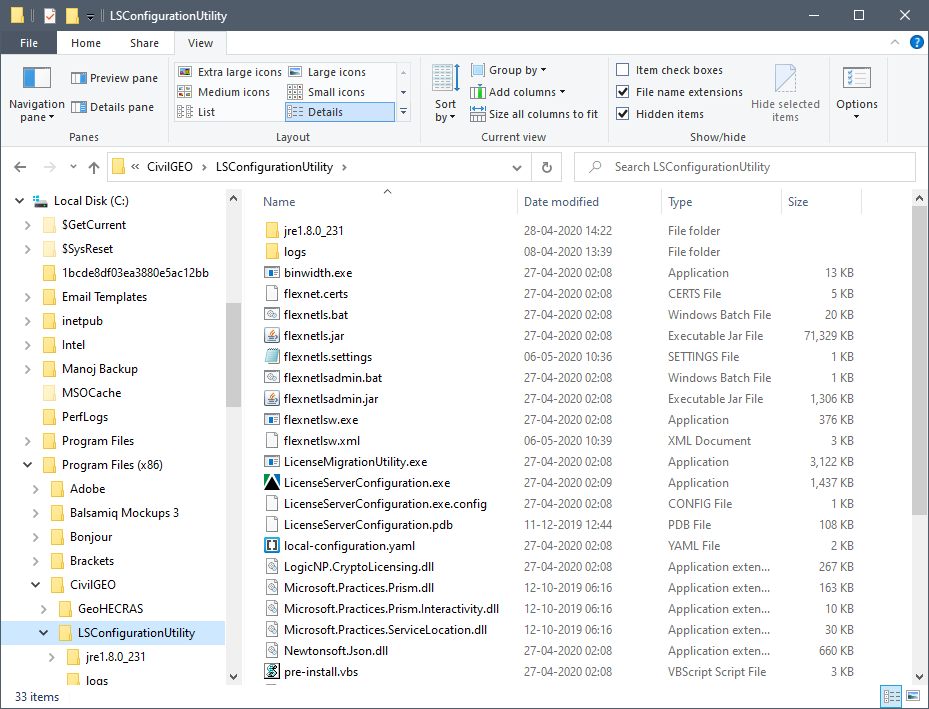
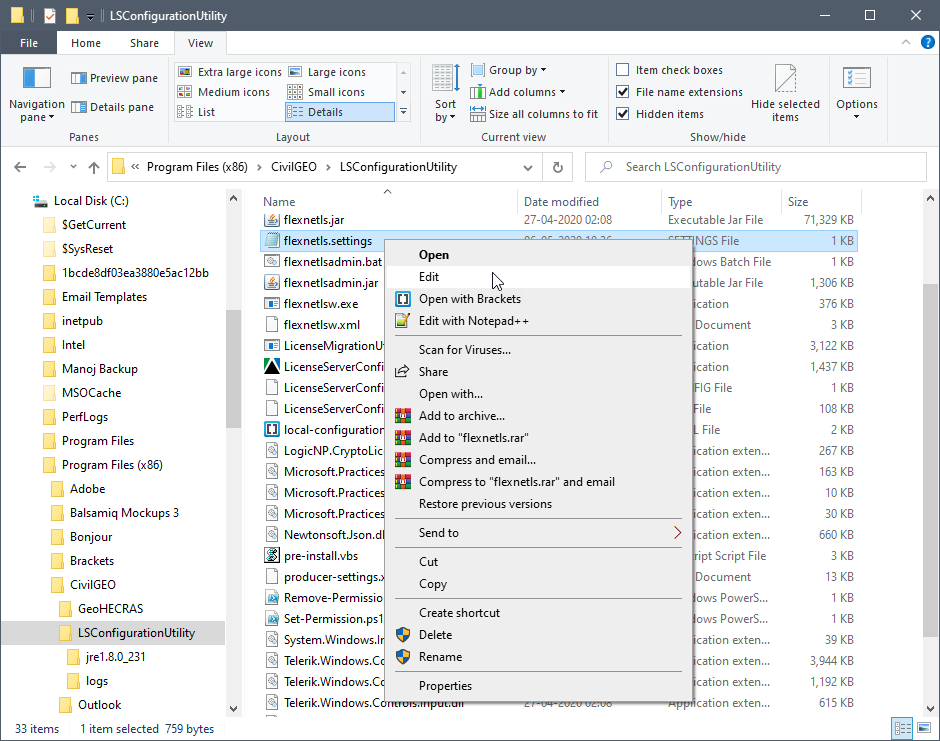
- In the file listing panel, find the flexnetls.settings file. Then, using a text editor like Notepad, open the file for editing.
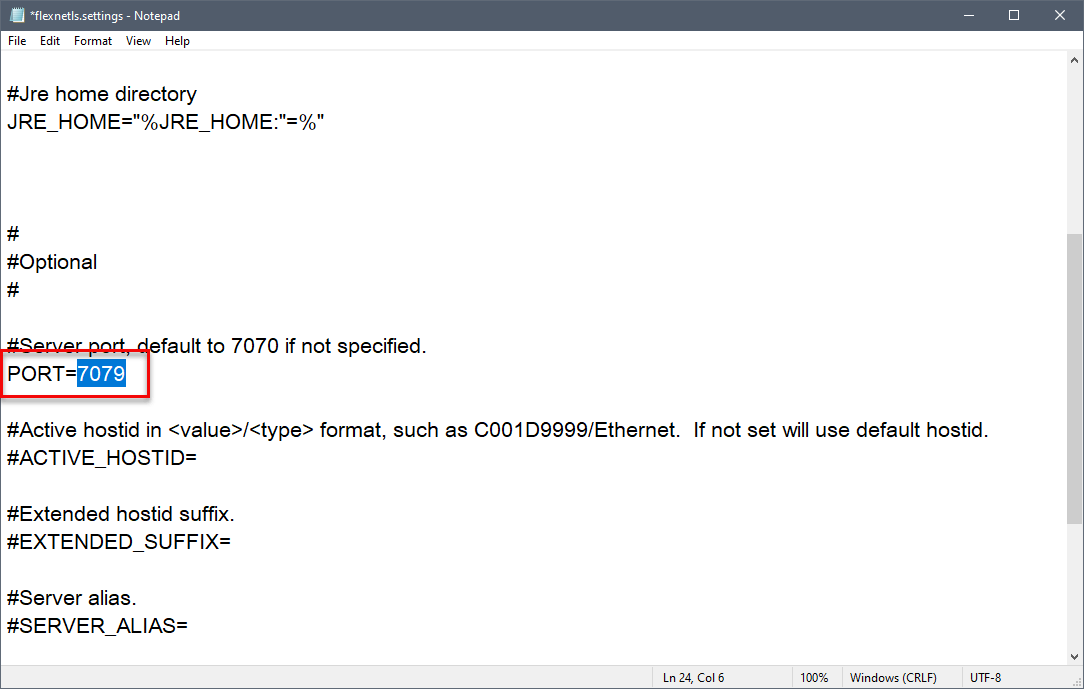
- From within the text file, look for an entry that starts with PORT= with a number after it. This is the port number that the Network License Server is using to communicate with.
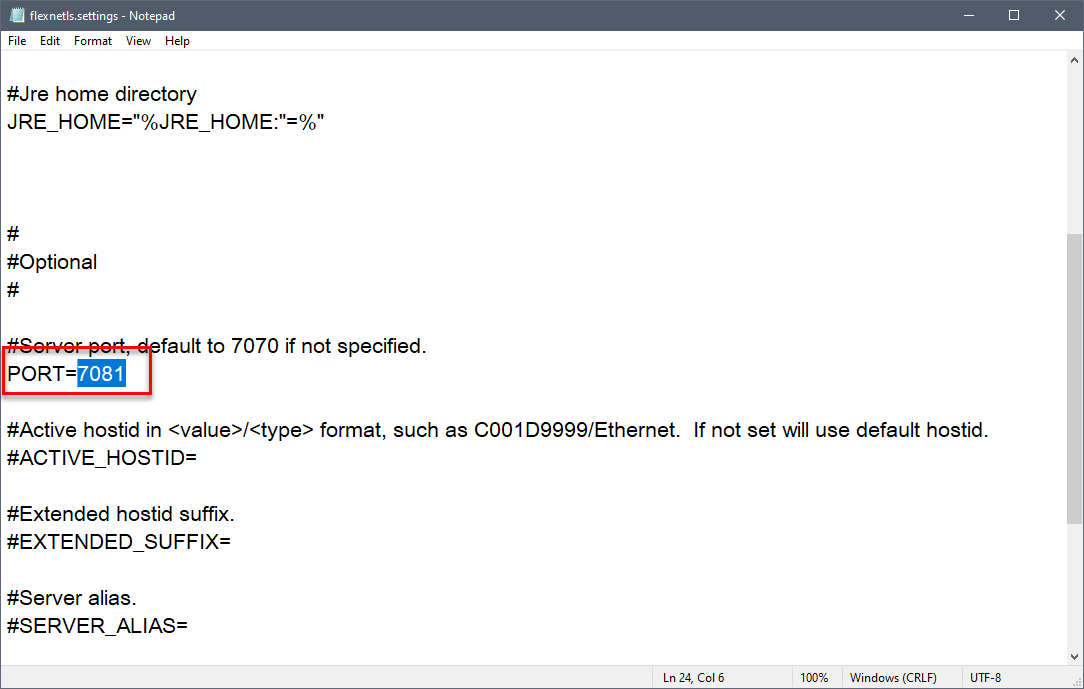
- Change the PORT number to 7079 or similar number that will not conflict with other software. Port numbers range from 0 to 65535, but port number 0 is reserved and cannot be used. In addition, port numbers less than 1024 were historically used by other software programs for communication with computer peripherals and should not be used.
- Save the changes and close the file.
- Note that you may need to adjust the computer and network firewall settings to allow communication on the specified port number.
- Launch the CivilGEO License Server Configuration application. The CivilGEO License Server Configuration application will start up.
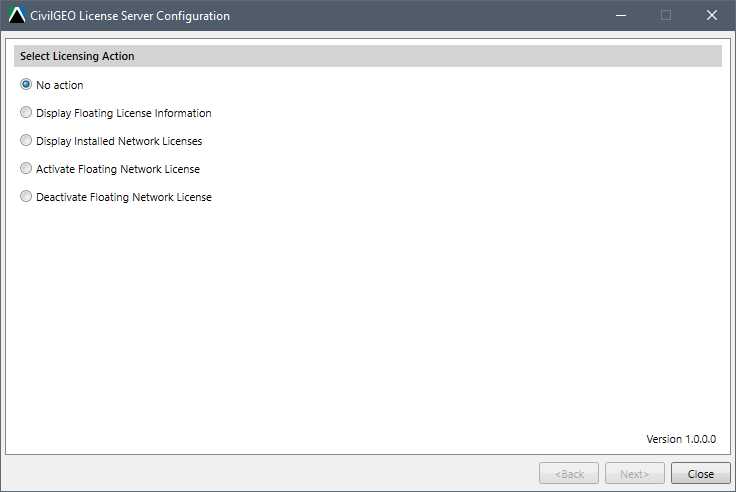
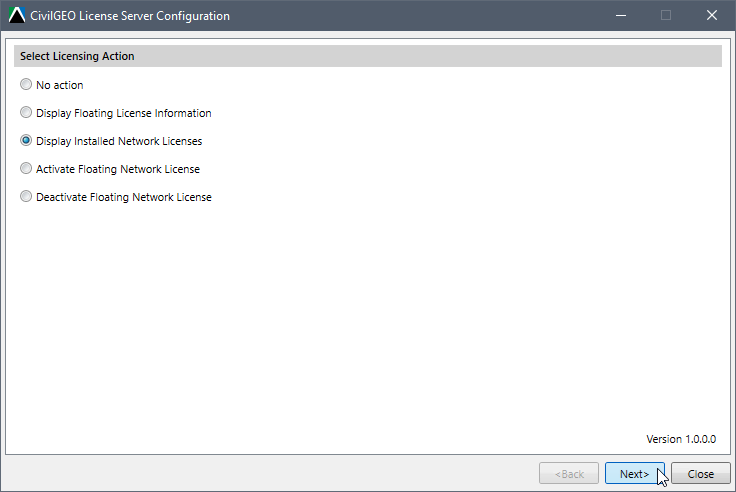
- Select Display Installed Network Licenses option and then click the [Next>] button.
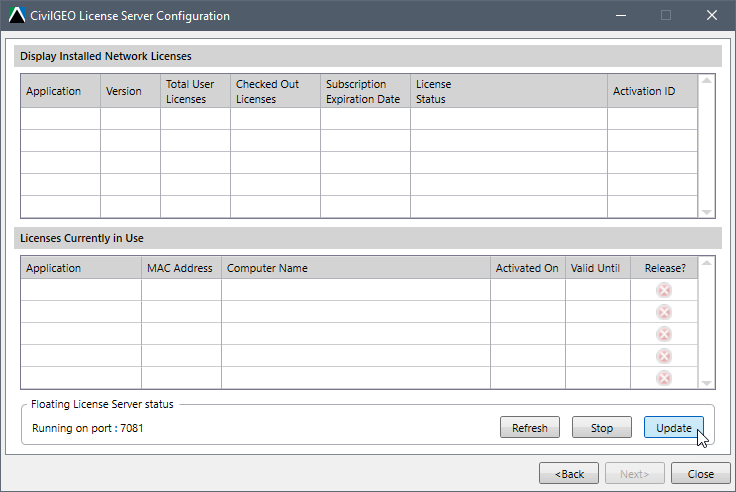
- Click the [Update] button in the Floating License Server Status section.
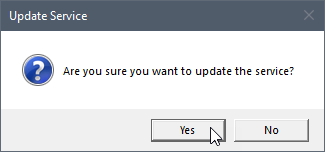
- The following confirmation dialog box will be displayed. Click the [Yes] button.
- The Floating License Server Status section will update, showing that the service running on the newly specified port number.
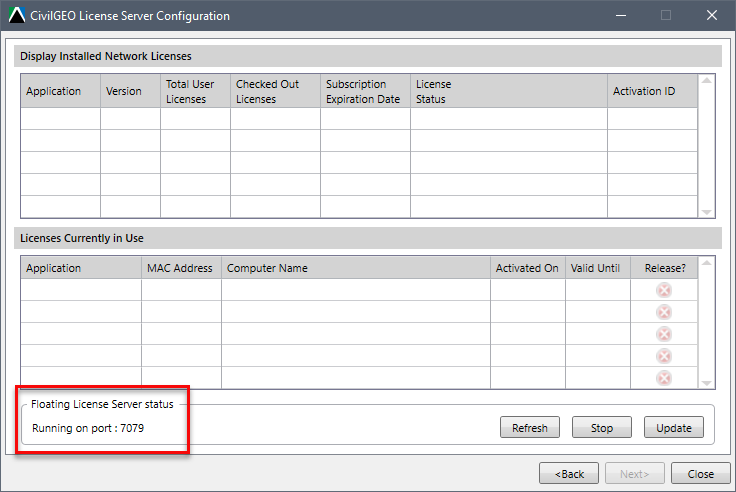
- Make note of this port number.
Assigning the Updated Port Number to the Client Computers
Once the port number is updated on the Network License Server, the client computers must be updated with the same port number so that they can successfully communicate with the Network License Server.
Follow these steps:
- Start up the software on the client computer on which the software is installed on.
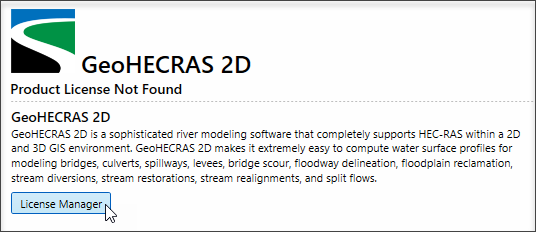
- Select File | About. This will display the About backstage page. Click on the [License Manager] button.
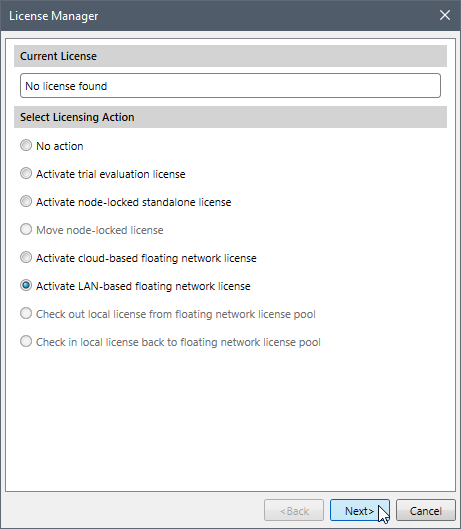
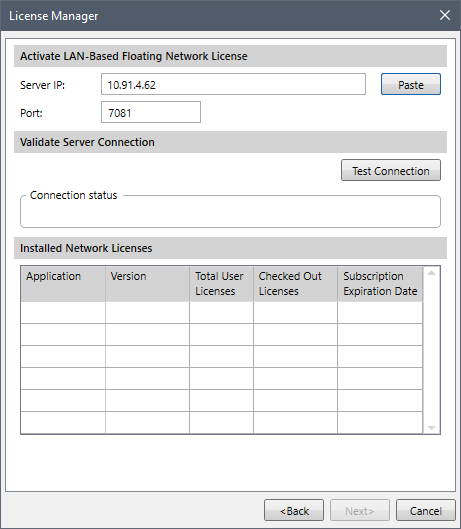
- The License Manager dialog box will be displayed. Select the Activate LAN-based Floating Network License option. Click the [Next>] button.
- The License Manager dialog box will display the IP address and the port number of the Network License Server.
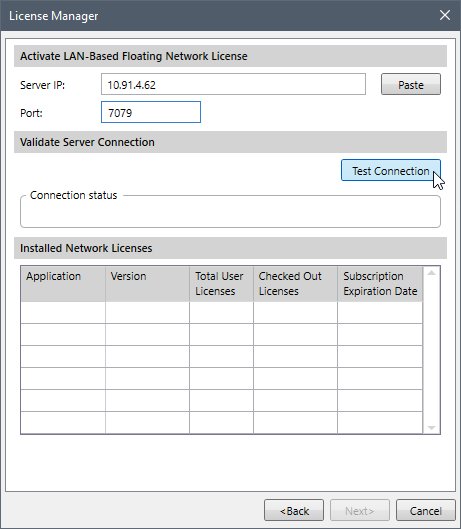
- Enter the new port number of the Network License Server in the corresponding entry. Click the [Test Connection] button.
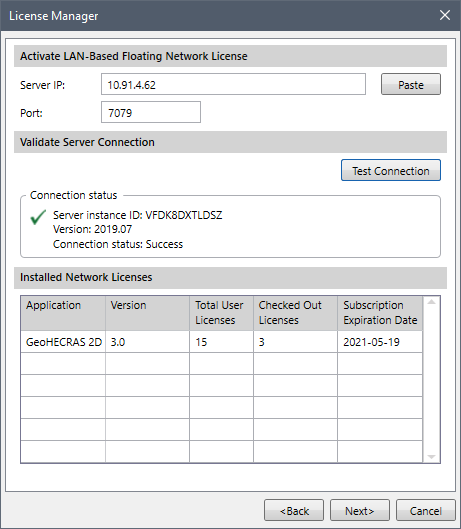
- If the Test Connection succeeds and the following message is displayed, then the software has found the Network License Server.
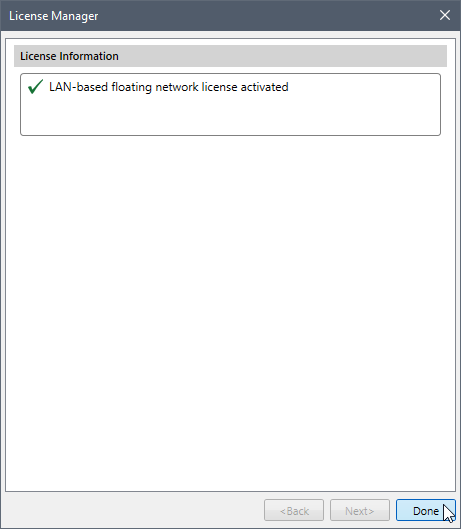
- Click on the [Next>] button to activate the network license for the current computer. The software will then use the Network License Server for acquiring a Floating License from that point forward.
If you continue to have issues, contact our technical support. They will be glad to assist you further.


