
Welcome to CivilGEO Knowledge Base
Welcome to CivilGEO Knowledge Base
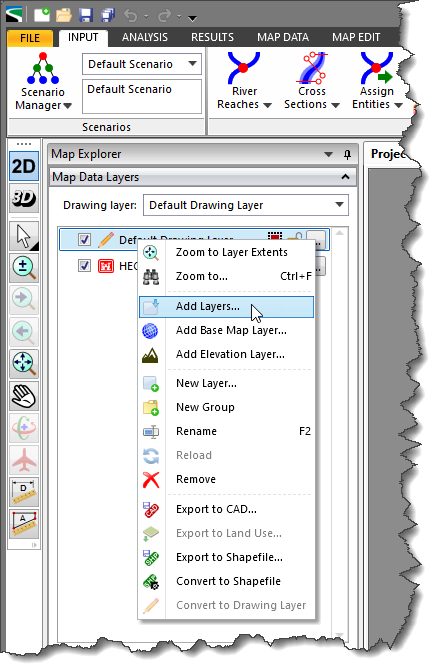
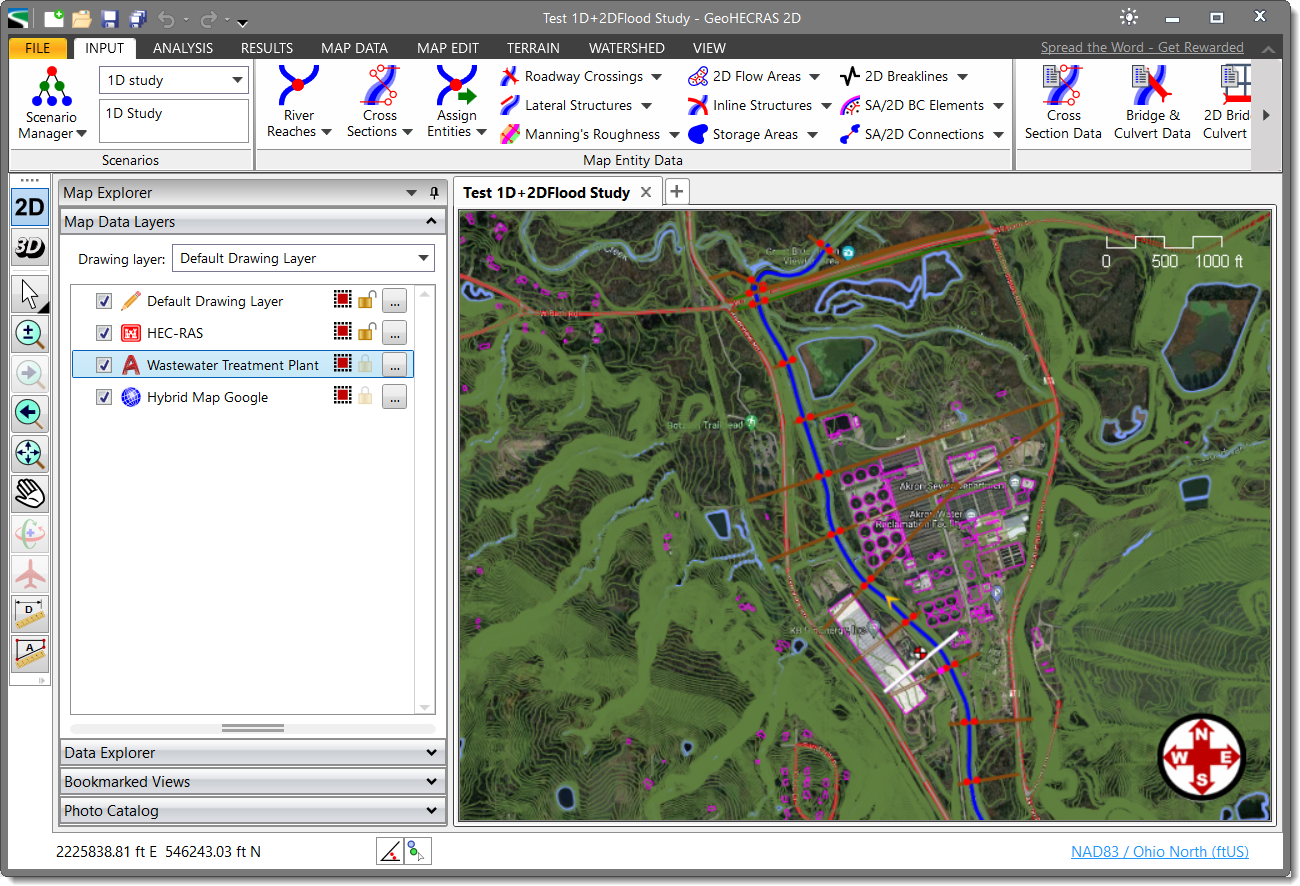
In CivilGEO software, layers aid in visualizing map data used to construct the model and various output types. The use of layers organizes your project and enables you to temporarily hide the display of unwanted graphical data. The Add Layers command allows the user to select and add an additional layer of map data (i.e., AutoCAD drawings, GIS data, elevation data, survey data, etc.) as layers in the Map View.
Note that the order of layers in the Map Data Layers panel determines how they appear on the Map View. The layer at the top of the Map Data Layers panel is granted priority and will be displayed on top of those layers that are at the bottom. This article describes how to use the Add Layers command in the CivilGEO software.
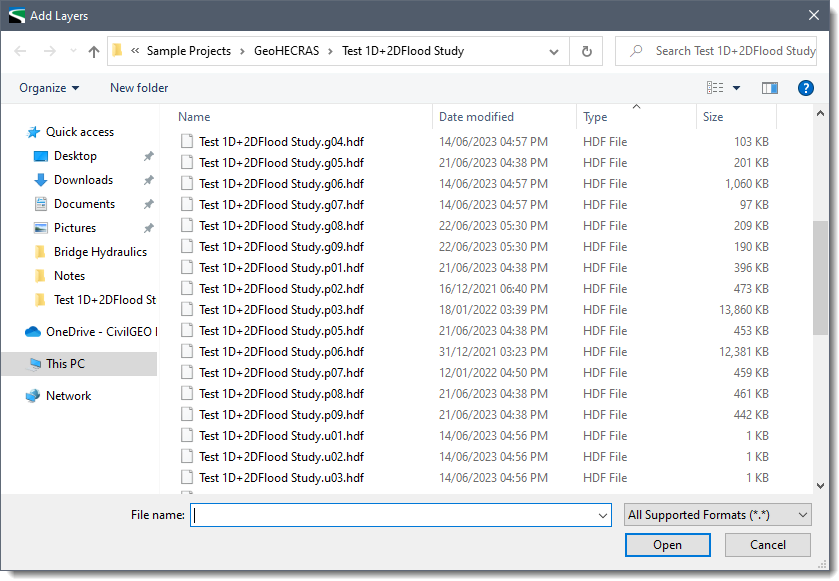
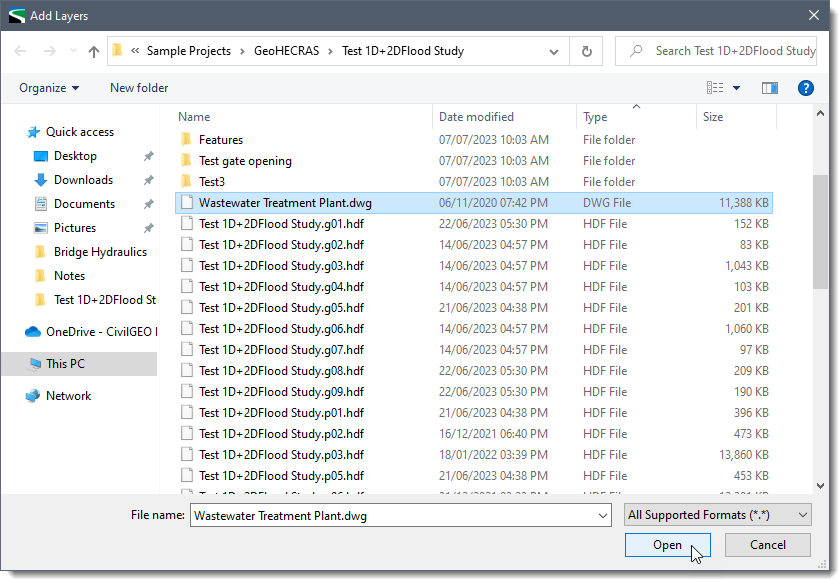
Follow the steps below to use the Add Layers command:
 Alternatively, select the Add Layers command from the Map Data ribbon menu.
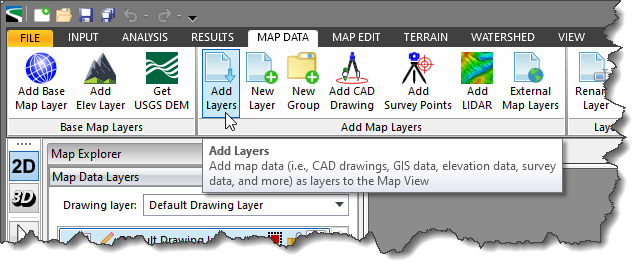


CivilGEO G2 Reviews
4.8/5.0 Rating, Over 230 Reviews

GeoHECRAS is recognized as the top Civil Engineering Design Software with an average of 4.8 out of 5.0 rating from over 230 real user reviews on G2.


We use cookies to give you the best online experience. By agreeing you accept the use of cookies in accordance with our cookie policy.
When you visit any web site, it may store or retrieve information on your browser, mostly in the form of cookies. Control your personal Cookie Services here.


