In GeoSTORM software, the Excel Report command allows the user to export the stormwater input data and associated output results to a Microsoft Excel file for the current scenario. If no analysis results have been computed, the software will export only the input data.
Once the report is exported, it can be saved as a template to be used in other engineering projects. In addition, the user can simply adopt a previous engineering report for use as a template by modifying the report to fit the current engineering study.
Follow the steps below to use the Excel Report command:
- From the Results ribbon menu, select the Excel Report command.
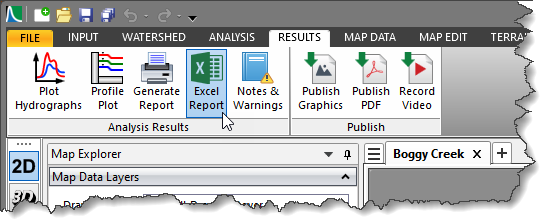
- The Excel Report dialog box will be displayed.
The following sections describe how to use the Excel Report command and interact with the above dialog box.
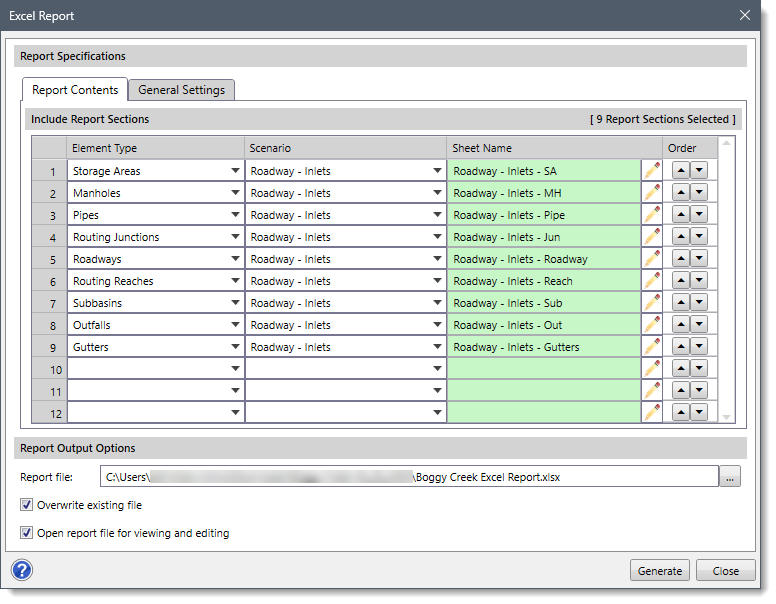
Report Specifications
In the Report Specifications section, the user can customize the contents and settings for generating the report. The following panels are provided:
- Report Contents
- General Settings
Report Contents
Include Report Sections
The Include Report Sections section under the Report Contents panel includes a data grid that allows the user to define the entire contents to be included in the generated report. This is helpful when the user wants to compare different reports from various scenarios and elements.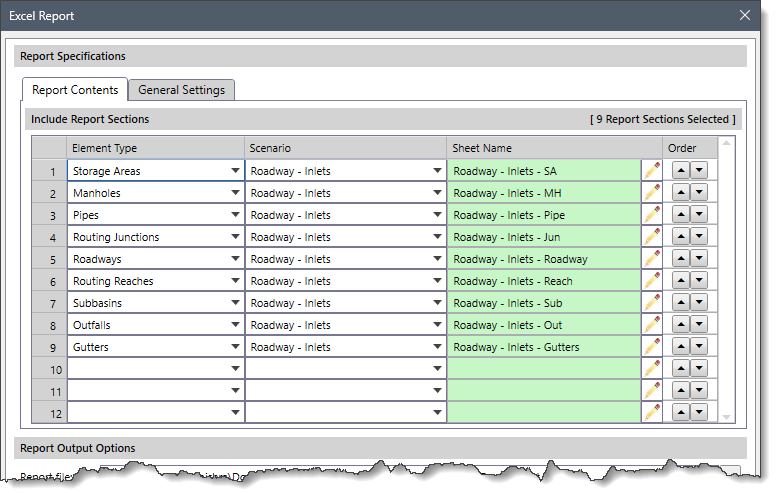
The following parameters are provided in the data grid column entries:
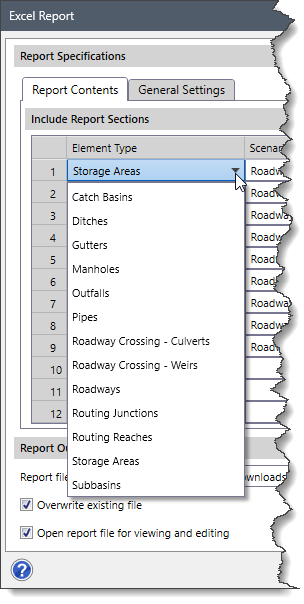
- Element Type
This dropdown combo box entry lists all the elements that can be defined in the stormwater project:- Catch Basins
- Ditches
- Gutters
- Manholes
- Outfalls
- Pipes
- Roadway Crossing – Culverts
- Roadway Crossing – Weirs
- Roadways
- Routing Junctions
- Routing Reaches
- Storage Areas
- Scenario
This dropdown combo box entry lists the names of all scenarios that are available in the current project. - Sheet Name
This read-only entry lists the names of individual sheets that will be created in the generated report (for Excel report). Click on the edit option (i.e., pencil icon) to edit the sheet name. - Order
This entry allows the user to change the order in which the elements will appear in the generated report. By default, the elements are listed in the order they were originally defined. However, the user can use the Up and Down arrow buttons to rearrange the order of the elements.
General Settings

Selecting Report Type
The Select Report Type section under the General Settings panel allows the user to define the format in which the report will be generated.
- Excel report
This checkbox option allows the user to generate the report in Microsoft Excel format (.xlsx). By default, this checkbox option is checked. - PDF report
This checkbox option allows the user to generate the report in PDF format (.pdf). By default, this checkbox option is unchecked.
Page Header and Footer
The Page Header and Footer section under the General Settings panel allows the user to add and customize headers and footers in the generated report pages. The user can also format the text and insert a page number, date, time, file path, file name, etc.
- Header
This checkbox option allows the user to include the header on every page of the generated report. The user can customize the header by inserting and formatting various types of content in the left, center, or right sections of the report pages. By default, this checkbox option is unchecked. - Footer
This checkbox option allows the user to include the footer on every page of the generated report. The user can customize the footer by inserting and formatting various types of content in the left, center, or right sections of the report pages. By default, this checkbox option is unchecked.
In addition, the following buttons are provided for customizing the header and footer content: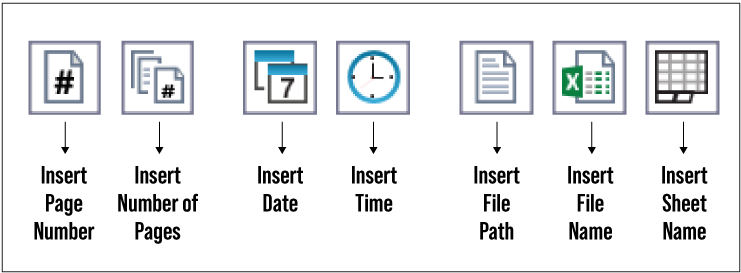
- Insert Page Number
This button inserts the current page number. - Insert Number of Pages
This button inserts the total number of pages. - Insert Date
This button inserts the current date. - Insert Time
This button inserts the current time. - Insert File Path
This button inserts the file path. - Insert File Name
This button inserts the name of the file. - Insert Sheet Name
This button inserts the name of the current sheet (for Excel report).
Report Output Options
In the Report Output Options section, the user can define where to save the generated report, whether to overwrite an existing file and open the report automatically for viewing and editing.
- Report file
This entry allows the user to specify the file path and name where the generated report will be saved. The user can either use the default location or click the […] browse button to choose a different file path and name. - Overwrite existing file
This checkbox option determines whether the existing content of the report file will be replaced with the new content. By default, this checkbox option is checked. If unchecked, the existing content of the report file will not be replaced, and the new content will be saved separately. - Open report file for viewing and editing
This checkbox option allows the user to open the just generated report file for immediate viewing and editing. By default, this checkbox option is checked. If unchecked, the report file will not open automatically.
Generating Report
Once data have been defined in the Excel Report dialog box, click the [Generate] button and the software will generate the report at the specified location. The report will be generated either as a Microsoft Excel or PDF file.