
Welcome to CivilGEO Knowledge Base
Welcome to CivilGEO Knowledge Base
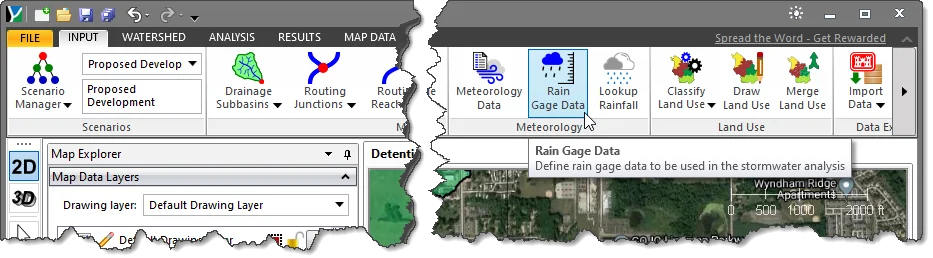
Rain gages supply rainfall data for one or more subbasins in the study area. The rainfall data can either be user-defined or described in an external file. Rain gages are part of the project and can be shared by multiple basin or meteorologic models.
In GeoHECHMS, the user can define the rain gage time series data using the Rain Gage Data command. The defined rain gage time series data can later be used in the meteorological model for defining one or more gages for each subbasin in a watershed model. Refer to this article in our knowledge base to learn how to define a meteorological model.
Follow the steps below to use the Rain Gage Data command:
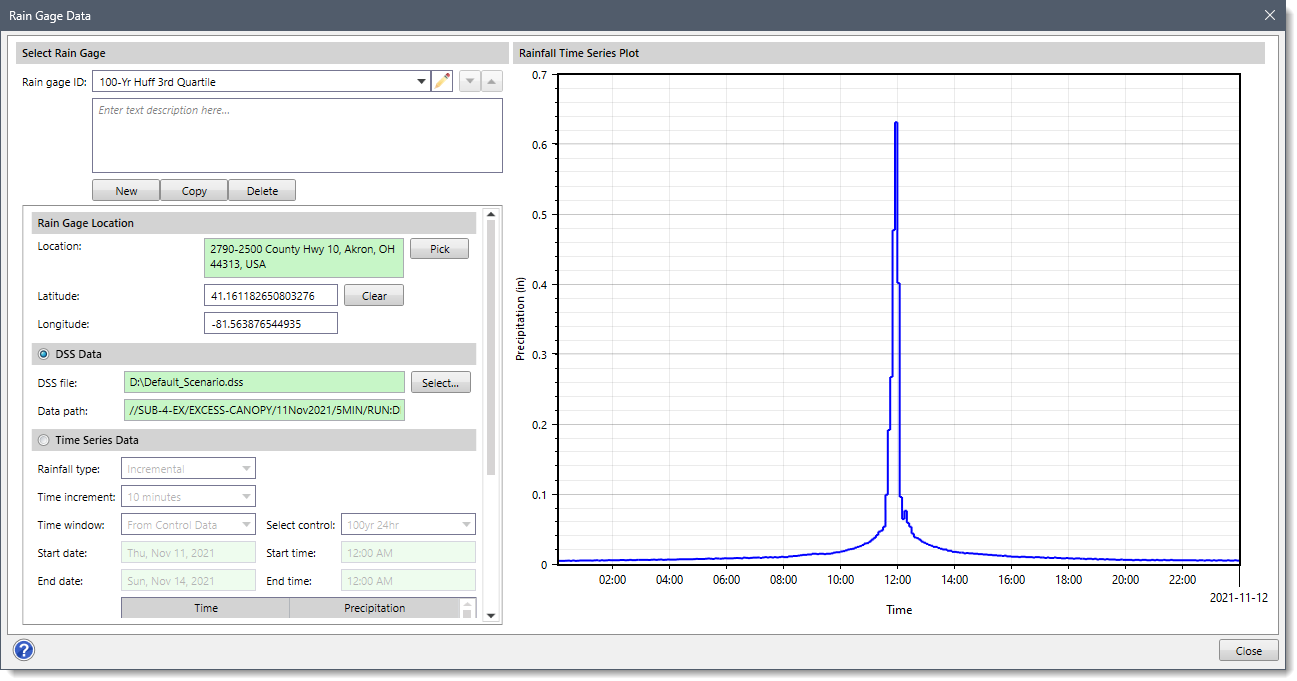
The below sections describe how to define the rain gage time series data and interact with the above dialog box.
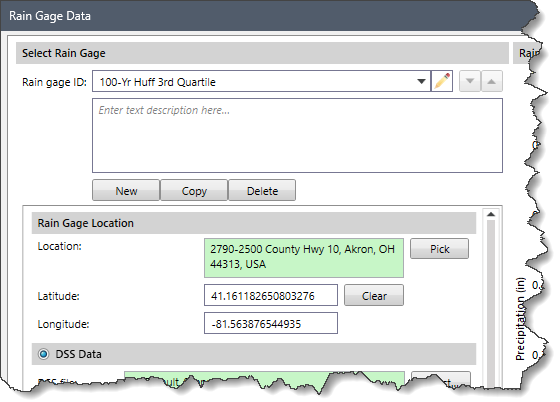
The Select Rain Gage section allows the user to create, copy or delete rain gages. In addition, the user can edit the unique name assigned to the rain gages and provide a description for the selected rain gage.
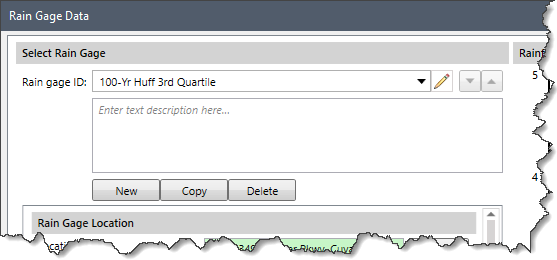
The following parameters are provided in this section:
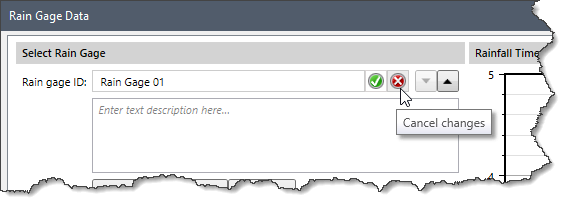 If the user exits the Rain gage ID field without defining an ID, the creation of the time series data set is aborted. After entering a Rain gage ID and clicking on the [Accept changes] button, the software checks that the defined ID is unique. If not, a warning dialog box is displayed, and the user is then returned to the Rain gage ID field to change the ID.
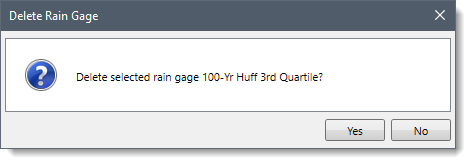 Clicking the [Yes] button causes the software to delete the current rain gage data set.
This section allows the user to provide a precise description of the rain gage’s location. The location is specified for each gage as the latitude and longitude. The latitude and longitude can be entered in decimal degrees in the Latitude and Longitude fields, respectively. Upon entering the latitude and longitude, the software will provide the location’s physical address in the Location read-only field. Alternatively, the user can click the [Pick] button to pick the location interactively from the Map View. The software will then display the physical address, longitude, and latitude values for the selected location in the respective fields.
This section allows the user to select a DSS data file to define the rain gage time series data. This section is disabled (i.e., grayed out) if the Time Series Data radio button option is selected.
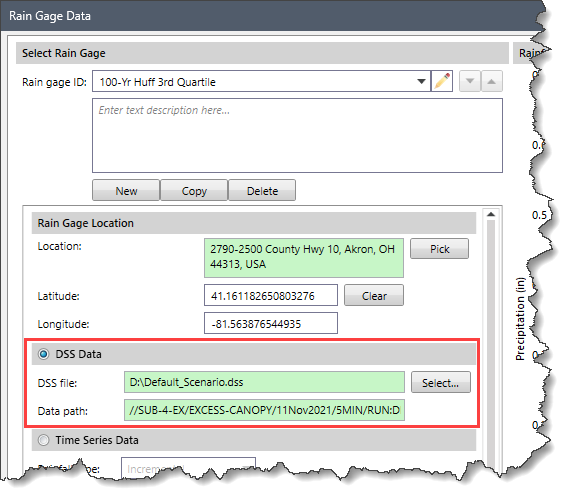
The following parameters are provided in this section:
Below is the DSS Data File & Path dialog box for selecting the directory path and data path for the time series data.
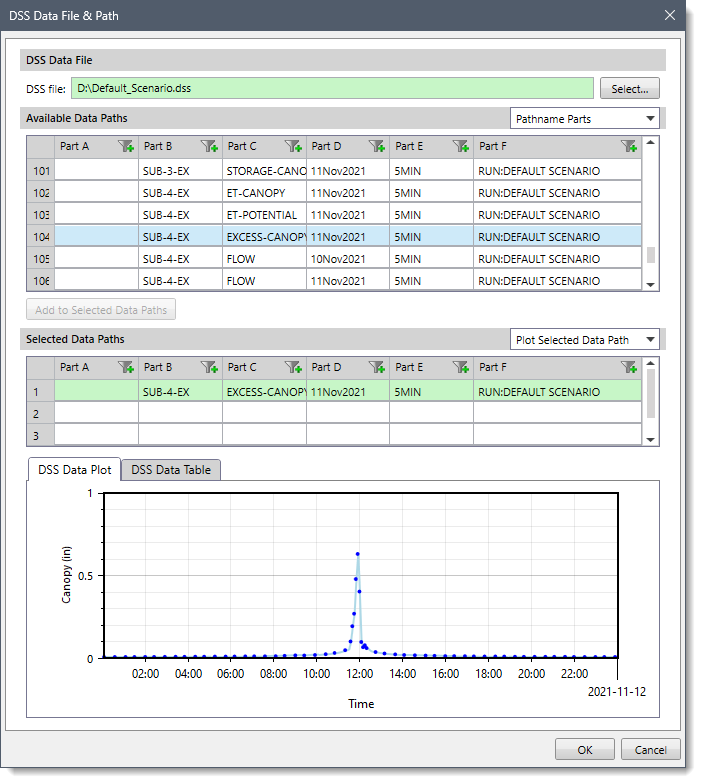
In the above dialog box, the user can click the [Select] button and browse to the folder containing the DSS file. Once a DSS file is selected, a list of all the DSS pathnames within that file will show up in the table. The user can select the desired data path from the table and click the [Add to Selected Data Paths] button to add the selected data path to the Selected Data Paths list. The dialog box also displays the graphical plot for the selected data path in the DSS data path plot section.
Once the desired path is selected, the user can click the [OK] button. The user will be returned to the Rain Gage Data dialog box.
Refer to this article in our knowledge base to learn how to view data contained in an HEC-DSS file.
This section allows the user to manually enter time series data for the selected element. This section is disabled (i.e., grayed out) if the DSS Data radio button option is selected.
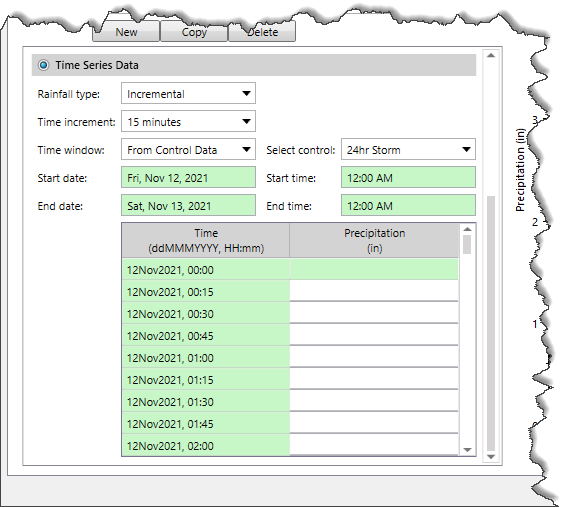
The following parameters are provided in this section:
| Minutes | Hours | Days |
|---|---|---|
| 1 minute | 1 hour | 1 day |
| 2 minutes | 2 hours | |
| 3 minutes | 3 hours | |
| 4 minutes | 4 hours | |
| 5 minutes | 6 hours | |
| 6 minutes | 8 hours | |
| 10 minutes | 12 hours | |
| 15 minutes | ||
| 20 minutes | ||
| 30 minutes |
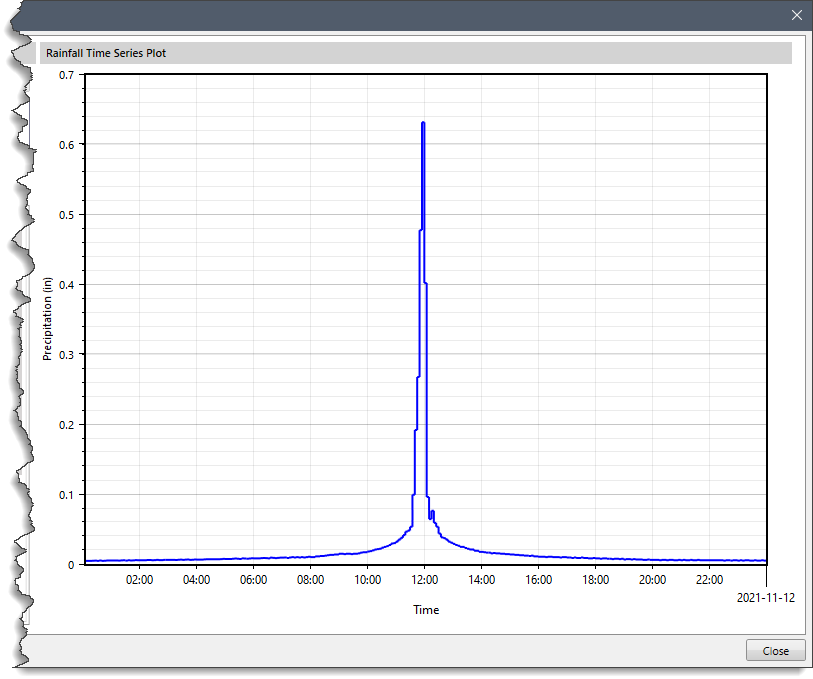
The section displays the Precipitation (in) vs Time plot of the selected rain gage data. Note that the data in the graph cannot be edited regardless of whether the gage uses manual entry or retrieves data from a DSS file. If no time series data is available for the specified time window, the graph will not show any data.


CivilGEO G2 Reviews
4.8/5.0 Rating, Over 230 Reviews

GeoHECRAS is recognized as the top Civil Engineering Design Software with an average of 4.8 out of 5.0 rating from over 230 real user reviews on G2.


We use cookies to give you the best online experience. By agreeing you accept the use of cookies in accordance with our cookie policy.
When you visit any web site, it may store or retrieve information on your browser, mostly in the form of cookies. Control your personal Cookie Services here.


