In CivilGEO software, the Publish PDF command allows the user to publish the Map View data to a PDF file. Saving the Map View data in a PDF file gives the user the ability to effortlessly use the data with other applications.
The user can also publish the Map View data into image and video files with the following commands:
- Publish Graphics
This command is used to publish the Map View data into the image file. Refer to this article in our knowledge base to learn more about this command.
- Record Video
This command is used to publish the Map View data into a video file. Refer to this article in our knowledge base to learn more about this command.
Follow the steps below to use the Publish PDF command:
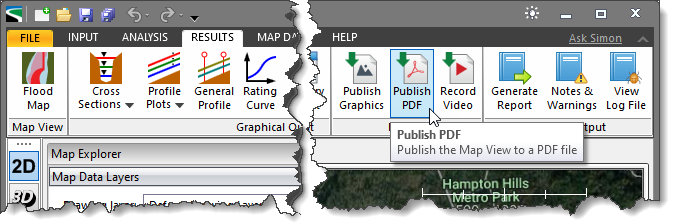
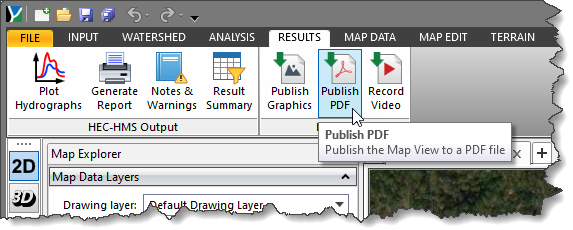
- From the Results ribbon menu, select the Publish PDF command.
- In GeoHECRAS
- In GeoHECHMS
- The Publish PDF dialog box will be displayed.
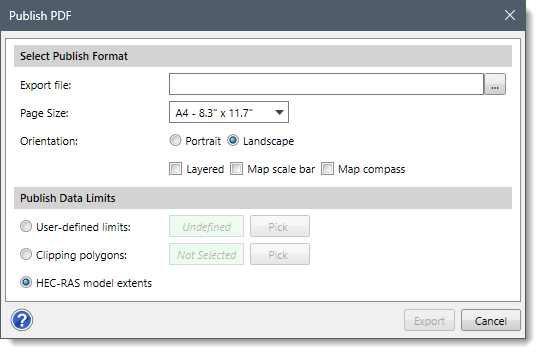
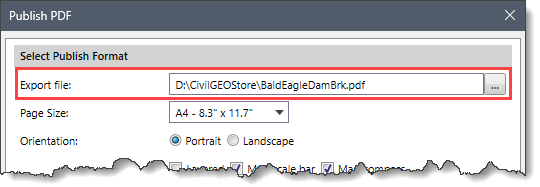
- Click the […] button adjacent to the Export file input field.
- The Save As dialog box will be displayed. Browse to the location where you want to save the PDF file and click the [Save] button after providing the name for the PDF file.
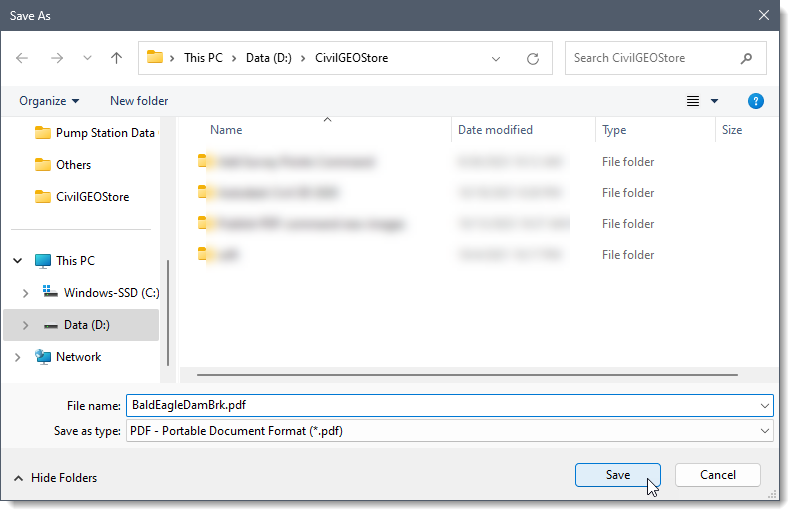
- The Publish PDF dialog box will be redisplayed, and the location for saving the PDF file will be displayed in the Export file field.
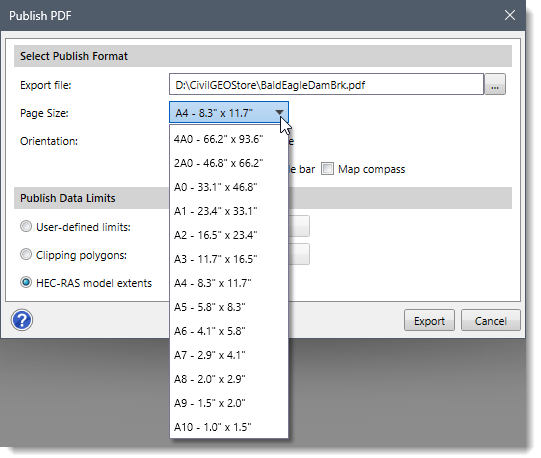
- From the Page size dropdown combo box, select the desired page dimensions for the PDF document. By choosing a specific page size, users can ensure that their content fits appropriately within the defined layout. The following page size options are available in the dropdown combo box entry.
- From the Orientation option, the user can choose the page orientation of a document. Two available radio button options are:
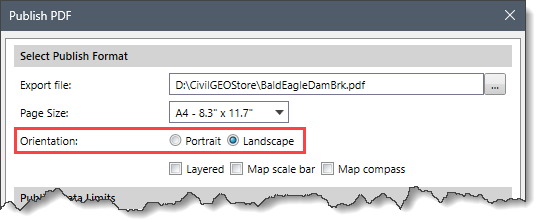
- Portrait
The content of the document is organized vertically, with the top and bottom margins being larger than the left and right margins.
- Landscape
The content of the document is organized horizontally, with the left and right margins being larger than the top and bottom margins.
- Check the following checkboxes to export the Map View data into a PDF file in different formats.
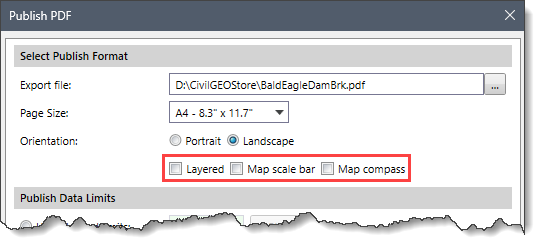
- Layered
This checkbox option is used to export all the layers loaded in the project as separate layers in the PDF file. By default, this checkbox is unchecked.
- Map scale bar
This checkbox option is used to include a map scale bar in the exported PDF file. By default, this checkbox is unchecked.
- Map compass
This checkbox option is used to include a compass rose in the exported PDF file. By default, this checkbox is unchecked.
- From the Publish Data Limits section, use one of the following options for defining the Map View graphics limits to be published:
- User-defined limits
This option allows the user to draw a rectangular extent for defining the graphics limits. Follow the steps below to use this option:
- Select the User-defined limits radio button option and click the [Pick] button.
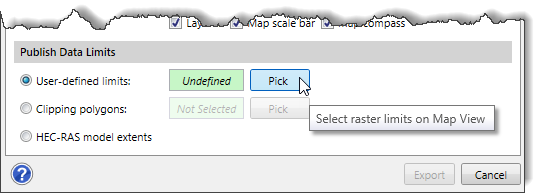
- The Publish PDF dialog box will temporarily disappear, and a prompt will be displayed on the status bar instructing the user to draw the rectangular extent.
- Click and drag the left mouse button to draw the rectangular extent.
- On releasing the mouse button, the Publish PDF dialog box will be redisplayed, and the status of the User-defined limits read-only field will be changed from Undefined to Defined.
- Clipping polygons
This option allows the user to select one or more existing polygons for defining the graphics limits. Follow the steps below to use this option:
- Select the Clipping polygons radio button option and click the [Pick] button.
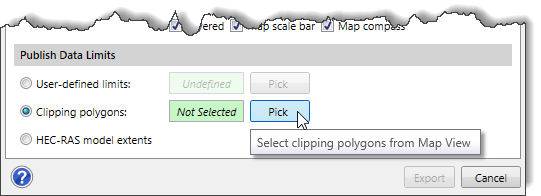
- The Publish PDF dialog box will temporarily disappear, and a prompt will be displayed on the status bar instructing the user to select the clipping polygons.
- Select the polygon(s) on the Map View. When all polygons have been selected, press the [Enter] key or right-click and select Done from the displayed context menu.
- The Publish PDF dialog box will be redisplayed, and the number of selected polygons will be displayed in the Clipping polygons read-only field.
- Model extents
Select this radio button option to use the model extents for defining the graphics limits. This option creates a bounding rectangular region to correspond to the extent of the defined model, plus an additional buffer boundary.
- When all the data have been defined, click the [Export] button, and the software will publish the Map View data into the PDF file at the selected location.
![[Export] button](/wp-content/uploads/sites/25/2023/10/Publish-PDF-Image-11.png)


