
Welcome to CivilGEO Knowledge Base
Welcome to CivilGEO Knowledge Base
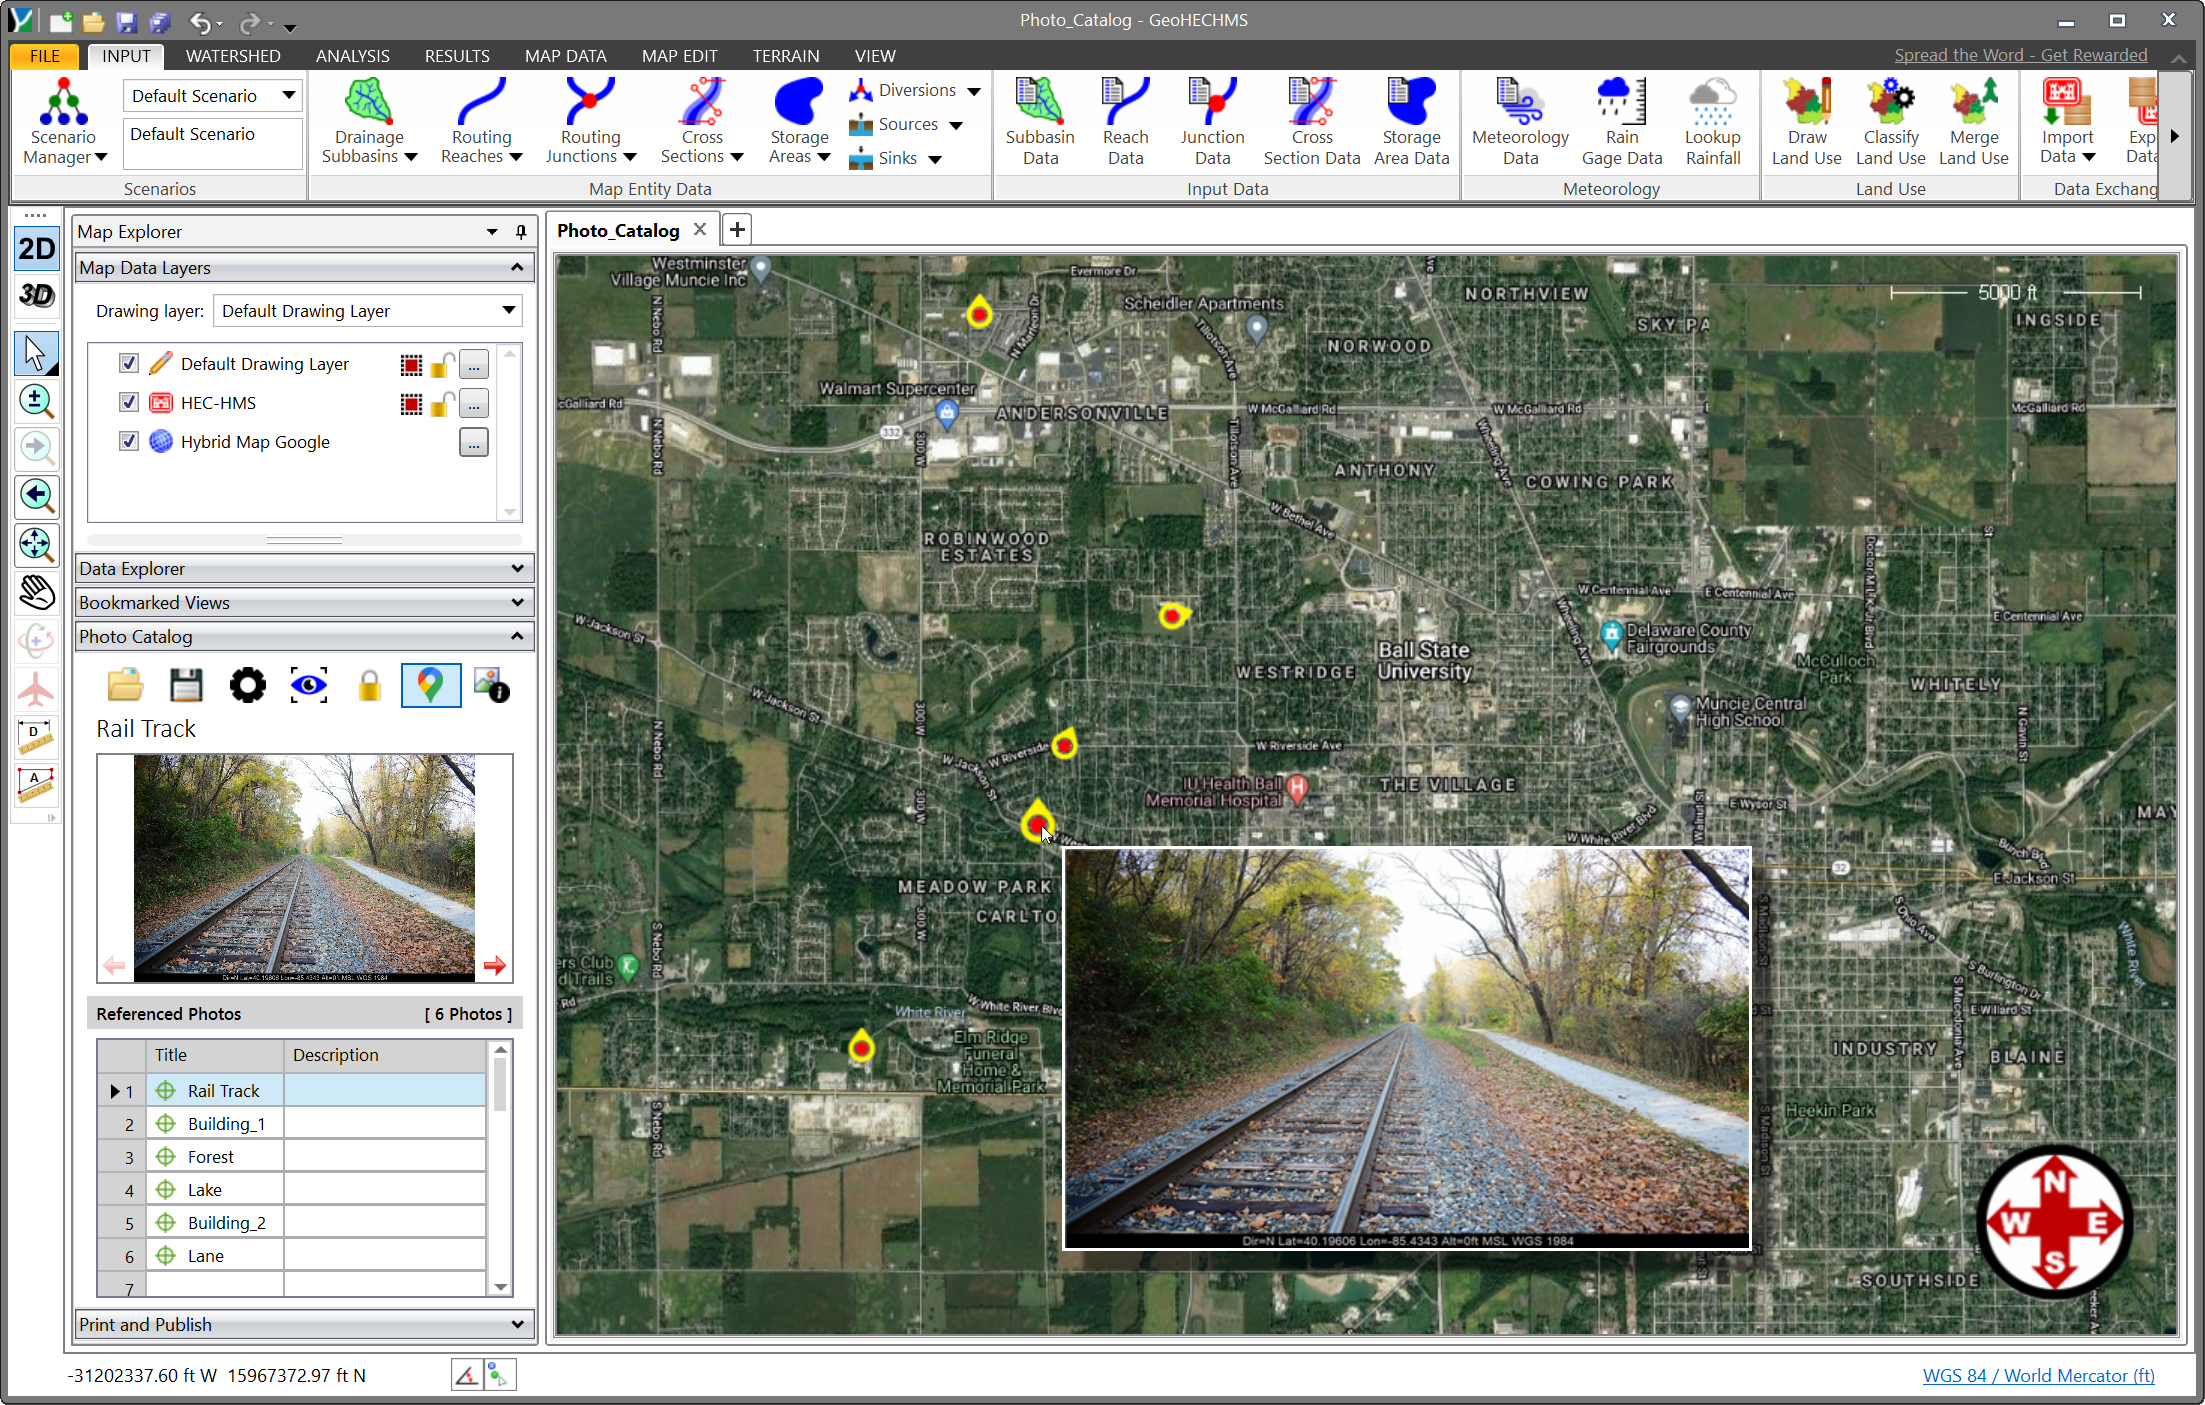
The Photo Catalog allows the user to add geotagged photographs to their engineering project. In addition, the Google Street View feature allows the user to add additional photos to the Photo Catalog. Photo indicators are shown on the Map View, showing the location and direction that the photo was taken. Hovering the mouse over the indicator shows a popup window showing the photo.
The Photo Catalog does not store the photos. Instead, it simply stores references to existing saved photos. It connects to the photographs using reference links to the file path or URL. Photos can be referenced from the following sources:
The Photo Catalog will then reference the file path or URL associated with the photograph.
Photos can be geotagged with the following information:
In addition, the following information can be imbedded into the photograph:
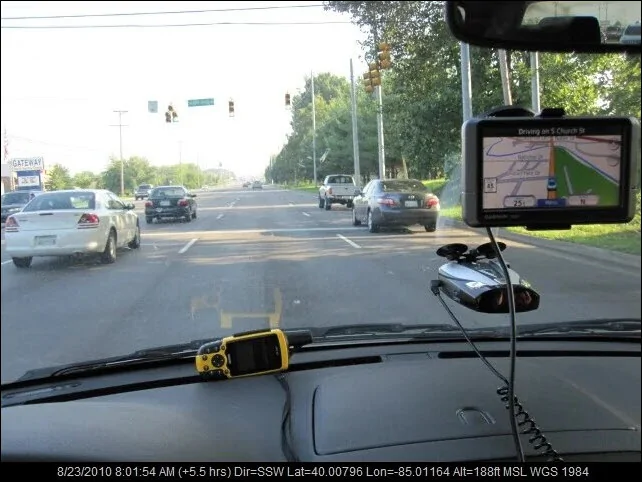 Example of a geotagged photo
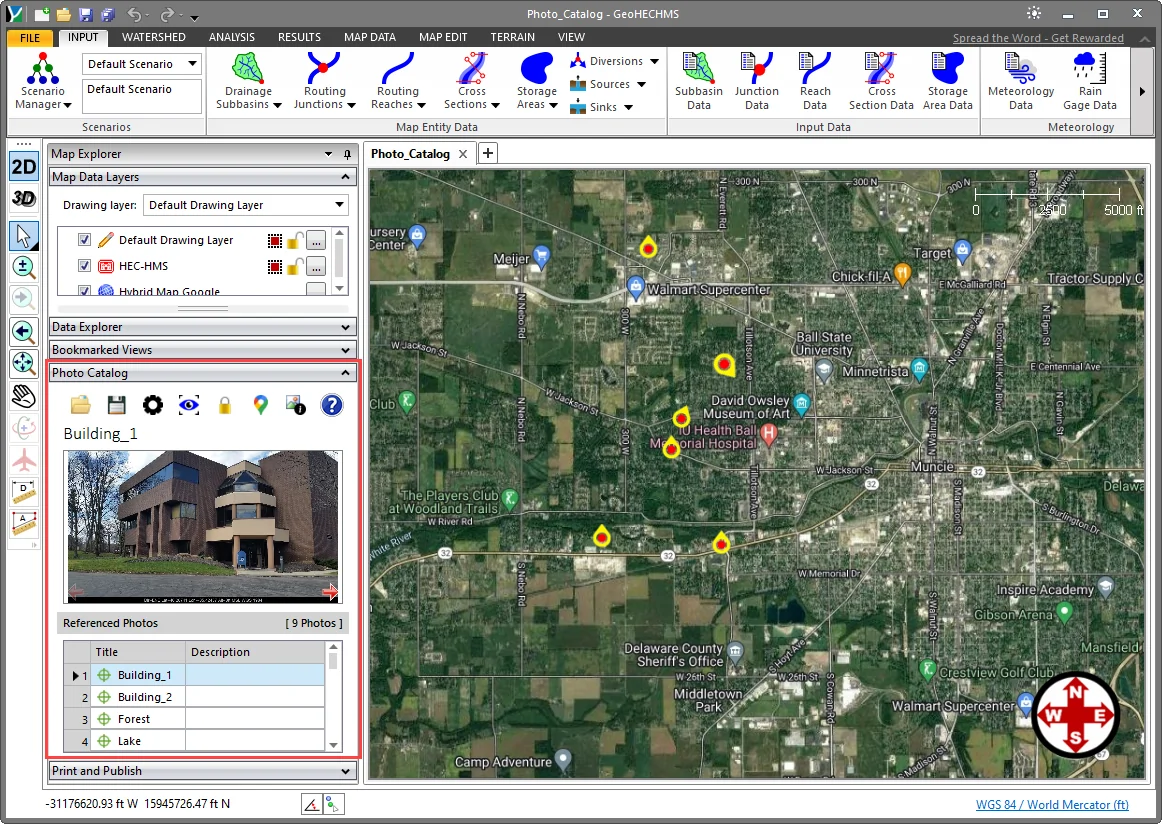
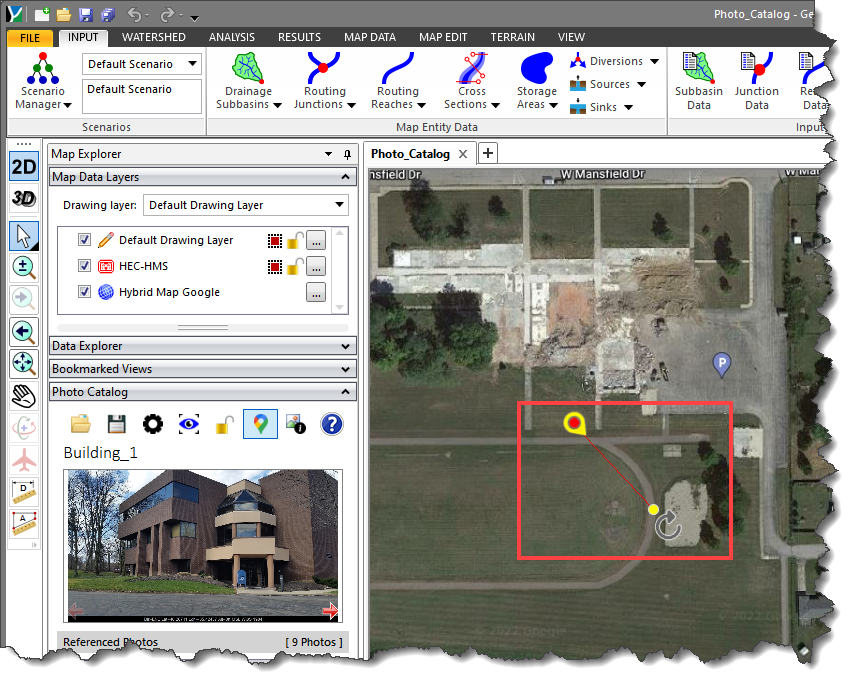
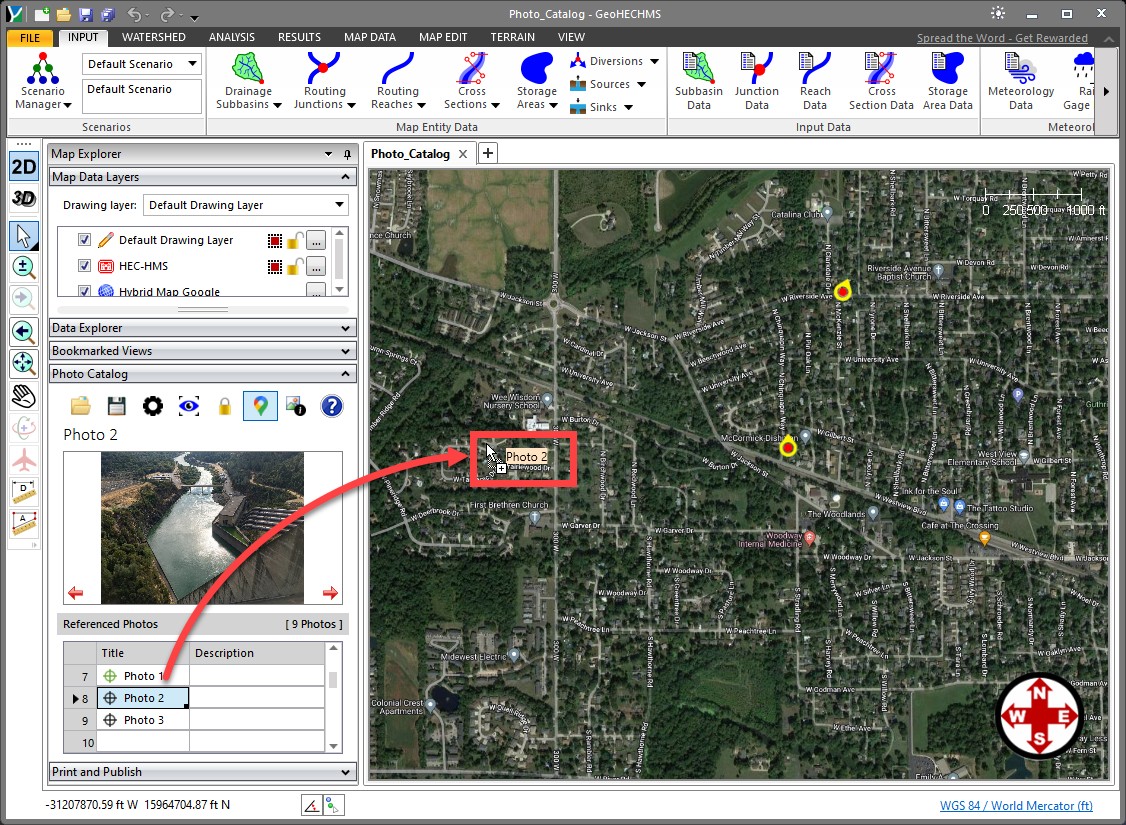
CivilGEO software has a dedicated section for Photo Catalog in the Map Explorer panel. Click on the Photo Catalog panel to expand.
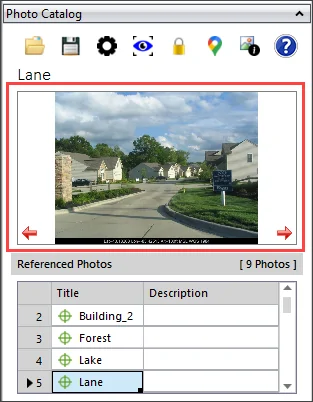
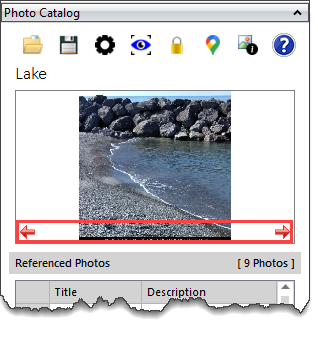
This window allows the user to preview the photo before referencing it onto the Map View. It will update with the photo selected by the user within the data grid.
This data grid lists all the photos that have been referenced in the project. It lists each photo’s title and description. It also contains a symbol (crosshair symbol) to indicate if the photo is georeferenced or not. The user can edit the photo’s title and description within the data grid.
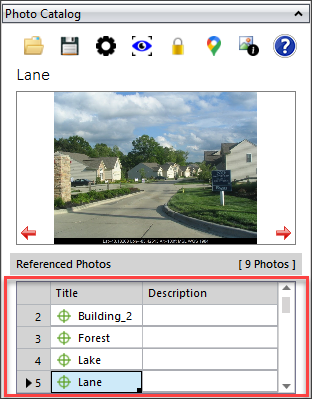 Clicking on a row within the data grid causes the Photo Preview window to update with the corresponding photo. Double clicking on the index column data row will cause the software to jump to the photo location on the Map View.
The Crosshair symbol indicates if the photo is georeferenced or not. If the symbol is green, then the photo is georeferenced. If the symbol is dark grey, then the photo is not georeferenced.
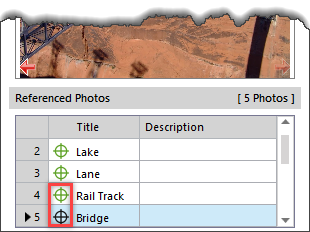
The photo title is displayed here. This title string is cropped to the available display space. If the photo does not have a title, then it has a default title of Photo ## where ## represents a photo count.

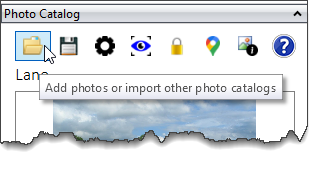
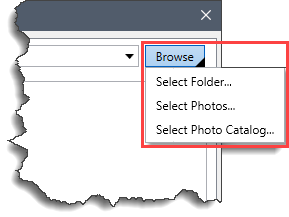
Follow the steps given below to select one or more photos to reference in the Photo Catalog.
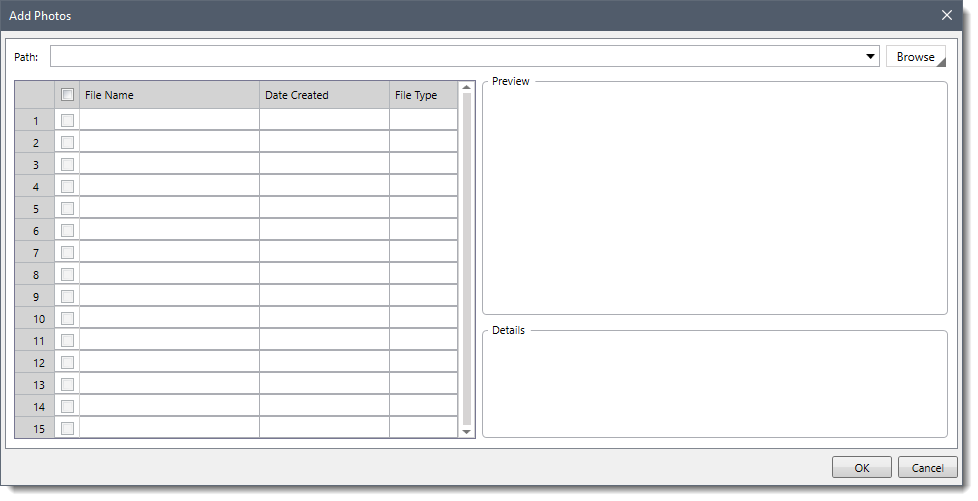
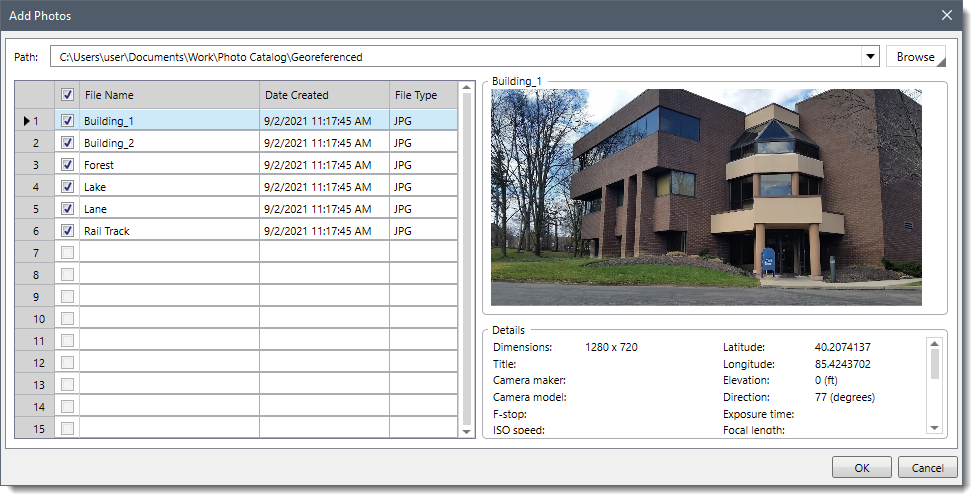 Note that both geotagged and non-geotagged photos can be loaded.
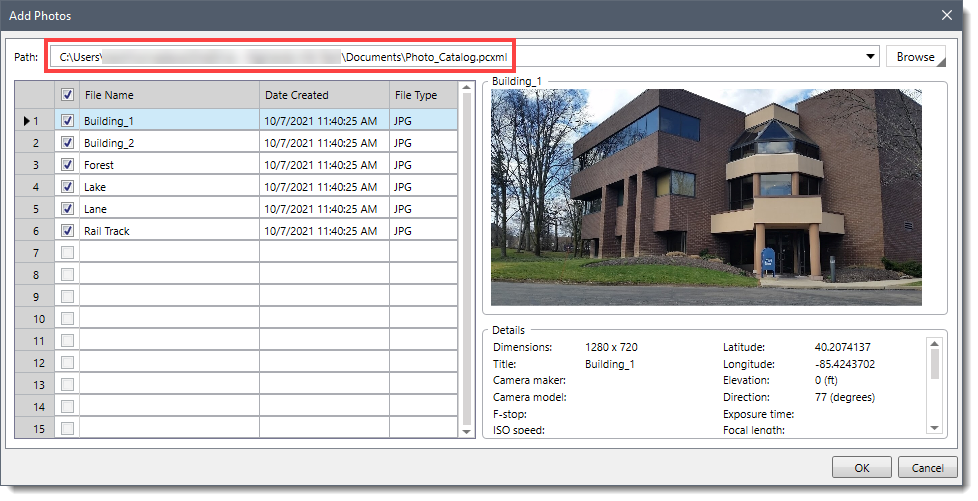
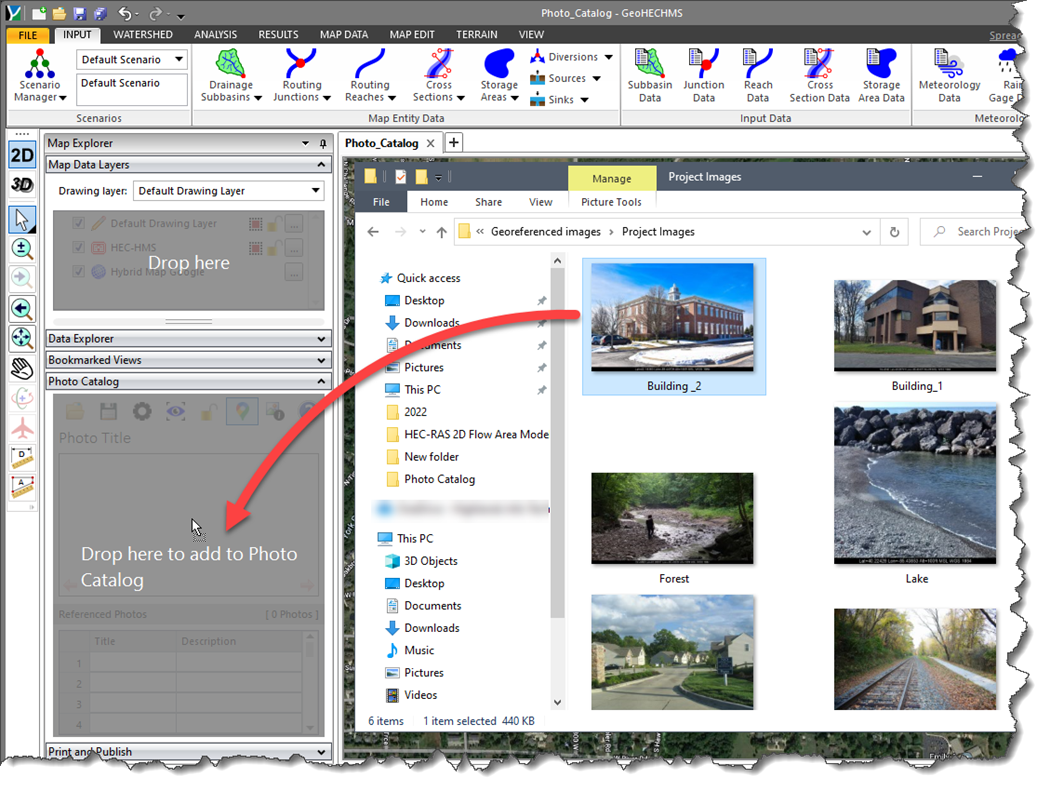 Note: The command also supports photos that are stored in cloud storage, such as Dropbox, Microsoft OneDrive, Google Drive, Google Photos, etc. The photos saved on the cloud storage can be dragged and dropped directly onto the Map View, and the software will then reference these photos in the Photo Catalog based on their geolocation data. The drag-and-drop functionality of photos only works when the corresponding desktop application of the cloud storage provider is installed on the computer. Issues can occur if the photo resides behind a firewall. In this case, select the publicly accessible link to the photo and use that as the path to the selected photo.
The Export Photo Catalog command allows the user to export out the referenced photos to a photo catalog file.
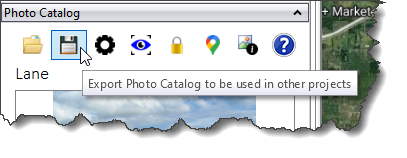 Clicking the Export Photo Catalog button causes the software to display an Export Photo Catalog dialog box, allowing the user to export the Photo Catalog to be used in another project.
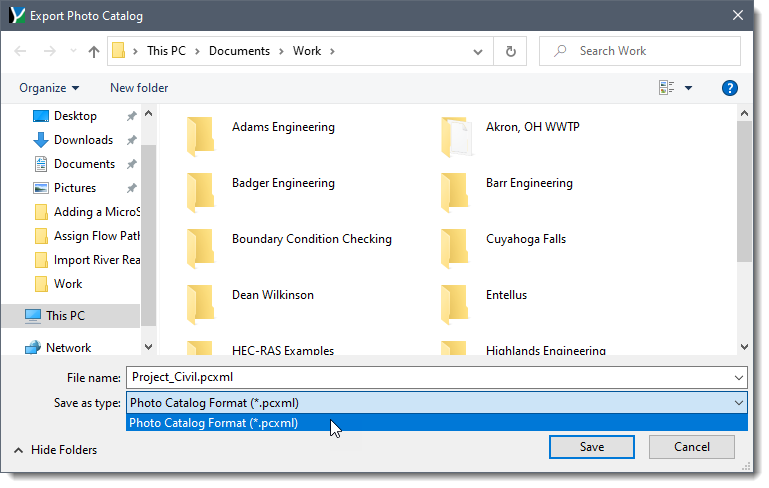 Note that the photo catalog will be saved with a *.pcxml file extension.
The Photo Catalog Options command allows the user to customize how the photo locations are represented on the Map View.
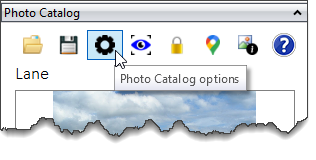 Clicking the Photo Catalog Options command causes the software to display the Photo Marker Options dialog box.
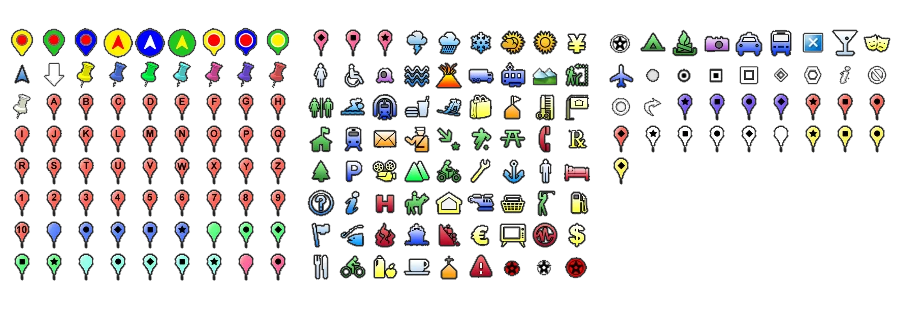
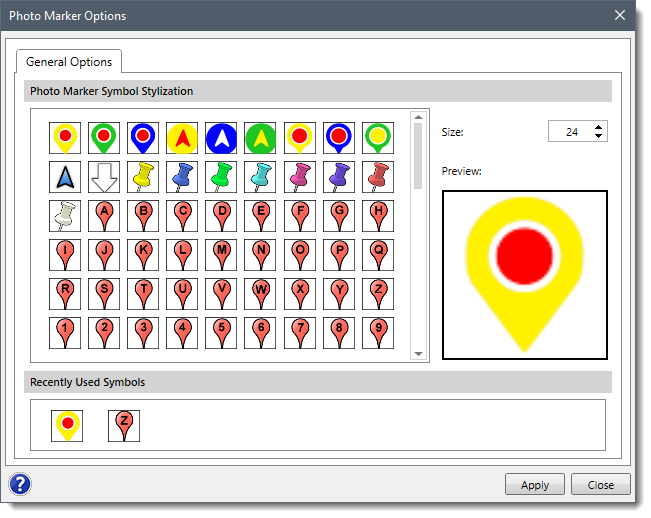 The Photo Marker Options dialog box allows the user to configure the photo marker symbol type and size to be displayed on the Map View. The user can use the scrolling panel in the Photo Marker Symbol Stylization section to choose from multiple marker symbols. Below are some of the marker symbols that our software provides.
 The user can see the preview of the selected symbol and adjust its size on the right side of the scrolling panel. Additionally, the recently used symbols are displayed in the Recently Used Symbols section.
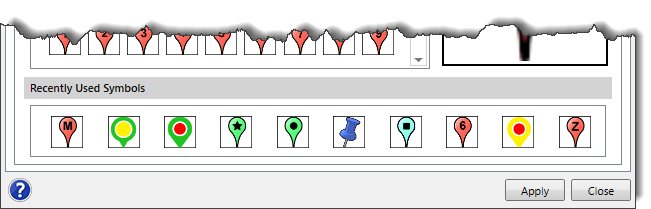
After selecting the desired photo marker symbol from the scrolling panel or from the Recently Used Symbols section, the user can click the [Apply] button.
The photo marker symbols are only displayed on the Map View at specific zoom levels, similar to how the software displays model element entities.
If the Map View is zoomed out too far, then the photo marker symbols are not displayed on the Map View.
Hovering the mouse cursor over a photo marker symbol on the Map View will cause a pop-up dialog box to show up over the marker symbol which displays the photo.
The user can multi-select photos from the Photo Catalog data grid and the software will highlight the corresponding photo marker symbols on the Map View.
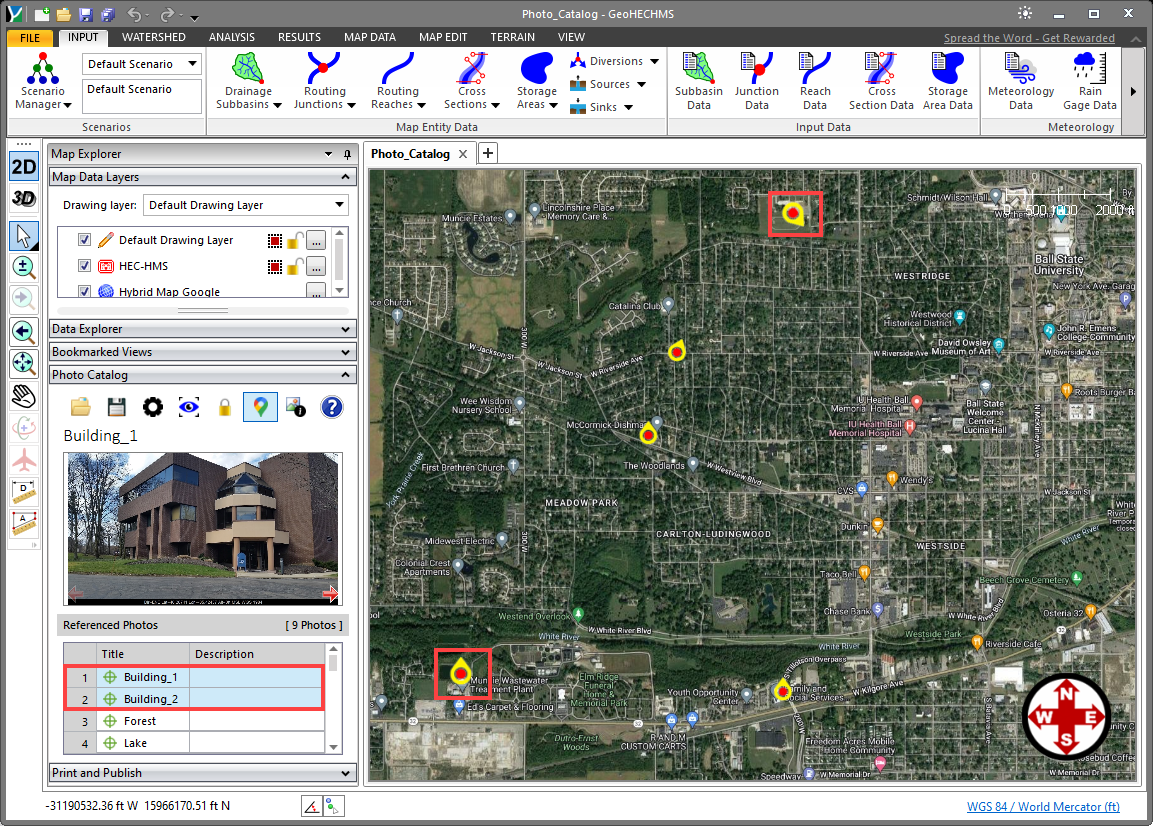
The software allows the user to rotate the photo marker on the Map View to define the photo view direction. The photo marker symbol must be unlocked to rotate it on the Map View.
Follow the steps below to rotate a photo marker on the Map View:
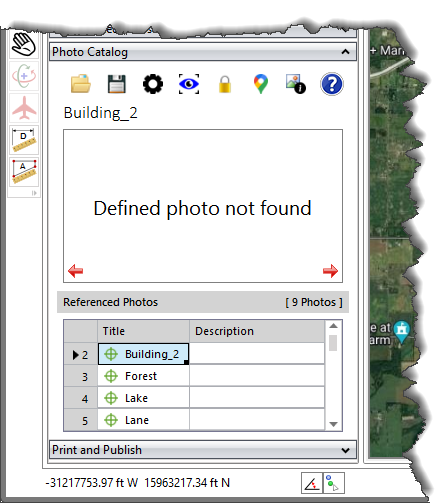
If the user clicks on a photo marker symbol from the Photo Catalog and the defined photo is not available (i.e., missing), an informational message “Defined photo not found” is displayed where the photo is normally displayed.
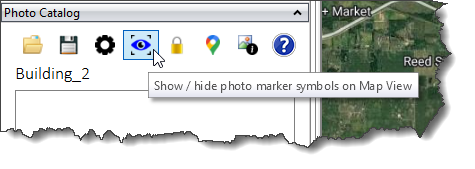
The Show / Hide Photo Markers button controls the visibility of the photo marker symbols on the Map View. It toggles from ON and OFF, with ON as the default setting. However, the software remembers this setting at a project level. Therefore, if multiple projects are loaded, each project can have its own photo marker display setting.
The Lock / Unlock Photo Markers command locks and unlocks the position of photo marker symbols on the Map View.
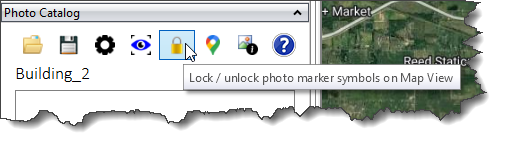 Initially, the photo marker symbol positions are locked on the Map View. However, unlocking the photo markers allows the user to:
When the Photo Catalog panel is collapsed, the photo marker symbols are automatically locked and cannot be moved about on the Map View.
The locations of the photo marker symbols can be moved without unlocking them by using the Photo Details dialog box.
The Jump To Photo Marker command causes the software to jump to the selected photo location on the Map View.
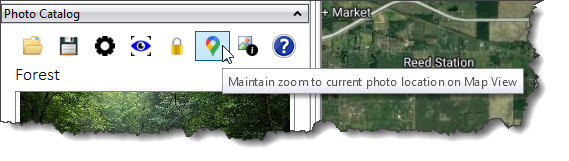 Clicking on the Jump To Photo Marker command also causes the Map View to be centered over the selected photo at an equivalent zoom level. For example, if the Map View is already at a zoom level when displaying the photo marker symbols, then the zoom level remains unchanged. However, if the Map View is zoomed out too far to display the photo marker symbols, then the Map View is zoomed into a zoom level that causes the photo marker symbols to be displayed and the photo marker symbol to be centered on the display.
If the selected photo is not georeferenced, then this command is disabled (i.e., grayed out).
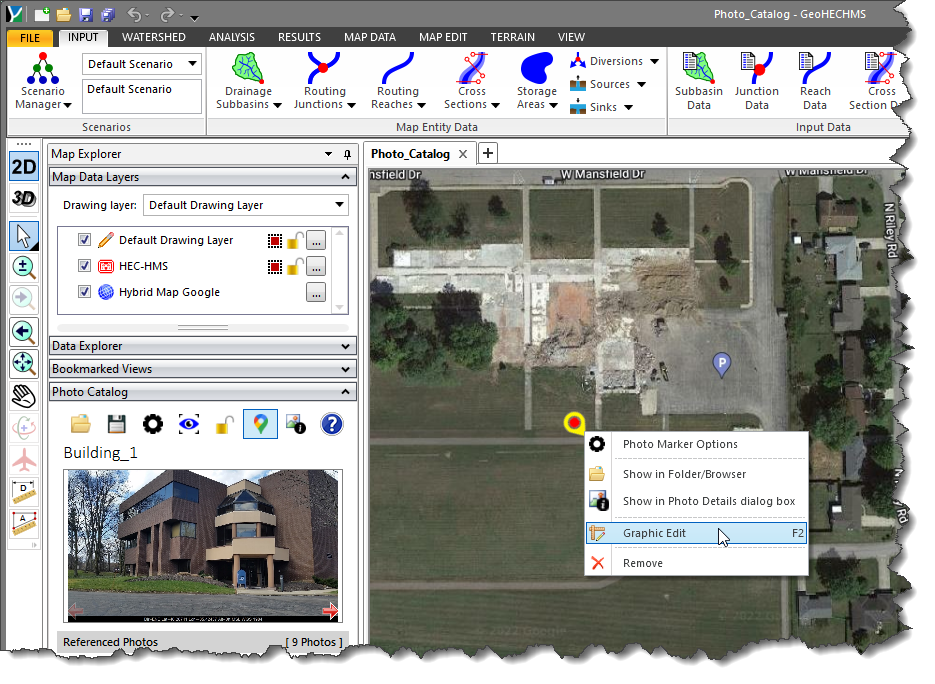
The Photo Details command allows the user to see more information for each photo.
 Clicking the Photo Details command will display the Photo Details dialog box.
 Alternatively, the user can also click on the photo in the Photo Catalog to display the corresponding Photo Details dialog box.
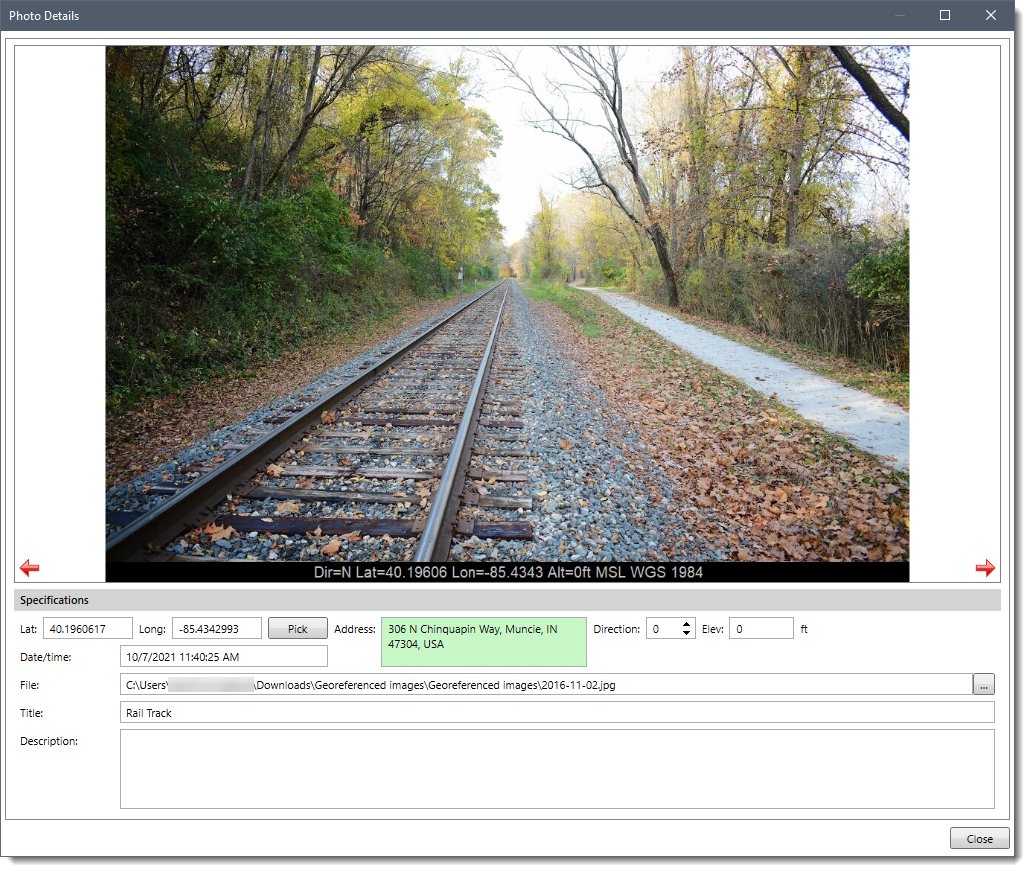
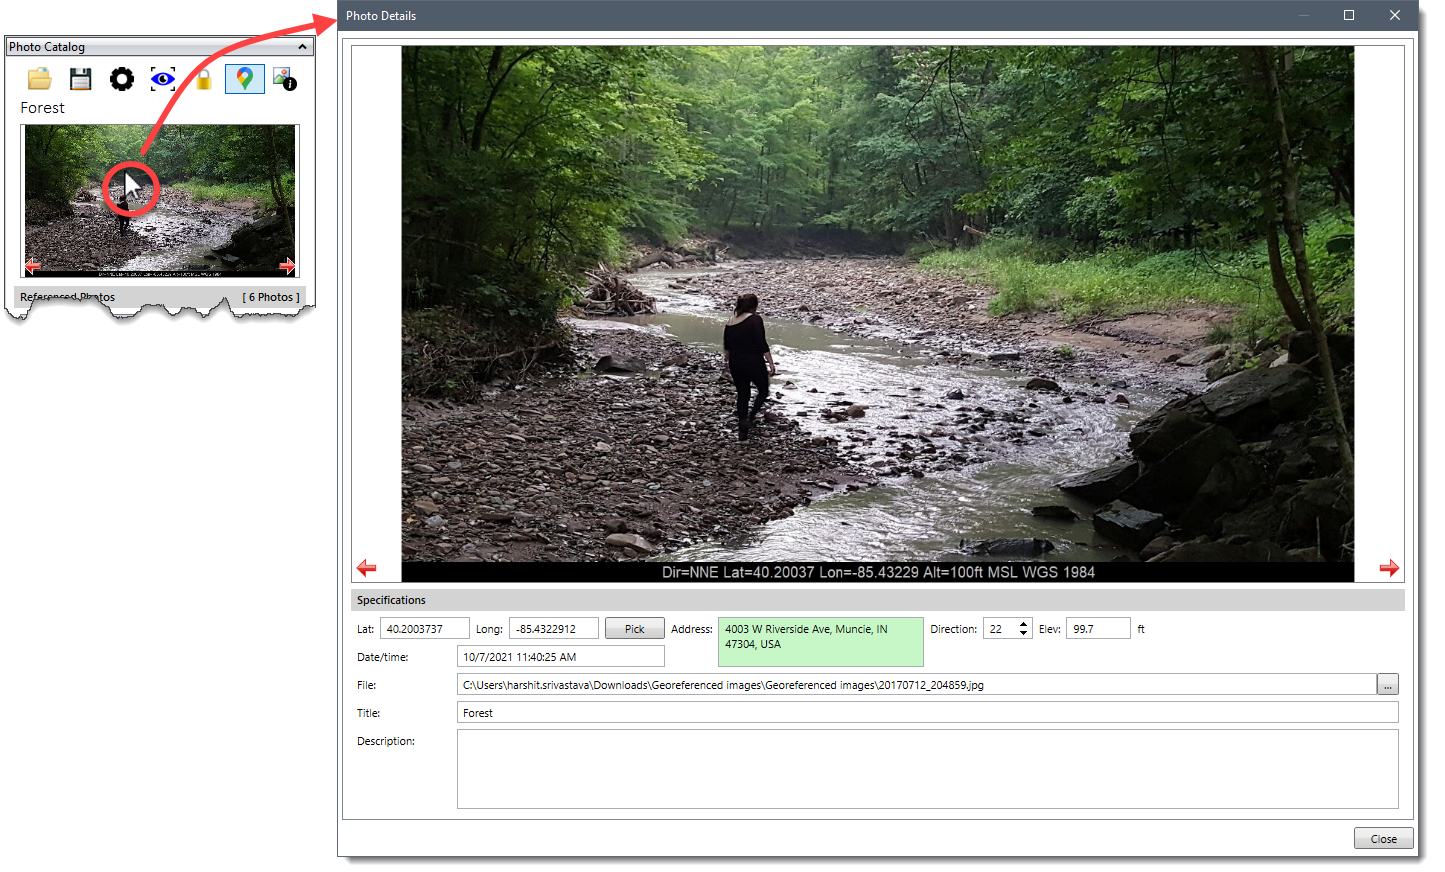 The Photo Details dialog box allows the user to interact with the photos in a modeless, resizable dialog box, showing additional details about the photo as well as seeing a higher-resolution, larger version of the photo. This dialog box is tied to the current project. Switching between projects causes the dialog box to disappear and reappear, depending upon its view state for each project. When the user navigates the photos from the Photo Details dialog box, then the software will also redirect the user to the corresponding image on the Map View.
The Photo Details dialog box provides a [Pick] button, allowing the user to change the Map View location of the corresponding photo marker displayed on the Map View. Updating the location of the photo marker on the Map View also updates the latitude and longitude location detailed in the Photo Details dialog box.
The Photo Details dialog box can run independent of whether the Photo Catalog is displayed.
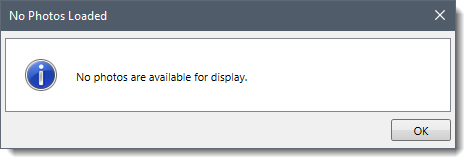
If there are no photos loaded and the user requests to display the Photo Details dialog box, then the following informational dialog box is displayed.
The left and right arrows adjacent to the displayed photo allow the user to navigate backward and forward through the referenced photos. When viewing the first or last photo within the list, the corresponding navigation arrow is disabled (i.e., grayed out).
 Note that in both the Photo Catalog and the Photo Details dialog box, pressing Ctrl+Shift+N will move the view to the Next photo, and pressing Ctrl+Shift+P will move the view to the Previous photo. In the Photo Details dialog box, clicking on the Keyboard’s left and right arrow keys will cause the software to move backward and forward through the referenced photos.
The Google Street View command allows the user to add the current Google Street View image to Photo Catalog as photos. Clicking on the camera icon, as shown below, will automatically store the current Google Street View image in a folder named “Photos” contained in the project folder. When capturing this photo, the photo name will automatically be created. Additional information that can be retrieved from that Google Street location, such as address, can be stored as metadata with the photo.
The geolocation and camera direction will also be stored, and the photo will be added to the Photo Catalog.
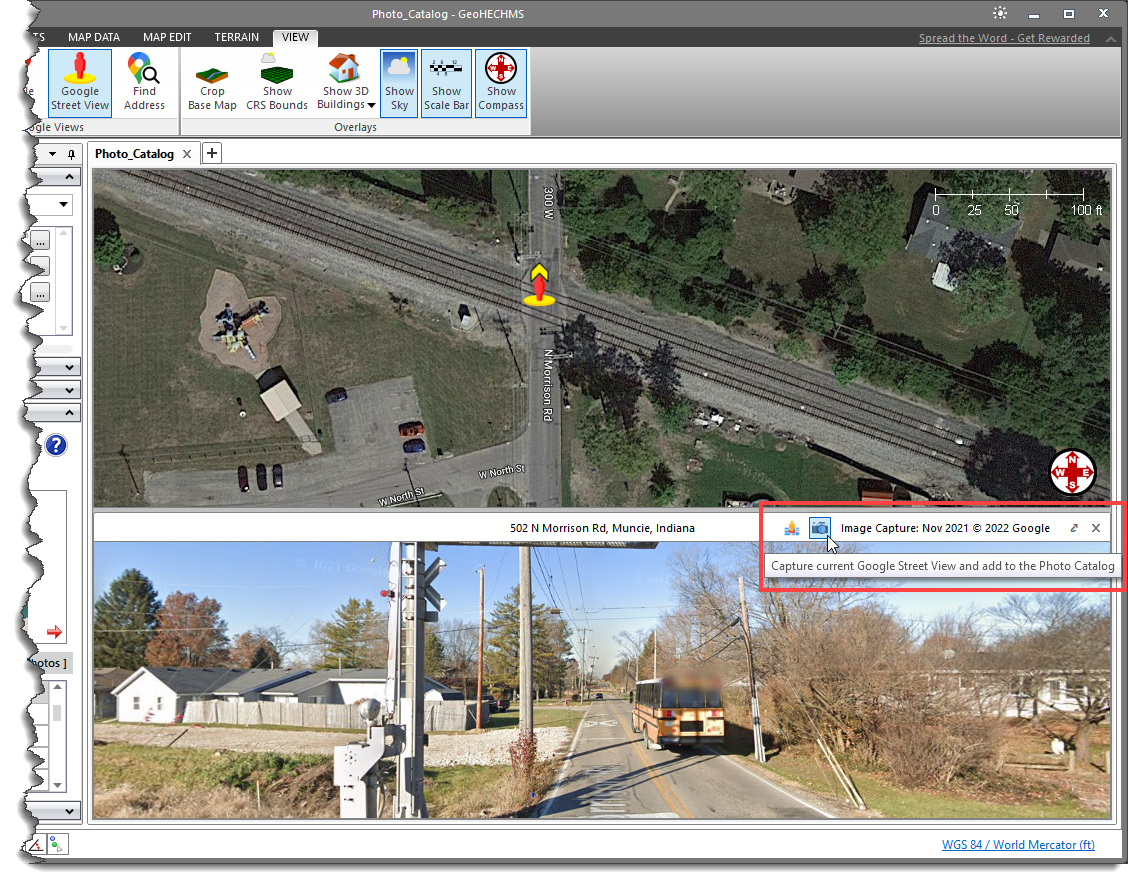 Note that the project needs to be saved before running the capture image command.
Many times, photos taken at a development or construction site are not georeferenced. However, there is great value to georeferencing these photos for context and design review.
Follow the steps given below to georeference a photo:
Alternatively, the user can display the Photo Details dialog box and georeference the photo using the [Pick] command.
If you need any further assistance, feel free to contact our technical support team. They will be glad to assist you.


CivilGEO G2 Reviews
4.8/5.0 Rating, Over 230 Reviews

GeoHECRAS is recognized as the top Civil Engineering Design Software with an average of 4.8 out of 5.0 rating from over 230 real user reviews on G2.


We use cookies to give you the best online experience. By agreeing you accept the use of cookies in accordance with our cookie policy.
When you visit any web site, it may store or retrieve information on your browser, mostly in the form of cookies. Control your personal Cookie Services here.


