
Welcome to CivilGEO Knowledge Base
Welcome to CivilGEO Knowledge Base
Our software is available as a Node-Locked Workstation License, Floating Network License, or Cloud License.
To get a Floating Network License to work within a local area network (LAN) environment, you first need a computer within the network that can be used as a Network License Server. The Network License Server manages the check-out and check-in of floating network licenses on the network. The Network License Server runs as a Windows service on the computer that it is installed on.
The computer that the Network License Server is installed on can be any kind of computer (i.e., workstation or server), but must be assigned a static IP address for the software to find the Network License Server.
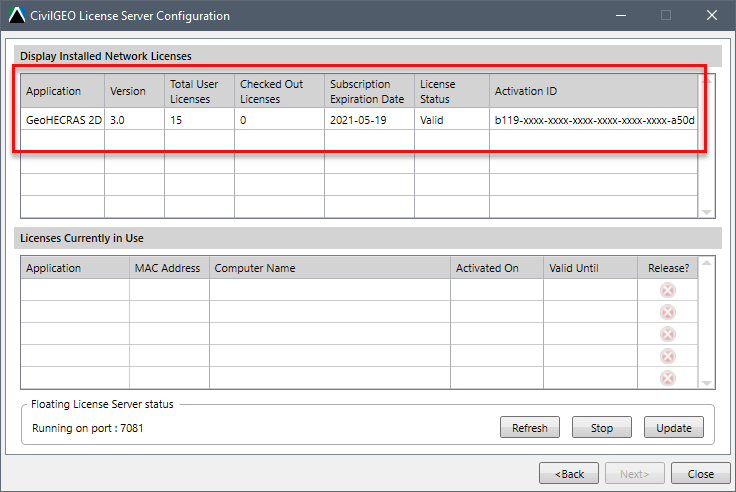
To get the Network License Server software for your floating network license, you need to receive an email from the CivilGEO Licensing Team or CivilGEO Licensing Portal. This email contains an Activation ID and a link to download the License Server Configuration software.
Note that the user can also download the License Server Configuration software from the CivilGEO Licensing Portal. Refer to this article in our knowledge base on how to download the license server configuration software.
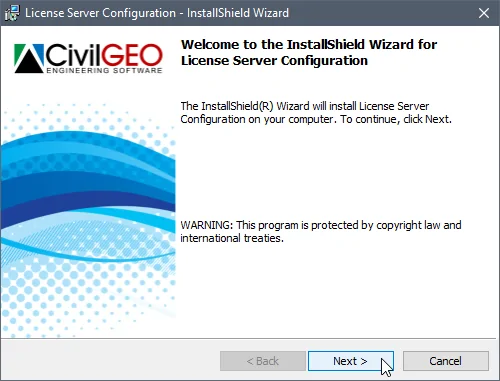
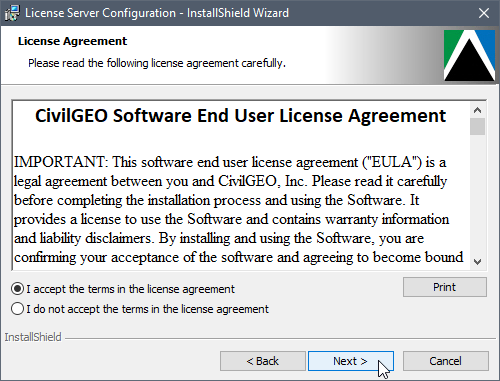
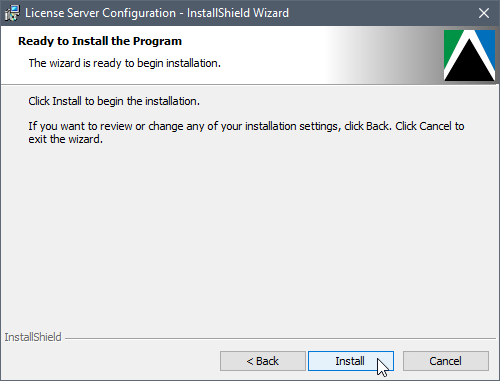
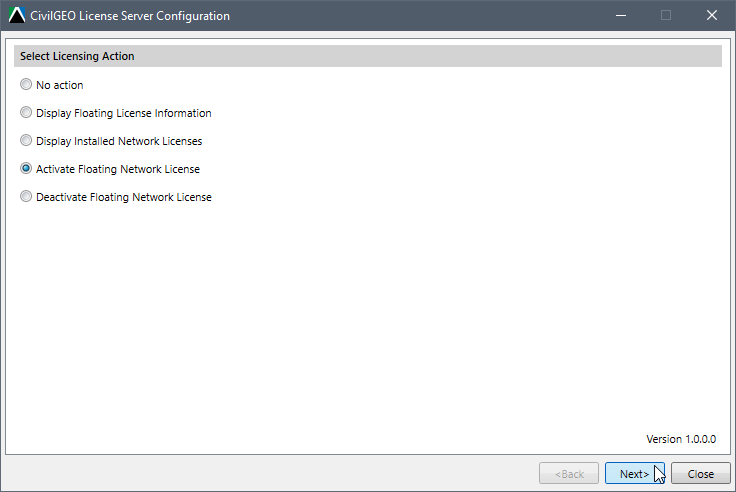
Once you have received the email, follow the steps below:
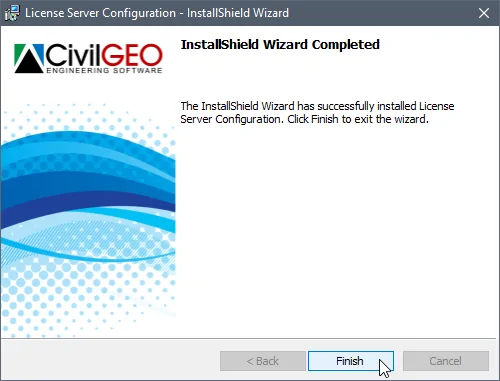

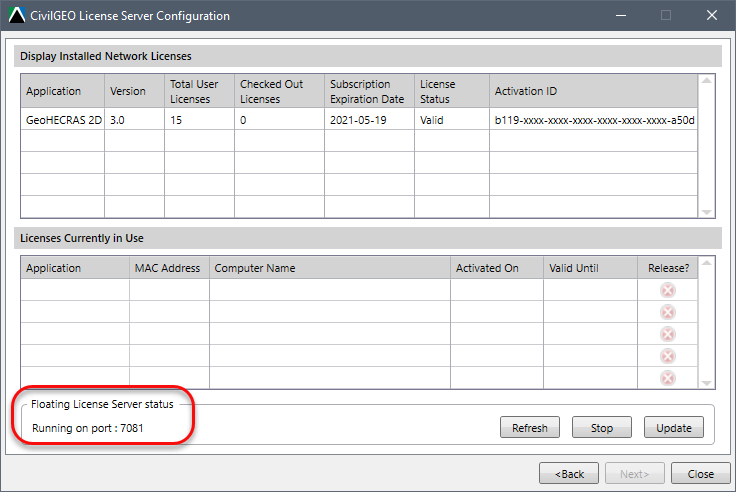
Once the installation has successfully finished, the Network License Server will be automatically updated as Running within Microsoft Windows Services. To verify the Network License Server status, follow the steps below:

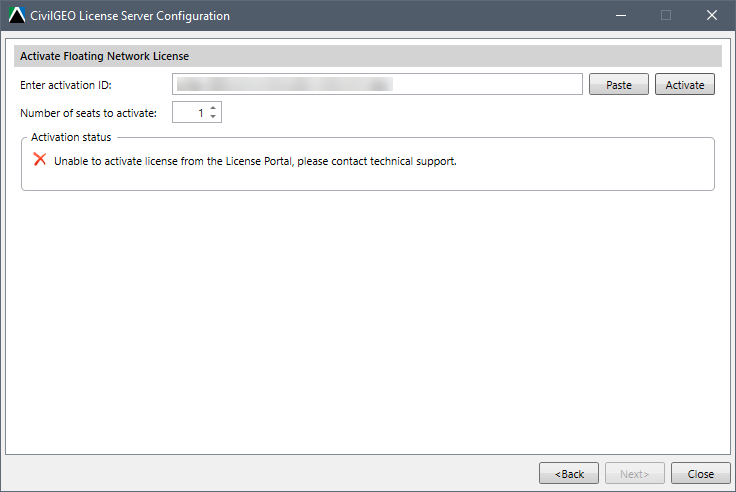
If you are still having issues, contact our technical support. They will be glad to assist you further.
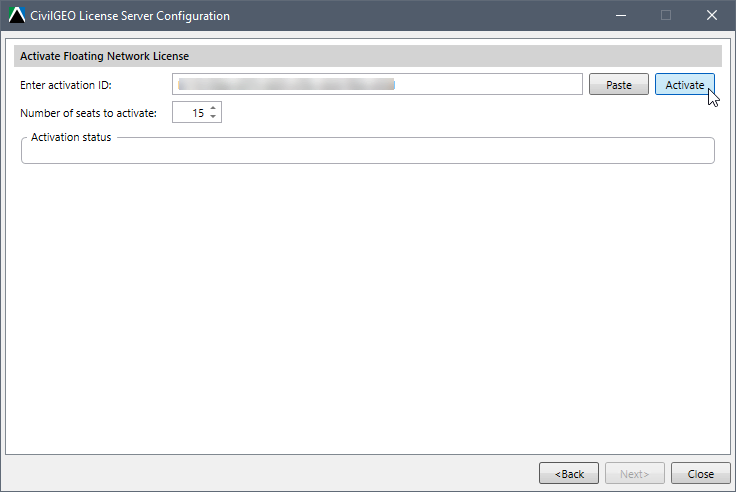
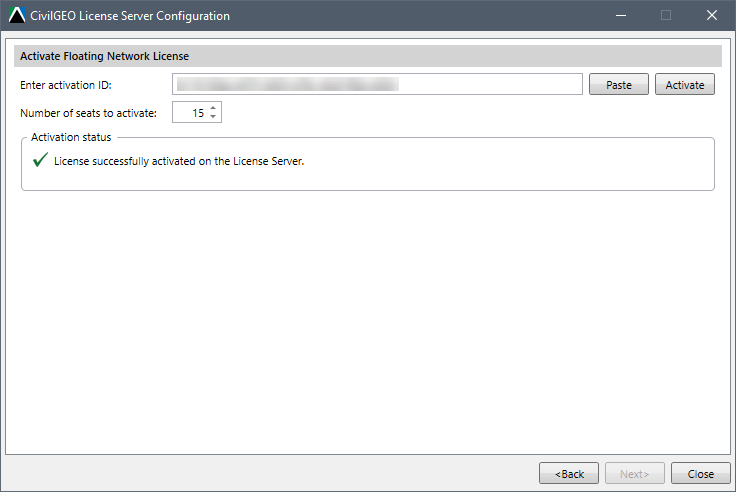
The next step is to Activate a Product Network License.


CivilGEO G2 Reviews
4.8/5.0 Rating, Over 230 Reviews

GeoHECRAS is recognized as the top Civil Engineering Design Software with an average of 4.8 out of 5.0 rating from over 230 real user reviews on G2.


We use cookies to give you the best online experience. By agreeing you accept the use of cookies in accordance with our cookie policy.
When you visit any web site, it may store or retrieve information on your browser, mostly in the form of cookies. Control your personal Cookie Services here.


