
Welcome to CivilGEO Knowledge Base
Welcome to CivilGEO Knowledge Base
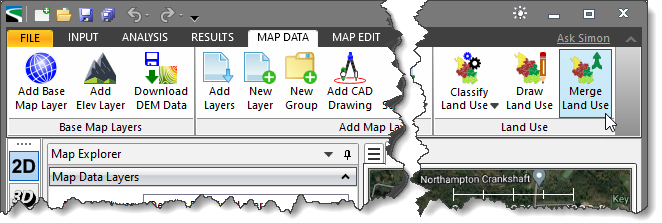
The Merge Land Use command allows the user to merge two or more land use layers into a single land use layer.
Multiple land use layers may create issues during the course of a modeling exercise, which is why the user may want to merge multiple layers together into one integrated surface layer. For example, although one land use layer could contain the general area map coverage created using the Classify Land Use command, this command will not likely capture an accurate land use map of an urban area contained within the area being processed. Under these circumstances, the user would be advised to use the Draw Land Use command. However, since the Classify Land Use command already analyzed the entire area, the user would not be able to use the base map and “draw” regions of different land use polygons within the urban area. In this situation, the solution would be for the user to create two land use layers—one layer that was created using the automated Classify Land Use command and another layer that was more detailed and developed manually using the Draw Land Use command. The user can then use the Merge Land Use command to merge these two layers.
Refer to Draw Land Use and Classify Land Use command articles in our knowledge base to learn more.
Follow the steps given below to merge two or more land use layers using the Merge Land Use command:
The following sections describe how to use the Merge Land Use command and interact with the above dialog box.
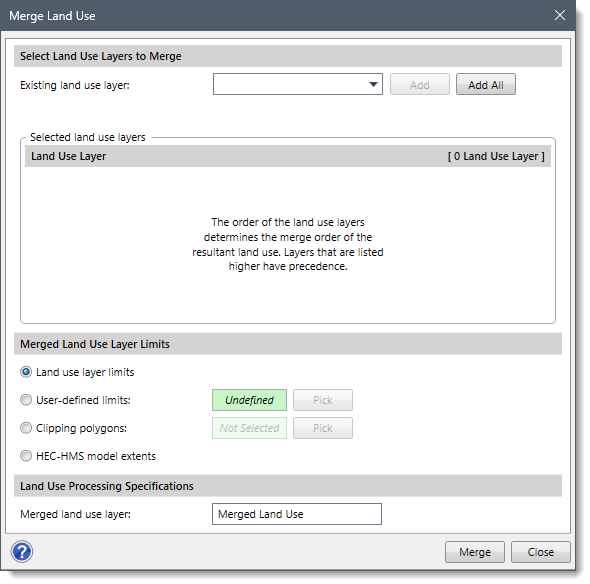
The Select Land Use Layers to Merge section controls the selection of land use layers to be merged into a single layer.
From the Existing land use layer dropdown combo box, select the land use layers, one at a time, which need to be merged, and click the [Add] button. The selected land use layer will be added to the table listing the land use layers to be merged. Clicking the [Add All] button will add all the available land use layers in the dropdown combo box to the table.
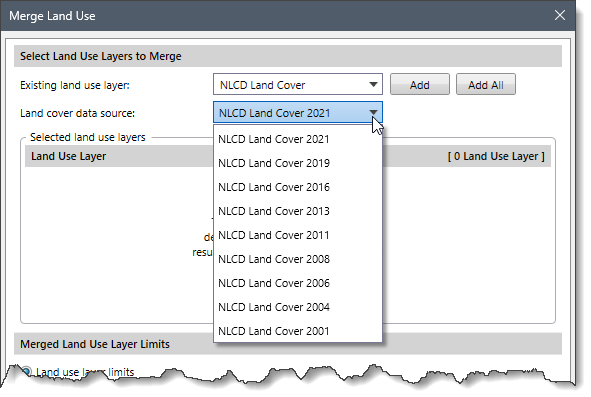
The Layer cover data source dropdown combo box allows the user to select which land use data source to utilize for the merged layer. By default, the software selects the latest land use data. Note that this dropdown option is available only when the Land Cover layer is selected in the Existing land use layer dropdown combo box.
The following options are available in the dropdown combo box:
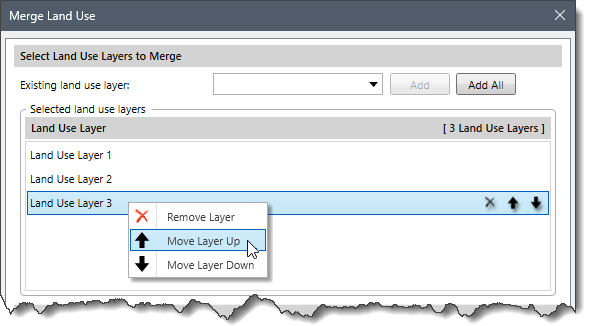
To change the merge order of the listed land use layers, select the appropriate row and right-click to display a context menu. Then, select the Move Layer Up or Move Layer Down context menu command to change the merge order of the highlighted land use layer. Layers that are higher in the listing have precedence over layers that appear lower in the list.
This section allows the user to define the rectangular extents of the merged land use layer using the criteria described below. The following options are available to define the rectangular extents of the merged land use layer:
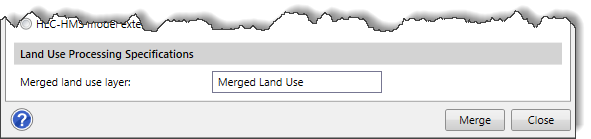
This section allows the user to specify the new land user layer name in the Merged land user layer entry field. The software sets “Merged Land Use” as the default name for the merged layer, which can be changed by the user.
After all the options have been defined, click the [Merge] button and the software will merge the land use layers into a new land user layer and load the layer into the Map Data Layers panel.


CivilGEO G2 Reviews
4.8/5.0 Rating, Over 230 Reviews

GeoHECRAS is recognized as the top Civil Engineering Design Software with an average of 4.8 out of 5.0 rating from over 230 real user reviews on G2.


We use cookies to give you the best online experience. By agreeing you accept the use of cookies in accordance with our cookie policy.
When you visit any web site, it may store or retrieve information on your browser, mostly in the form of cookies. Control your personal Cookie Services here.


