
Welcome to CivilGEO Knowledge Base
Welcome to CivilGEO Knowledge Base
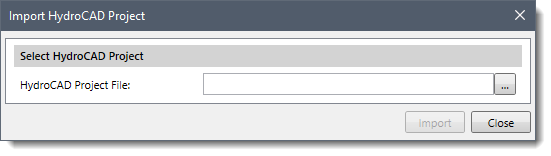
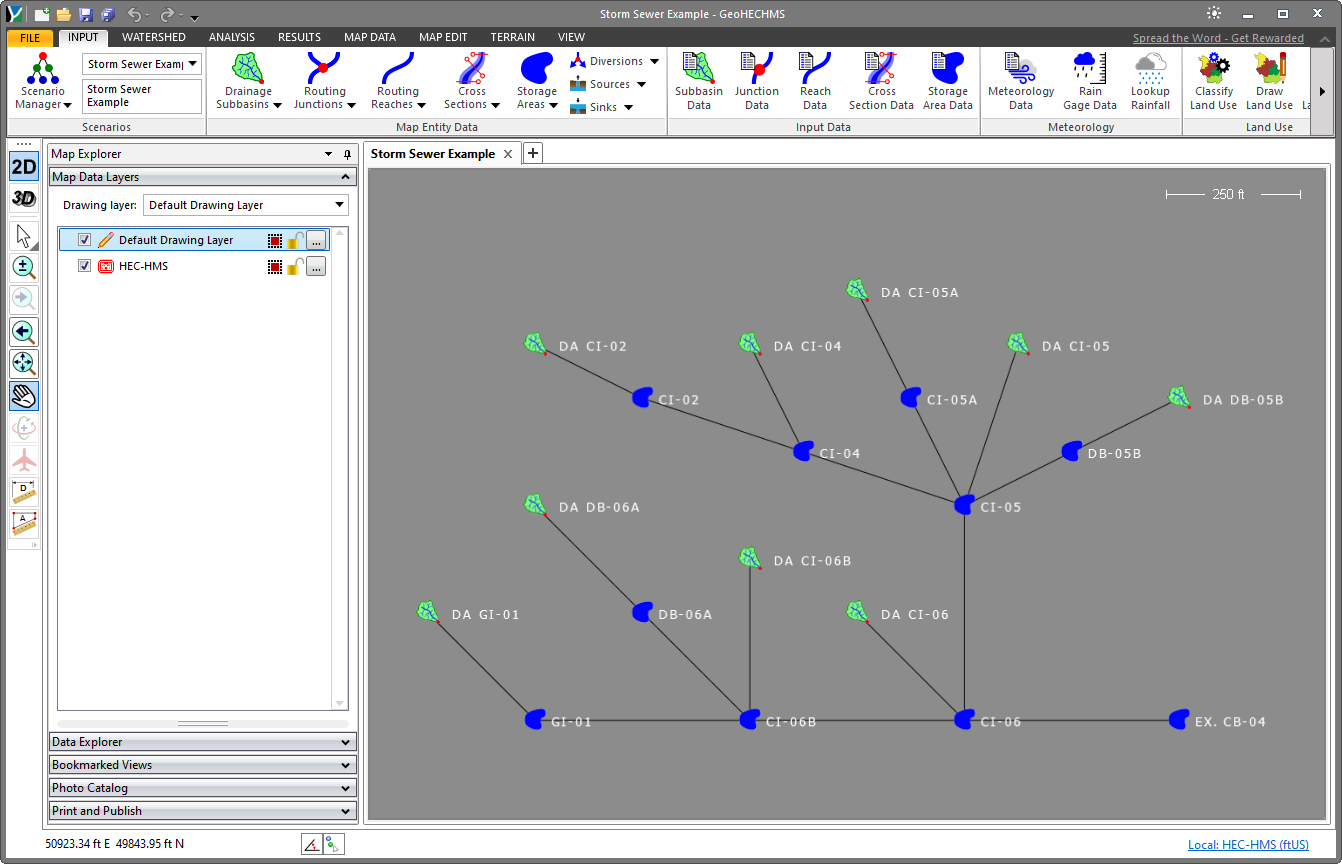
The Import HydroCAD Project command allows the user to import HydroCAD input data files to a GeoHECHMS Project.
A HydroCAD model is represented by a network of the following types of nodes:
The following table details the conversions that will occur when importing HydroCAD input data files to a GeoHECHMS project.
| HydroCAD Nodes | GeoHECHMS Elements | |
|---|---|---|
| Subcatchment | Subbasin | |
| Reach | Reach | |
| Pond | Storage Area | |
| Link | Internal (use only diagram inflows) | Junction |
| Enter hydrograph manually | Source | |
| Import hydrograph from a file or from another project | ||
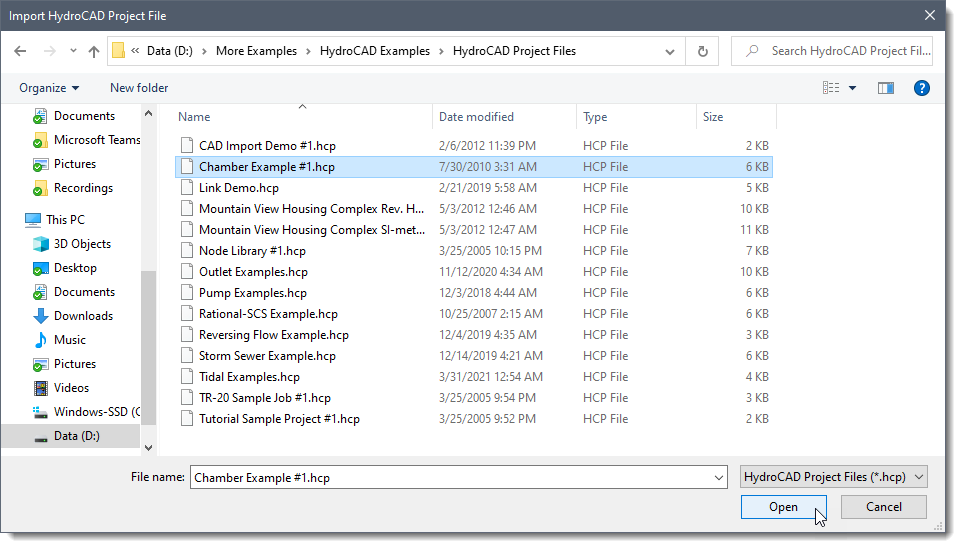
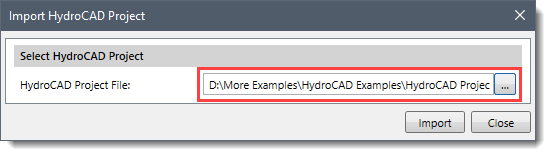
Follow the steps below to use the Import HydroCAD Project command:


CivilGEO G2 Reviews
4.8/5.0 Rating, Over 230 Reviews

GeoHECRAS is recognized as the top Civil Engineering Design Software with an average of 4.8 out of 5.0 rating from over 230 real user reviews on G2.


We use cookies to give you the best online experience. By agreeing you accept the use of cookies in accordance with our cookie policy.
When you visit any web site, it may store or retrieve information on your browser, mostly in the form of cookies. Control your personal Cookie Services here.


