
Welcome to CivilGEO Knowledge Base
Welcome to CivilGEO Knowledge Base
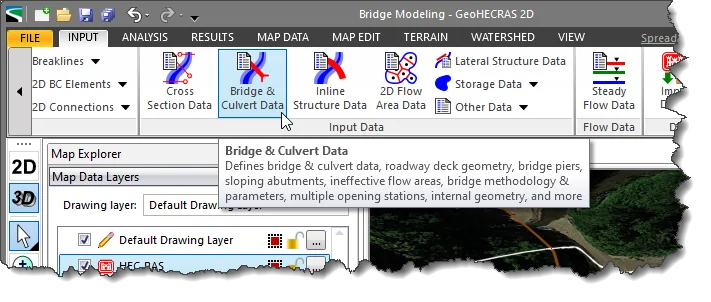
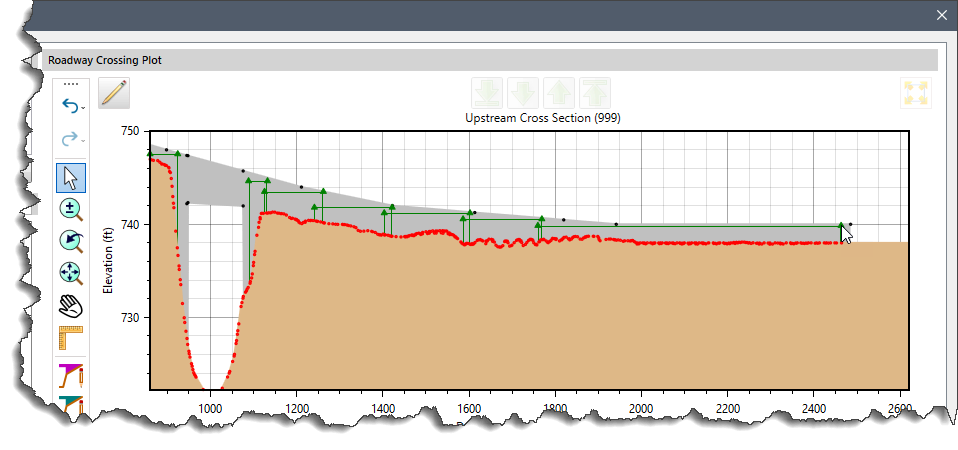
In GeoHECRAS, the graphical editing area of the Bridge & Culvert Data dialog box allows the user to graphically modify roadway geometry. The user can interactively modify the bridge deck, sloping abutments, and bridge piers and view the changes in real-time on the graphical plot. This improves productivity by providing options to easily build and edit HEC-RAS models. The user can build more accurate HEC-RAS models and easily perform a comparison between different engineering models such as existing and proposed bridges.
To graphically edit the roadway crossing geometry, follow these steps:
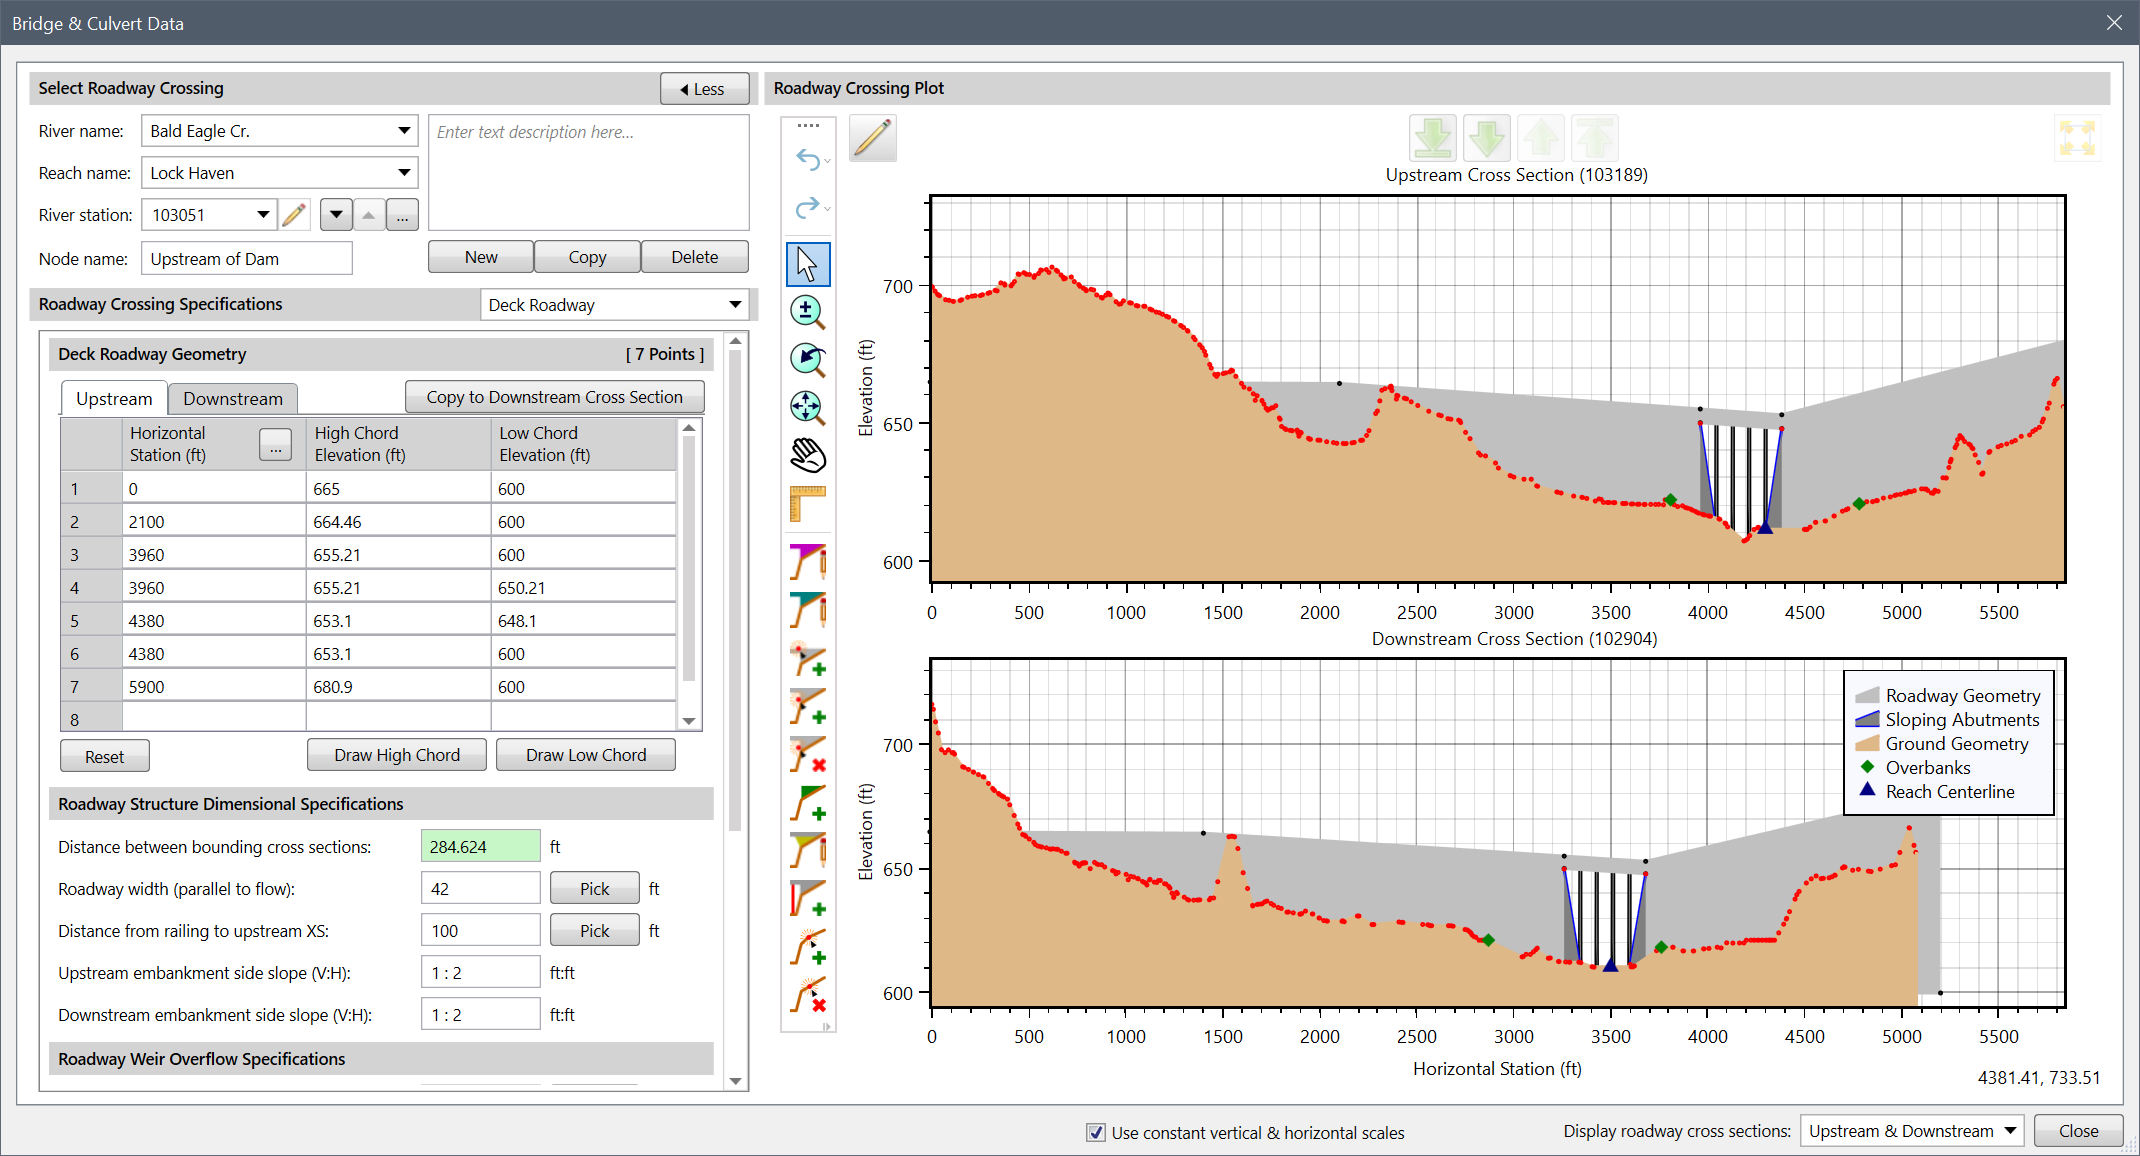
The following sections describe how to edit the roadway crossing geometry using various tools in the Roadway Crossing Plot section.
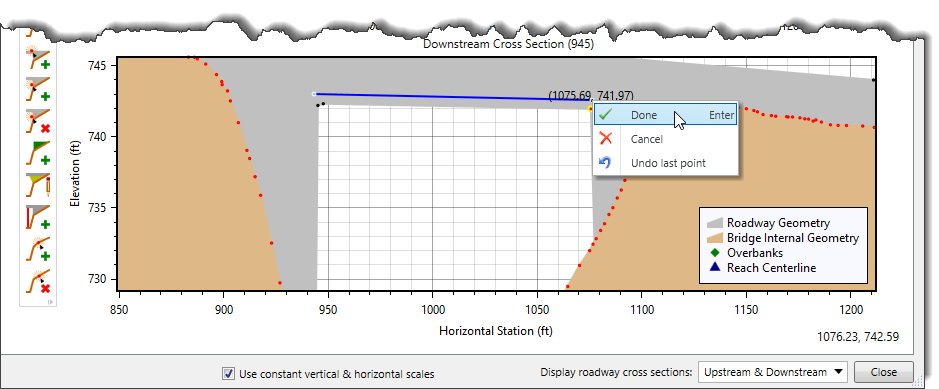
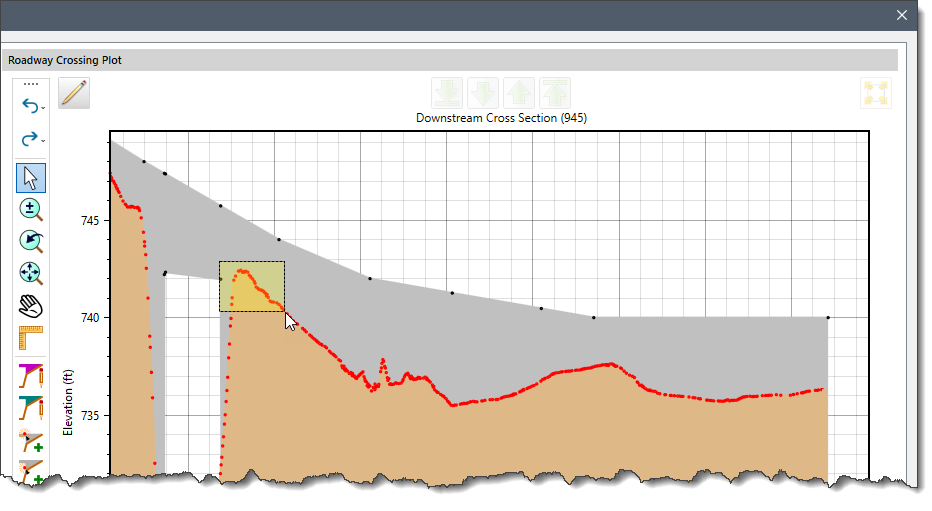
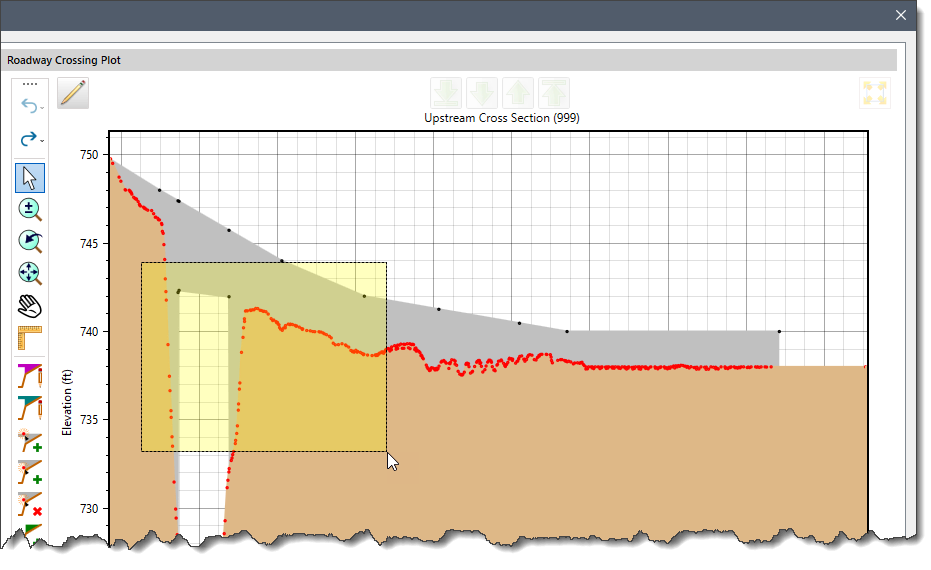
The vertical toolbar on the left of the Roadway Crossing Plot section contains tools to graphically edit the roadway crossing.
| Tool | Description |
|---|---|
 | Add Bridge Pier Tool This tool allows the user to add bridge piers on the graphical plot.
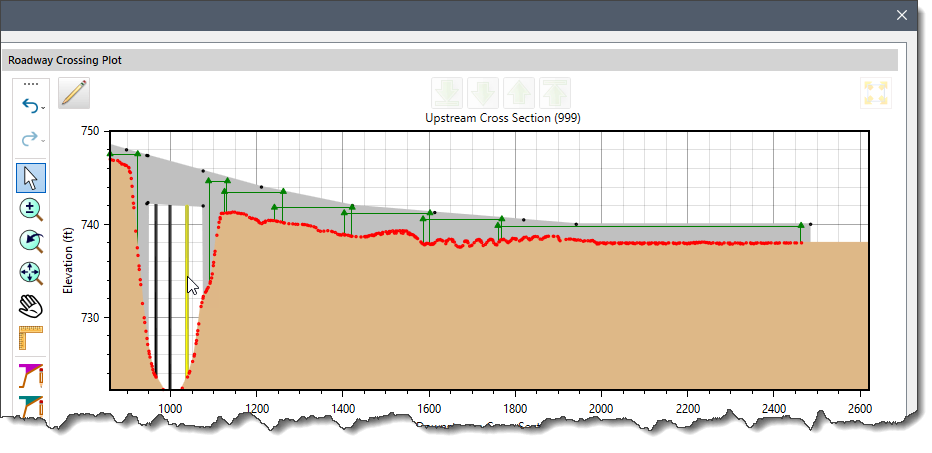 |
 | Add High Chord Geometry Points Tool This tool allows the user to add a high chord point to the roadway crossing geometry. After selecting the Add High Chord Geometry Points tool from the toolbar, the user can click on the desired location on the roadway crossing plot to add a high chord geometry point. |
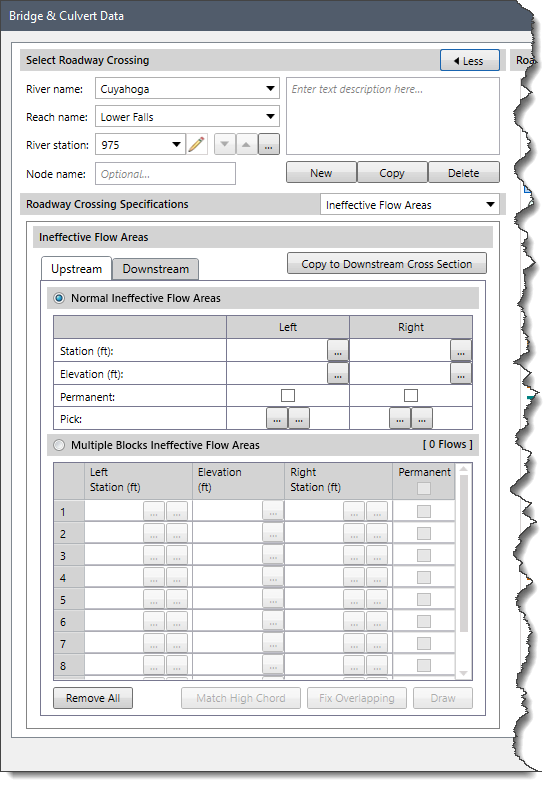
 | Add Ineffective Flow Areas Tool This tool allows the user to add ineffective flow areas — the area that contains water but has no conveyance (the velocity is assumed to be zero).
  |
 | Add Internal Geometry Points Tool This tool allows the user to add bridge internal geometry points on the graphical plot. After selecting the Add Internal Geometry Points tool, the user can click at the desired location on the roadway crossing plot to add a bridge internal geometry point. |
 | Add Low Chord Geometry Points Tool This tool allows the user to add a low chord point to the roadway crossing geometry. After selecting the Add Low Chord Geometry Points tool from the toolbar, the user can click on the roadway crossing plot at the desired location to add a low chord geometry point. |
 | Draw High Chord Tool This tool allows the user to draw the high chord of roadway crossing.
 |
 | Draw Low Chord Tool This tool allows the user to draw the low chord of the roadway crossing.
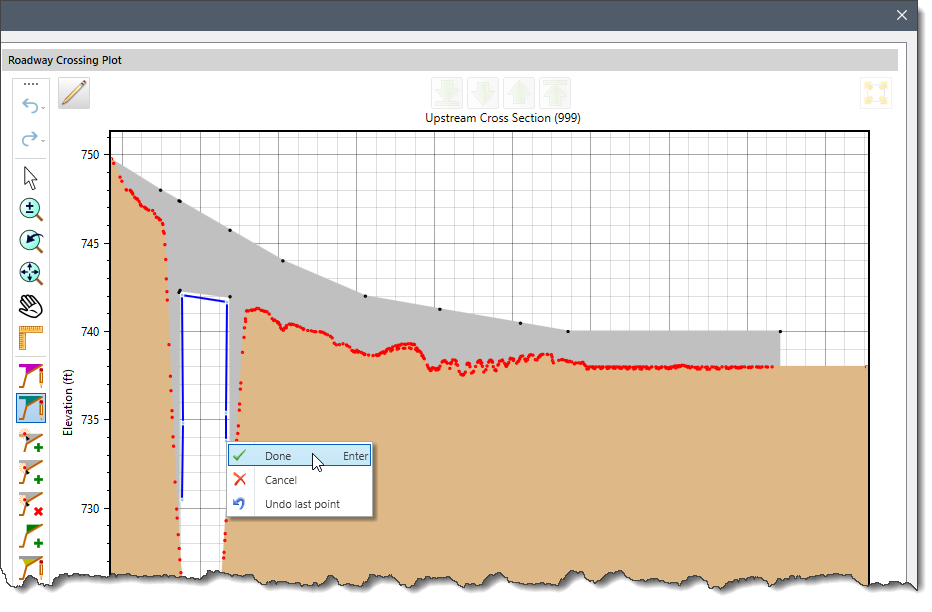 |
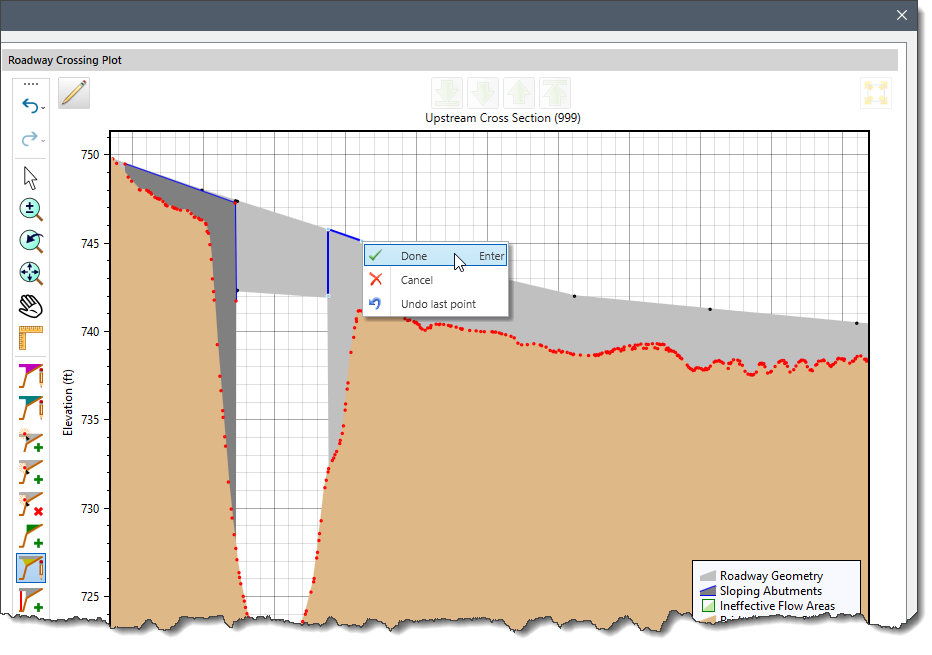
 | Draw Sloping Abutment Tool This tool allows the user to draw bridge sloping abutments on the graphical plot.
 |
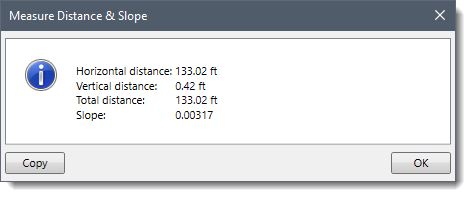
 | Measure Distance & Slope Tool This tool allows the user to measure the distance and slope between two points.
  |
 | Pan Tool This tool allows the user to pan around the graph. After selecting this tool, the user can click and drag the graphical plot to display the desired extent. Alternatively, the user can hold the mouse scroll button to perform the same action. |
 | Redo Tool Selecting this tool causes the software to restore any actions that were previously undone using the Undo tool. |
 | Remove Internal Geometry Points Tool This tool allows the user to remove bridge internal geometry points from the graphical plot.
 |
 | Remove Roadway Geometry Points Tool This tool allows the user to remove multiple roadway geometry points.
 |
 | Select Tool This tool allows the user to select any roadway geometry point and accordingly move it to modify the roadway crossing geometry. Note that if no low chord geometry is defined, then the high chord geometry can be moved vertically and horizontally. However, if both high and low chord points are defined, such as at a bridge opening, the high and low chord points can only be moved vertically. |
 | Start graphical editing of roadway crossing Tool This tool allows the user to modify the roadway and bridge internal geometry. After clicking this tool, the user can use the Select tool to reposition any roadway and bridge internal geometry points as desired. |
 | Undo Tool Selecting this tool causes the software to remove the last change, reverting the roadway crossing plot to a previous state. |
 | Zoom Extents Tool Selecting this tool causes the software to zoom to the extent of the roadway crossing geometry plot. |
 | Zoom Previous Tool Selecting this tool causes the software to zoom to the previous extent. |
 | Zoom Tool The tool allows the user to zoom in and out on the graphical plot. After selecting this tool, the user can select a rectangular region on the graphical plot to zoom in. The mouse scroll wheel can be used to zoom in and zoom out. |


CivilGEO G2 Reviews
4.8/5.0 Rating, Over 230 Reviews

GeoHECRAS is recognized as the top Civil Engineering Design Software with an average of 4.8 out of 5.0 rating from over 230 real user reviews on G2.


We use cookies to give you the best online experience. By agreeing you accept the use of cookies in accordance with our cookie policy.
When you visit any web site, it may store or retrieve information on your browser, mostly in the form of cookies. Control your personal Cookie Services here.


