
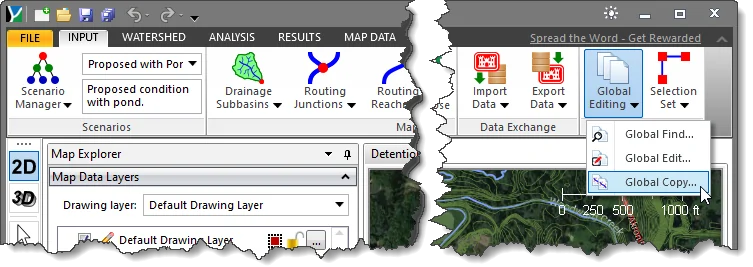
Welcome to CivilGEO Knowledge Base
Welcome to CivilGEO Knowledge Base
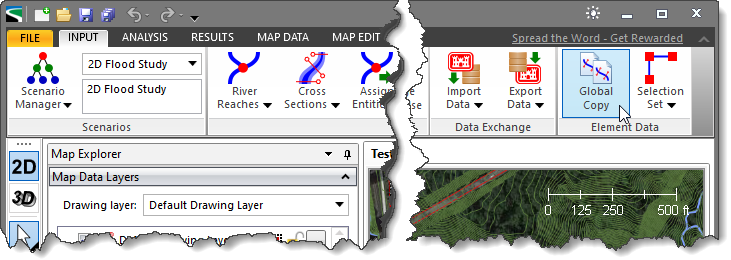
The Global Copy command can be used to copy project elements from one scenario to other existing scenarios of the same project or between two separate (loaded) projects as long as the two projects have the same coordinate reference system (CRS).
This allows the user to quickly copy elements to other scenarios and create new models based on existing ones. This is particularly useful for engineers who want to study and visualize the effects of modifications made to a model. This helps an engineer make faster and better design decisions.
You can use the Global Copy command to copy these HEC-RAS elements:
You can use the Global Copy command to copy these HEC-HMS elements:
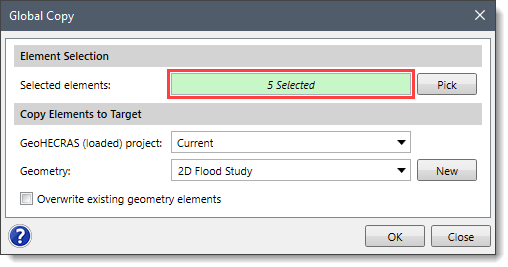
Note that when any of the above elements are copied, then the sub-elements associated with that element are also copied automatically. Hence, the tally for copied elements in the status panel might differ from selected elements.
Follow the steps below to use the Global Copy command in GeoHECRAS:
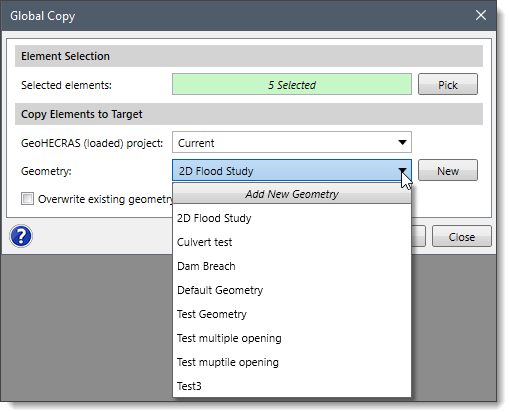 Alternatively, click the [New] button to create a new geometry file. In addition, at the top of the listing is an Add New Geometry entry, which will create new geometry.
Follow the steps below to use the Global Copy command in GeoHECHMS:
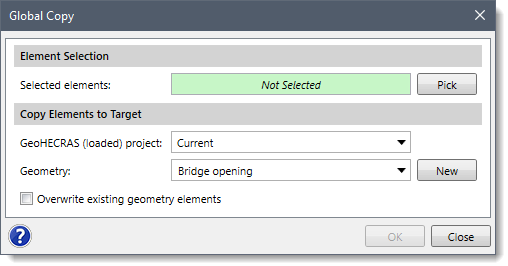
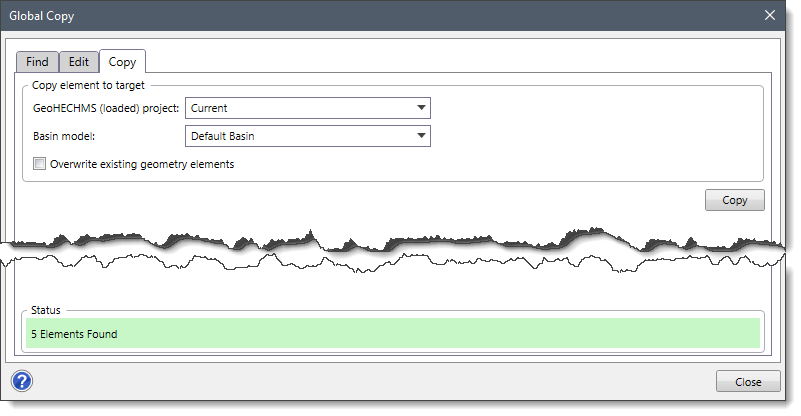 Note that if there are no elements preselected on the Map View, then the Copy panel is disabled. However, the user can switch to the Find panel to select elements to be copied. Refer to this article in our knowledge base to learn how to use the Find panel.
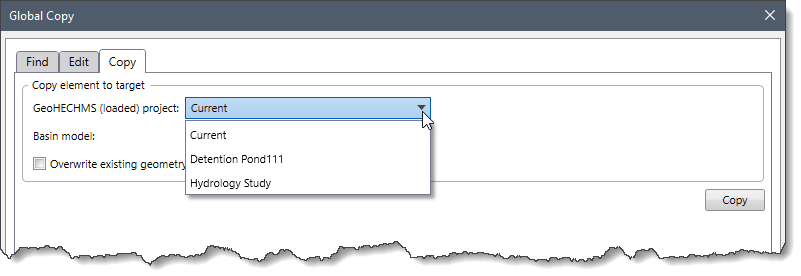
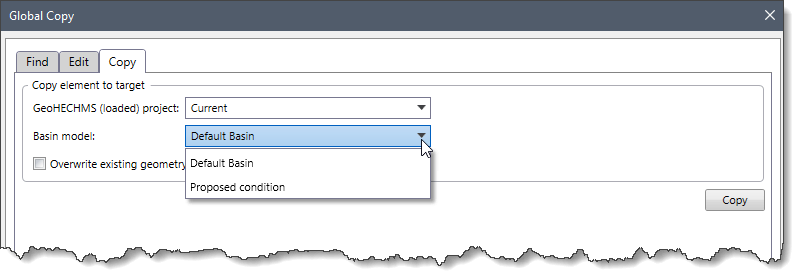 Note that if the current project is selected, then the current basin model geometry is excluded from the listing. However, when a different project is selected, then this entry defaults to the current basin model geometry for the loaded project.
![[Copy] button](/wp-content/uploads/sites/25/2023/05/Global-Copy-Img-9.png)


CivilGEO G2 Reviews
4.8/5.0 Rating, Over 230 Reviews

GeoHECRAS is recognized as the top Civil Engineering Design Software with an average of 4.8 out of 5.0 rating from over 230 real user reviews on G2.


We use cookies to give you the best online experience. By agreeing you accept the use of cookies in accordance with our cookie policy.
When you visit any web site, it may store or retrieve information on your browser, mostly in the form of cookies. Control your personal Cookie Services here.


