1. Home
  2. Knowledge Base
  3. Coordinate Reference Systems
  4. Georeferencing Aerial Imagery
  1. Home
  2. Knowledge Base
  3. General Troubleshooting
  4. Georeferencing Aerial Imagery
  1. Home
  2. Knowledge Base
  3. Importing Data
  4. Georeferencing Aerial Imagery
  1. Home
  2. Knowledge Base
  3. Map View
  4. Georeferencing Aerial Imagery

Georeferencing Aerial Imagery

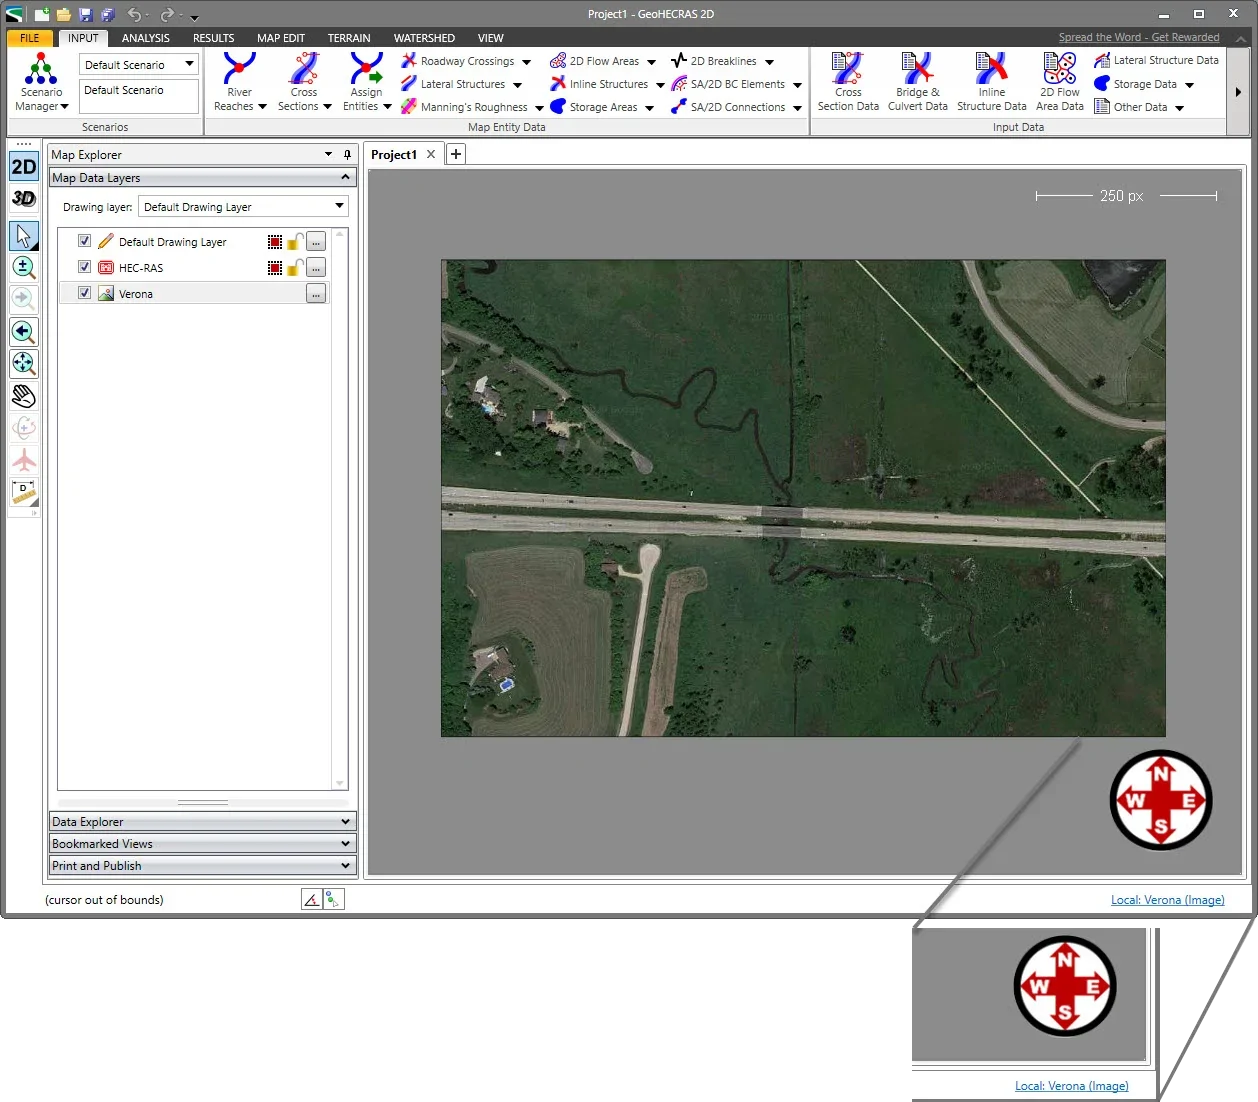
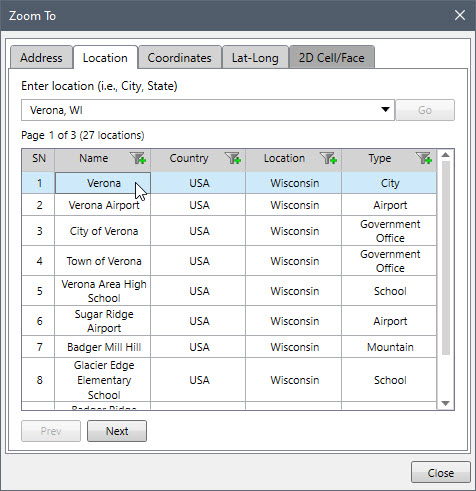
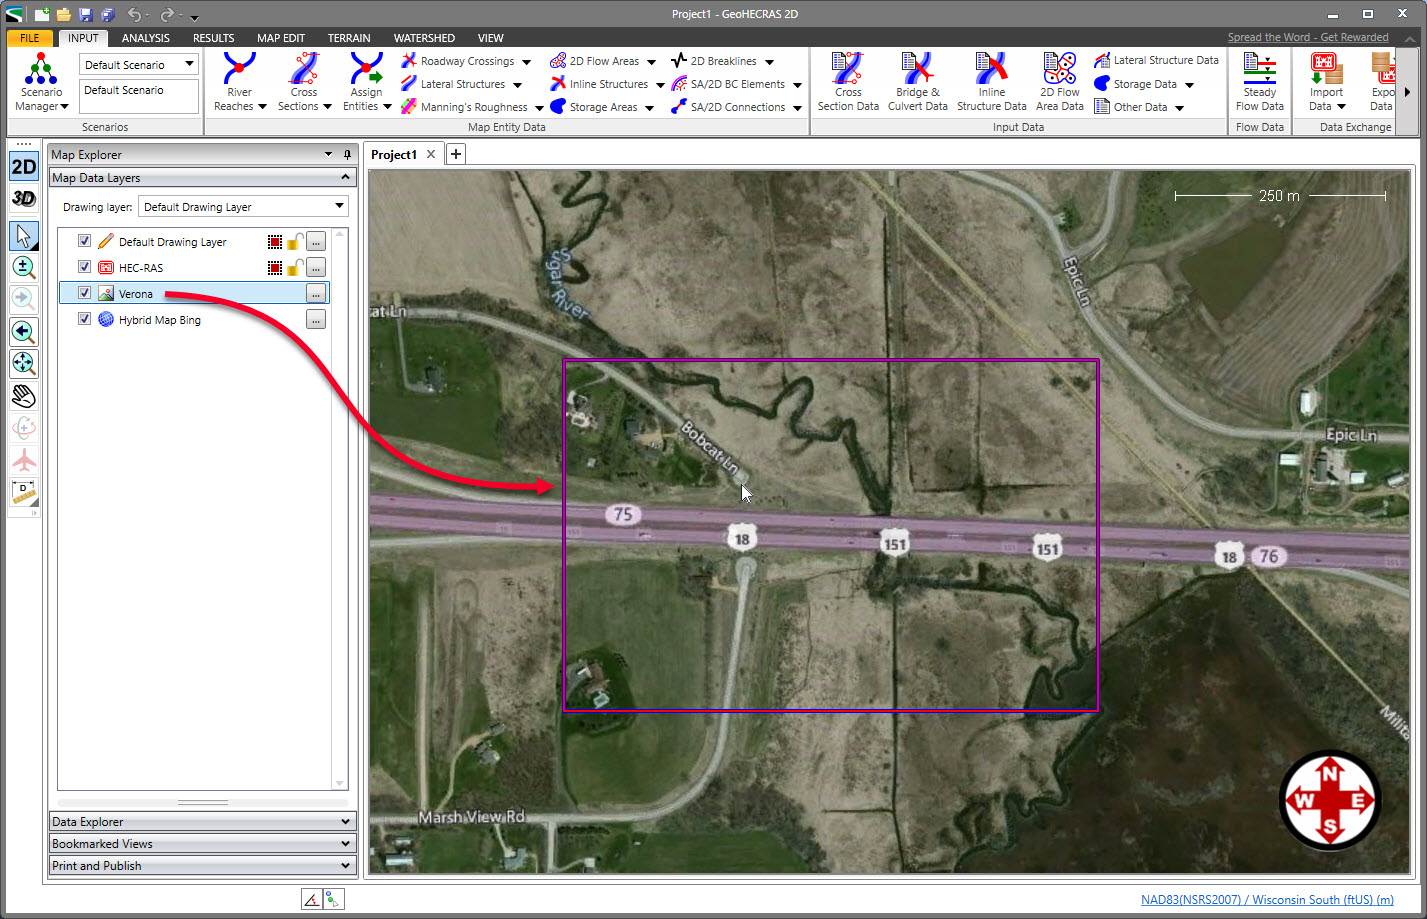
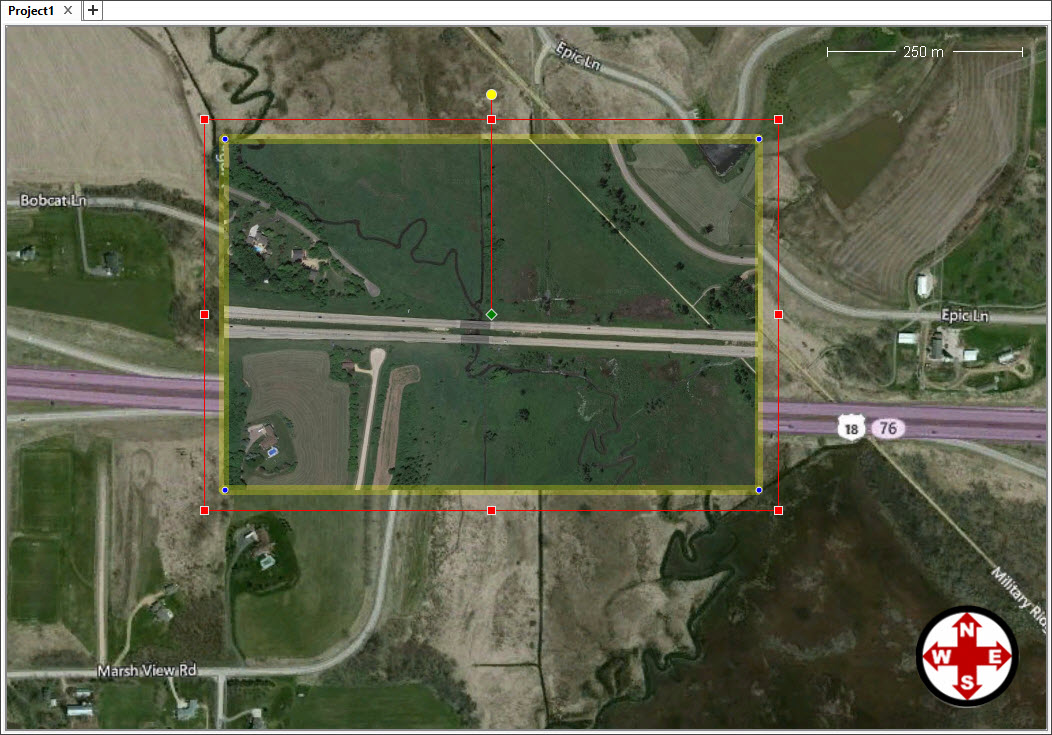
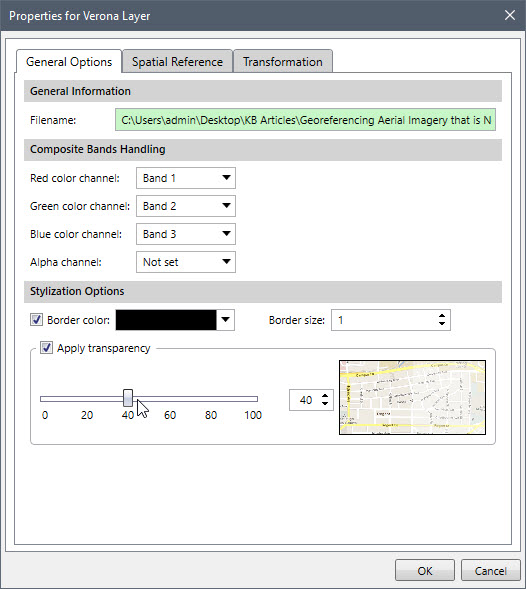
Georeferencing orthomosaic and other aerial imagery can have issues if no projection information is associated with the image file. When loading the image file, the software will place the image in its own pixel coordinate system if there is no projection information available.

Georeferencing-Aerial-Imagery-1

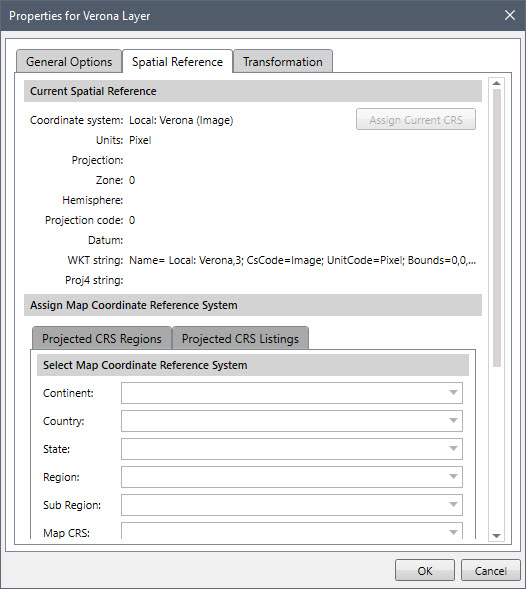
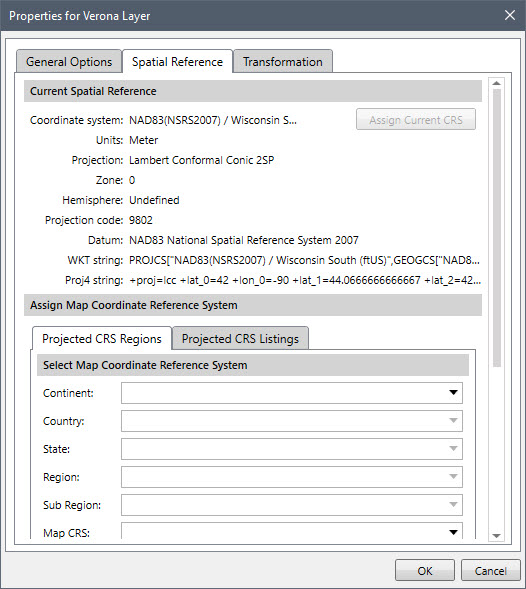
In addition, the software will not allow you to assign a coordinate reference system (CRS) to the loaded image when there is no spatial information defined for the image file relative to what size each pixel occupies (i.e., 1 pixel = 3 ft x 3 ft). The aerial image layer Properties dialog box Spatial Reference tab will have grayed out entries, not allowing the user to assign a CRS.

Assigning Non-georeferenced Image to Map View

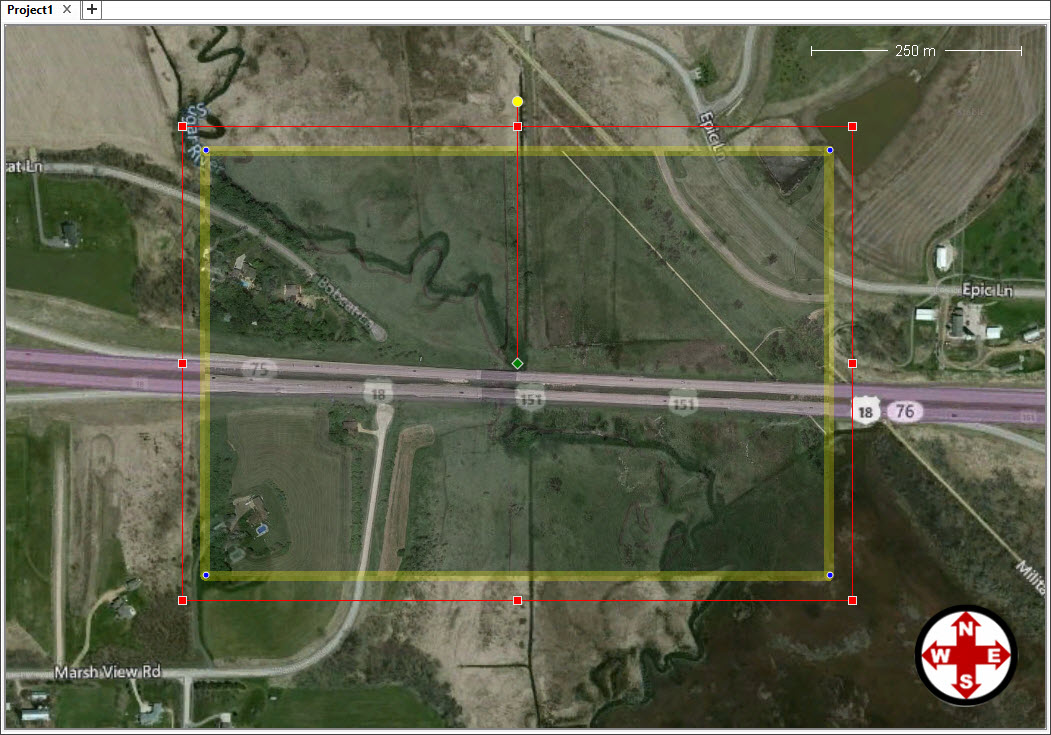
To assign a non-georeferenced aerial image to the Map View, follow these steps:

  1. Load a base map (i.e., Google Map, Bing Map) into the Map View.
  2. Assign the appropriate coordinate reference system (CRS) to the project site.
  3. Zoom into the project site in which the aerial image is to be located.
  4. From the Map Data Layers panel, click on the aerial image layer in the Map Data Layers panel and drag onto the Map View where the image should be located. Then, release the mouse button and the image will drop to that location.
  5. The software will place the image on top of the Base Map.
  6. You can check that the correct CRS has been assigned to the image file by displaying the Properties dialog box.
  7. Grab the corners of the image and resize the image to fit the location. If the image grips are not shown, make certain that the Select Tool is active. Then, select the layer in the Map Data Layers panel so it is highlighted and then press Function Key F2. The grips will show up along the image boundary. Use landmarks on both the image file and the Base Map to correctly size and orient the image. Click in the middle and drag the image to better locate it. The Rotation Tool can be used to rotate the image. The corner grips can be used to skew the image.
  8. To better georeference the image, display the Properties dialog box of the image file and change the transparency of the image so that you can see through the image to the background Base Map. A transparency value of 40 to 50% works well.
  9. Final placement of the image takes patience.

Georeferencing Other Map Data

Other map data can be georeferenced similarly, including AutoCAD drawing files, ESRI GIS shapefiles, and even project models. Apply the same process as detailed above.

About the Author Chris Maeder

  • Was this helpful?
  • YesNo

Was this article helpful?

Related Articles