
Welcome to CivilGEO Knowledge Base
Welcome to CivilGEO Knowledge Base
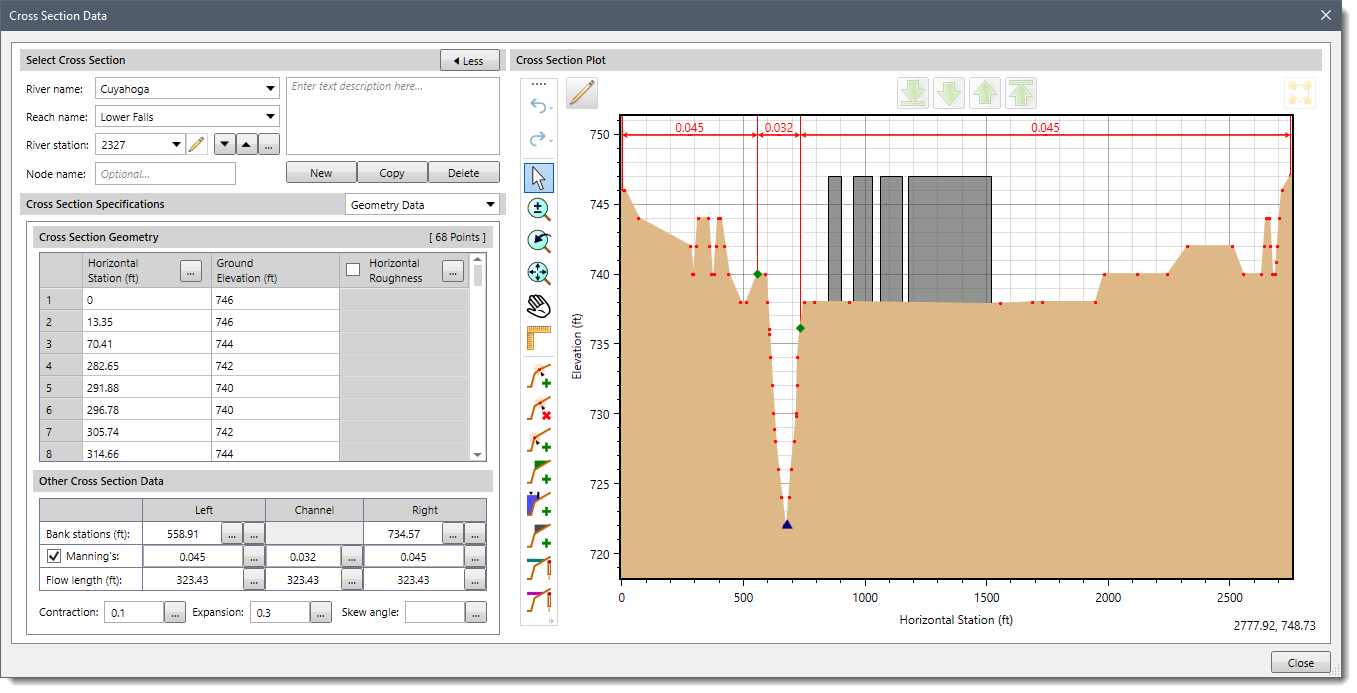
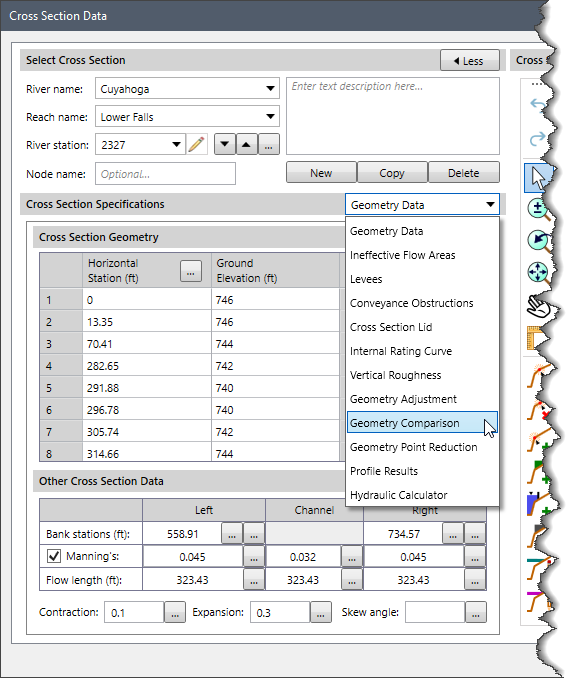
The Geometry Comparison command of GeoHECRAS allows the user to select a comparison cross section to display in the cross section plot, align the comparison cross section with the current cross section, and replace the current cross section with the selected portion of the comparison cross section. Furthermore, the user can also select comparison cross sections from other geometry files to quickly compare different model geometries and better understand the resulting differences.
Follow the steps given below to use the Geometry Comparison command:

The following sections describe how to interact with the above data panel.
This section allows the user to select the comparison cross section to display in the plot window. The user can select to display a cross section from any geometry data associated with the current HEC-RAS project (i.e., scenarios).
Enabling the Synchronize navigation checkbox option would link the comparison cross section with the current cross section—effectively locking them in step with each other.
This section allows the user to align the comparison cross section with the current cross section using a reference point.
The Alignment type dropdown combo box allows the user to define the axis coordinates to be used in aligning the comparison cross section with the current cross section. The following options are provided in the dropdown combo box:
The Reference point dropdown combo box allows the user to align the comparison cross section with the current cross section using a reference point. The following reference points are provided in the dropdown combo box:
Once the alignment options have been selected, clicking on the [Align] button will cause the software to align the comparison cross section to the current cross section using the selected reference point. Clicking on the [Restore] button will cause the software to restore the comparison cross section to its original stationing/elevations.
Note that if either the left and/or right bank stations are not defined for either the comparison or current cross section, then the following options are grayed out (i.e., not available) in the dropdown combo box:
This section allows the user to define the amount of shift in the comparison cross section in terms of X and Y direction in order to align it with a point of interest within the current cross section.
By default, the editable spin-controls are set to 0.00 when the comparison cross section is first selected.
The user can then either directly enter a value into the editable spin-control or use the spin dial to increment or decrement the value. The user can also measure horizontal and vertical shift distances from the cross section plot using the [Pick] button.
Enabling this checkbox allows the user to replace parts of the current cross section with the comparison cross section.
The Replacement type dropdown combo box allows the user to select a part of the current cross section and replace that with the comparison cross section.
The user can then either directly enter a value into the editable spin-control or use the spin dial to increment or decrement the value of the Left station and Right station options. The user can also select left and right stations of the comparison geometry from the cross section plot using the [Pick] button. Clicking on the [Replace] button will replace the current cross section with the selected portion of the comparison cross section.
Alternatively, the user can graphically grab the replacement lines in the cross section plot and drag them to the left and right to select the region to be replaced.


CivilGEO G2 Reviews
4.8/5.0 Rating, Over 230 Reviews

GeoHECRAS is recognized as the top Civil Engineering Design Software with an average of 4.8 out of 5.0 rating from over 230 real user reviews on G2.


We use cookies to give you the best online experience. By agreeing you accept the use of cookies in accordance with our cookie policy.
When you visit any web site, it may store or retrieve information on your browser, mostly in the form of cookies. Control your personal Cookie Services here.


