
Welcome to CivilGEO Knowledge Base
Welcome to CivilGEO Knowledge Base
The Export to Shapefile command of CivilGEO software allows the user to export a specific layer or set of features of the defined model as shapefiles. Saving the data in the shapefile format allows the user to use it with other applications effortlessly.
Follow the steps below to use the Export to Shapefile command:
The following sections describe the Export to Shapefile command and how to interact with the above dialog box.
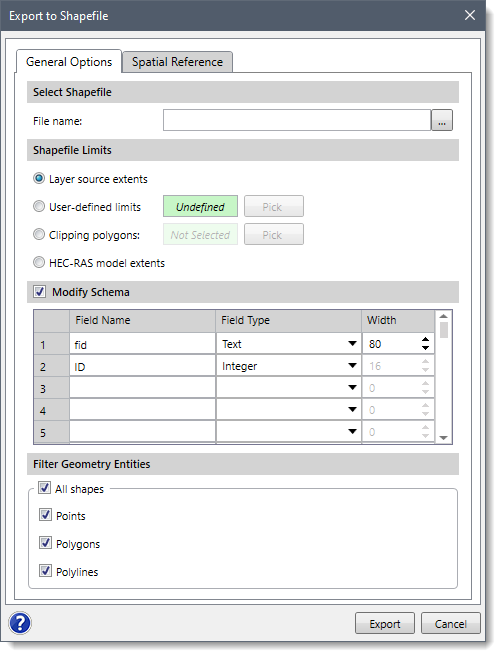
This tabbed panel is used to define the general options for exporting the layer as a shapefile.
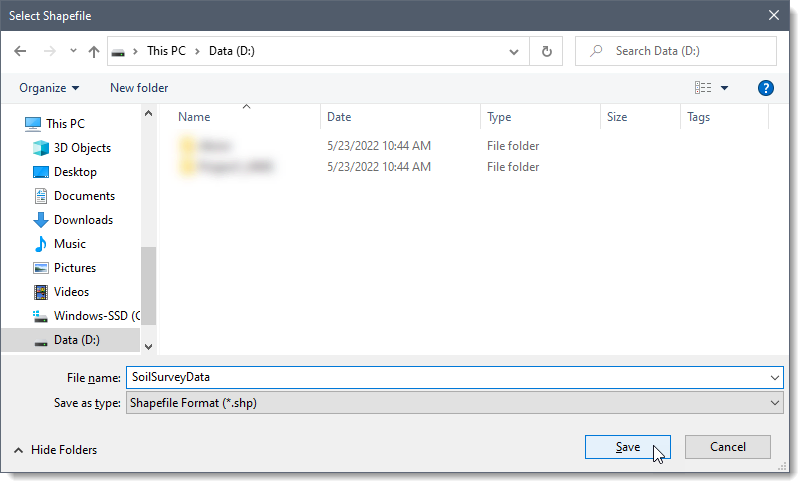
The Select Shapefile section allows the user to define the location where the user can save the exported results. Click the […] button beside the File name entry to specify the directory location and file name to save the exported results. The software will display the Select Shapefile dialog box. From the displayed dialog box, browse to the location to save the file, enter the file name (it should have a file extension of .shp), and then click the [Save] button.
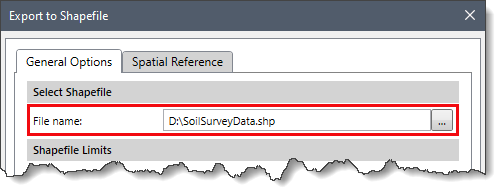
On clicking the [Save] button, the Export to Shapefile dialog box will be redisplayed, and the complete directory path and file name will be shown in the File name entry.
This section is used to define the maximum limits for exporting the shapefile.
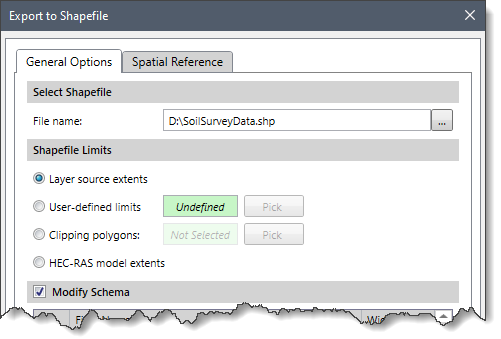
The following options are available:
This optional section contains a data table that allows the user to add/edit shapefile attributes such as name, values, and data types.
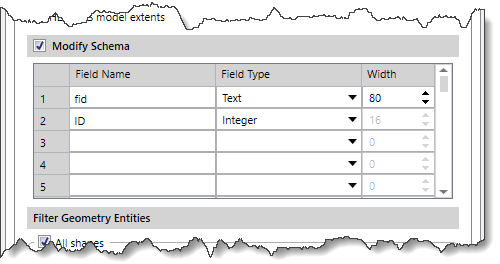
This data table requires the following data:
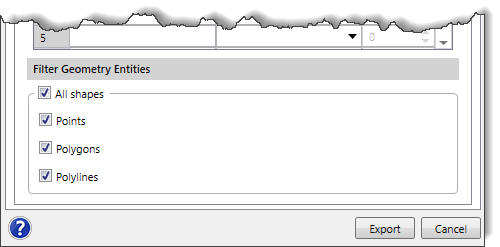
This section allows the user to select single or multiple shapes when exporting the layer as a shapefile. The user can check the checkboxes corresponding to the shapes to export them in the shapefile.
This tabbed panel allows the user to specify the Coordinate Reference System (CRS) for the layer.
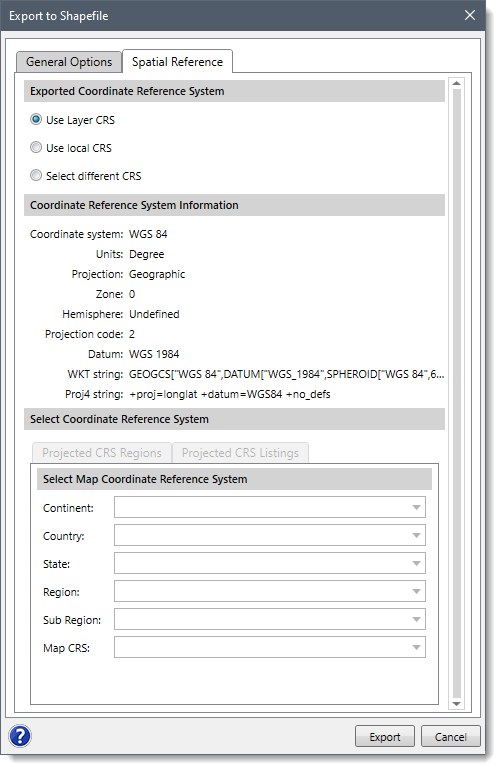
Note that this panel works similar to that of the Spatial Reference panel of the Export HEC-HMS to CAD command. Hence, refer to this article in our knowledge base to learn more about it.
When all the options have been defined, click the [Export] button. The software will then export the layer as a shapefile at the specified location.


CivilGEO G2 Reviews
4.8/5.0 Rating, Over 230 Reviews

GeoHECRAS is recognized as the top Civil Engineering Design Software with an average of 4.8 out of 5.0 rating from over 230 real user reviews on G2.


We use cookies to give you the best online experience. By agreeing you accept the use of cookies in accordance with our cookie policy.
When you visit any web site, it may store or retrieve information on your browser, mostly in the form of cookies. Control your personal Cookie Services here.


