
Welcome to CivilGEO Knowledge Base
Welcome to CivilGEO Knowledge Base
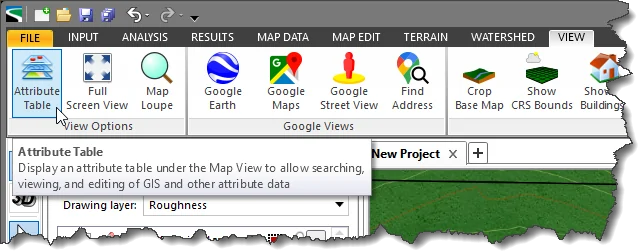
CivilGEO’s engineering software allows the user to easily review and edit GIS attribute data using the Attribute Table command. The Attribute Table can be used to filter, sort, and highlight specific geospatial elements on the Map View. When changes are made to the attribute data, the changes are dynamically updated on the Map View. For example, changing a pipe size in the Attribute Table would cause the pipe size to change on the Map View.
This section describes how to use the Attribute Table command:
The following sections describe the Attribute Table command and how to interact with the above features of the table.
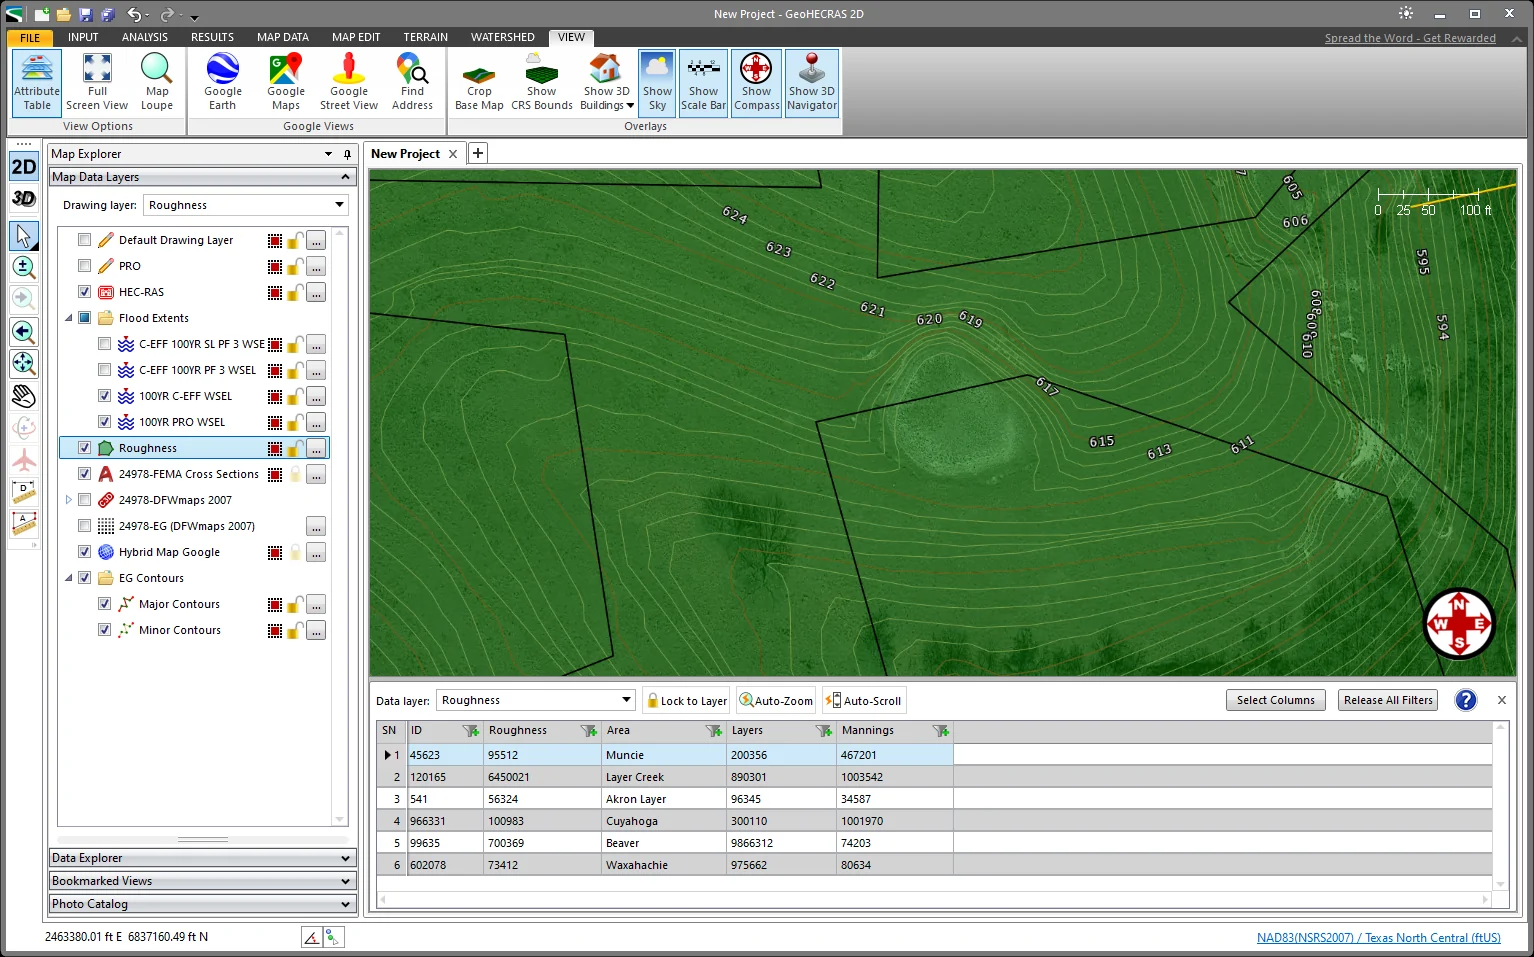
The user can resize the Attribute Table’s height by clicking on and dragging the horizontal splitter that separates the two views. The minimum height for the Attribute Table is two rows whereas the maximum height can be 50% of the height of the entire tabbed view frame. The default height of the Attribute Table is 25% of the entire tabbed view frame.
The user can change which data layer should be displayed in the Attribute Table by selecting the data layer of interest in the Data layer dropdown combo box entry. In addition, selecting a different element type on the Map View will cause the Data layer dropdown combo box entry to change and display the data table for the selected element type.
If the [Lock to Layer] option is selected, then the software will not change to a different data layer when the user clicks on a different element type on the Map View. Note that there are two icons for the corresponding button states (i.e., locked and unlocked).
If the user clicks on any element row in the data table view, the selected element will be highlighted on the Map View. If the [Auto-Zoom] button is enabled, the Map View will zoom to show the bounds of the selected element when a new element row is selected in the data table view.
Clicking on a data element within the Map View will cause the corresponding data table to be displayed in the Attribute Table view. If the [Auto-Scroll] button is enabled, the selected element’s attribute row will be highlighted in the data table view. The user can click on multiple elements from the Map View, and the corresponding rows in the Attribute Table will become highlighted.
The user can use the [Select Columns] button to filter and display only the desired data fields in the Attribute Table.
Attribute Table fields are reset to show all fields when any of the following actions is performed:
The leftmost column represents which data row the user is working on within the data table.
To close the Attribute Table, the user can either click the [X] close button on the upper right of the table view or deselect the Attribute Table menu item from the View ribbon menu.
If the data layer is editable, then the user can edit values contained within the data table.


CivilGEO G2 Reviews
4.8/5.0 Rating, Over 230 Reviews

GeoHECRAS is recognized as the top Civil Engineering Design Software with an average of 4.8 out of 5.0 rating from over 230 real user reviews on G2.


We use cookies to give you the best online experience. By agreeing you accept the use of cookies in accordance with our cookie policy.
When you visit any web site, it may store or retrieve information on your browser, mostly in the form of cookies. Control your personal Cookie Services here.


