CivilGEO’s software can construct an elevation terrain surface from online elevation data sources or through a local elevation data file.
Adding Online Elevation Data
CivilGEO’s software can utilize elevation data directly from either the USGS or NASA elevation data servers:
- US Elevation (10m) – USGS: Accesses the elevation data from the USGS National Elevation Dataset (NED) data server. Elevation data with a resolution of 10m is confined to the area within the borders of the United States. Different parts of the United States have different elevation resolutions. The National Elevation Dataset (NED) is the primary elevation data product of the USGS, and is a seamless dataset with the best available raster elevation data of the conterminous United States, Alaska, Hawaii, and territorial islands.
- World Elevation (30m) – NASA: Accesses the elevation data from the NASA elevation data server. Elevation data with a resolution of 30m, derived from the Shuttle Radar Topography Mission (SRTM) data. Different parts of the world have different elevation resolutions. The SRTM obtained elevation data on a near-global scale to generate the most complete high-resolution digital topographic database of Earth. The SRTM consisted of a specially modified radar system that flew onboard the Space Shuttle Endeavour during an 11-day mission in February 2000.
To add the online elevation data from the USGS or NASA Elevation Data Server, follow the steps below:
- Right-click on the Map Data Layers panel and select Add Elevation Layer from the displayed context menu.
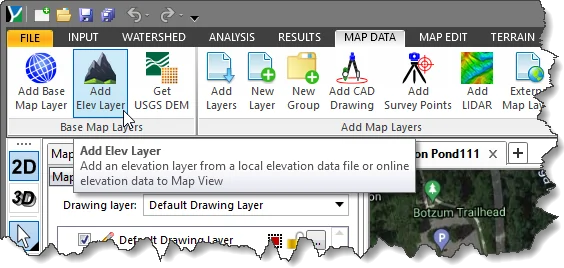
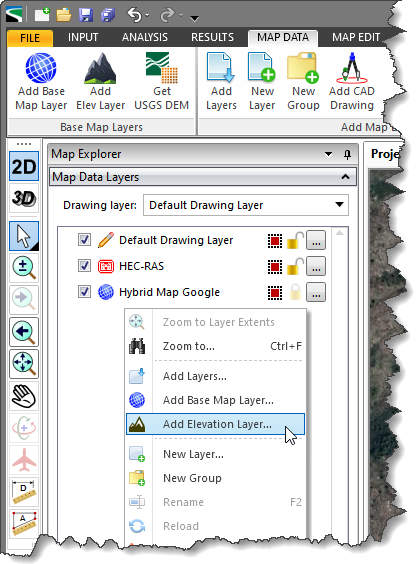 Alternatively, the user can select the Add Elev Layer command from the Map Data ribbon menu.
- The Add Elevation Layer dialog box will be displayed.
- Select the Online Elevation Data tab.
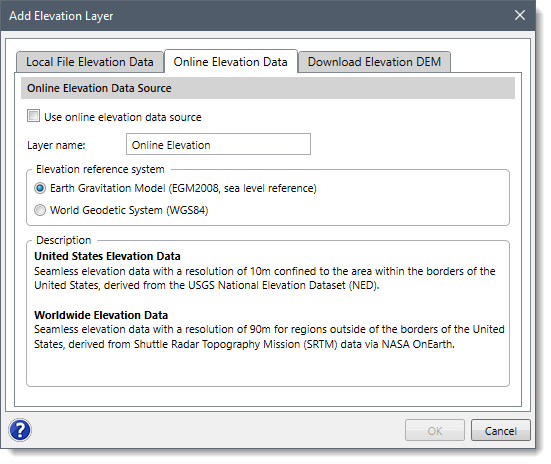
- Check the Use online elevation data source checkbox.
- Provide the name for the layer group in the Layer name input field. By default, the layer name is set to Online Elevation, which can be changed by the user.
- In the Elevation reference system subsection, select the elevation reference system.
- Click the [OK] button.
- The software will start to pull elevation data tiles from the selected elevation data source in order to construct an elevation terrain surface.
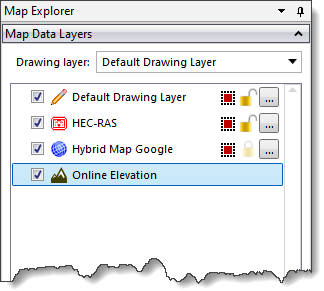
- When finished, the software will place the Online Elevation data as a new layer in the Map Data Layers panel.
Downloading Elevation Data
The software also allows the user to download the data on the local computer as an elevation grid DEM. To download the elevation data on the local computer, follow the steps below:
- Select the Download Elevation DEM tab.
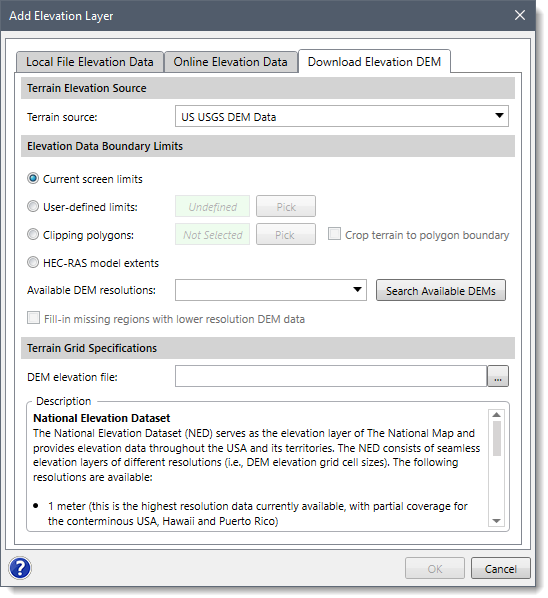
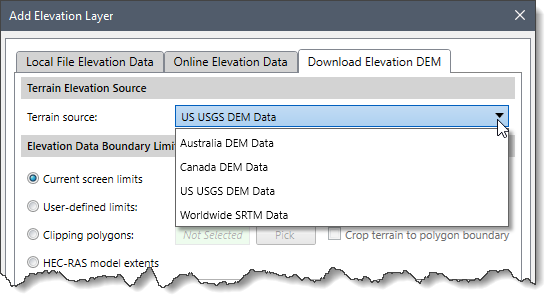
- From the Terrain source dropdown combo box, select the terrain source. The following options are available in the dropdown combo box: Australia DEM Data, Canada DEM Data, US USGS DEM Data, and Worldwide SRTM Data:
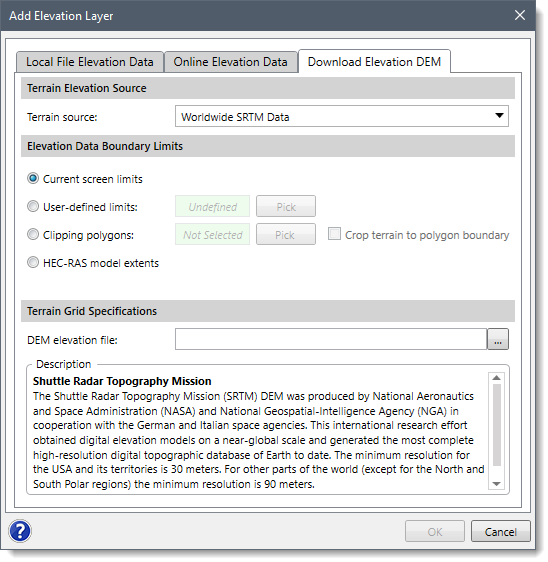
 Note: Based on the terrain source selected by the user, the contents of the data panel will be changed. If the user selects the Worlwide SRTM Data option as the terrain source, the following data panel will be displayed:
- In the Elevation Data Boundary Limits section, the user can choose one of the four options appearing below to define the limit of data to be downloaded:
- Current screen limits: The software will use the existing extent of the Map View screen display as a boundary limit for the elevation data to be downloaded.
- User-defined limits: The user can click on the [Pick] button and draw a rectangle on the Map View representing the user-defined limits for the elevation data to be downloaded.
- Clipping Polygons: The user can click on the [Pick] button to select polygon shape regions from the Map View to define the processing area for the elevation data to be downloaded. In addition, the user can check the Crop terrain to polygon boundary checkbox to crop the terrain to the selected polygon boundary.
- Model limits: If a project model has been defined, this option will create a bounding rectangular region corresponding to the extent of the defined model, plus an additional buffer boundary.
- From the Available DEM resolutions dropdown combo box, the user can select the desired DEM resolution to be downloaded. Click the [Search Available DEMs] button to search the available grid resolutions for the selected limit. The software will then list all the DEM resolutions available for the selected limits in the Available DEM resolutions dropdown combo box.
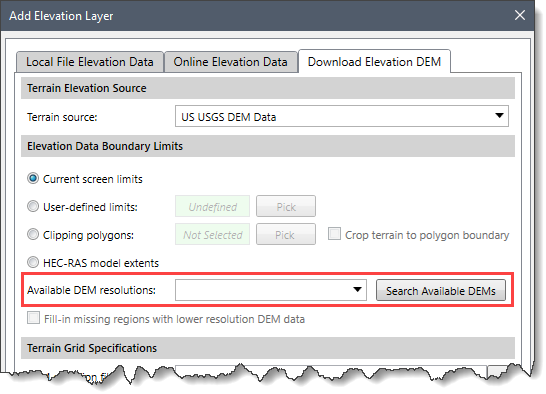 Note that this dropdown combo box is only available when USGS DEM Data is selected as the Terrain source in the Terrain Elevation Source section.
- Check the Fill-in missing regions with lower resolution DEM data checkbox option to use the higher resolution DEM data cell size when merging the lower resolution DEM data with the higher resolution DEM data. By default, this checkbox option is unchecked.
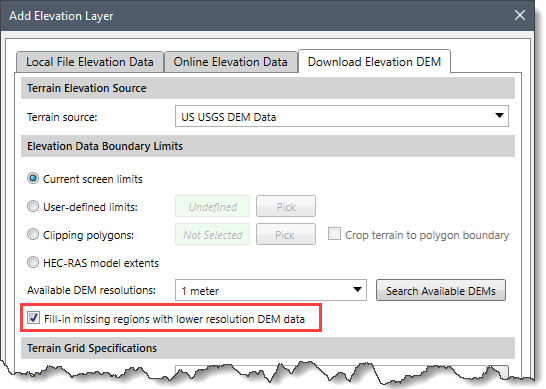 Note that this checkbox option is enabled when US USGS DEM Data is selected as the Terrain source and the Available DEM resolutions dropdown combo box has DEM resolutions.
- In the Terrain Grid Specifications section, click the […] button beside the DEM Elevation file to specify the file location, name, and format to save the downloaded DEM elevation file.
- Click the [OK] button.
![[OK] button](/wp-content/uploads/sites/25/2014/12/Adding-an-Elevation-Layer-Img-11-1.png)
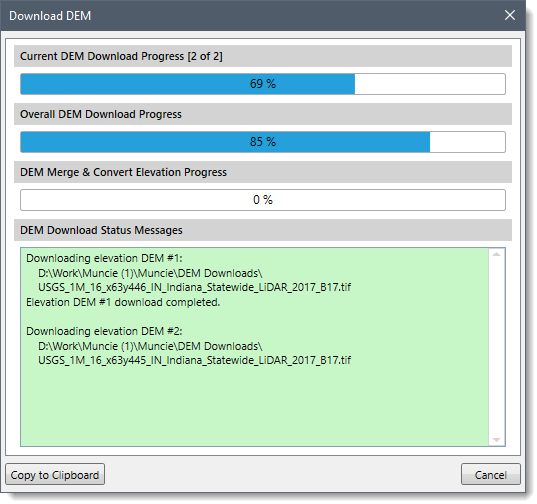
- The Download DEM dialog box will be displayed with the progress status of the downloaded DEM.
 Note that if the user clicks on the [Cancel] button before completion of the DEM download, the following confirmational dialog box will be displayed.
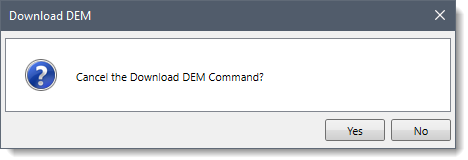 Clicking on the [Yes] button will close the Download DEM dialog box.
Clicking on the [No] button will continue the downloading of DEM data.
- If there are multiple elevation DEMs downloaded, the software will immediately start merging them into a single elevation DEM and will convert elevation units to feet.
- Once finished, the DEM Download Completed informational dialog box will be displayed.
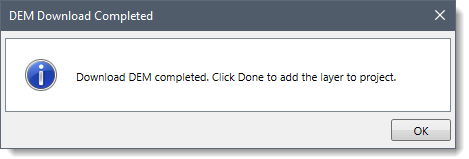 Click the [OK] button to close this dialog box.
- The Download DEM dialog box will be redisplayed and the [Cancel] button changes to the [Done] button. Click on the [Done] button to close the dialog box.
![[Done] button](/wp-content/uploads/sites/25/2014/12/Adding-an-Elevation-Layer-Img-15.png) Clicking on the [Copy to Clipboard] button allows the user to copy the DEM download status messages to the windows clipboard.
Clicking on the [Copy to Clipboard] button allows the user to copy the DEM download status messages to the windows clipboard.
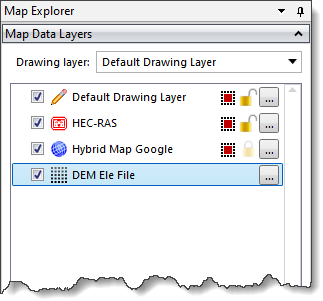
- The software will create a new elevation grid file at the specified location and load the downloaded elevation grid file as a new layer in the Map Data Layers panel.
Note that the elevation DEM data that are downloaded using this command have a resolution of 10 meters in the USA and Canada, and 30 meters everywhere else. In comparison, the USGS National Map website has DEM elevation data of 10 meter, 3 meter, and 1 meter resolution, although availability varies. The user needs to zoom into an area and see the elevation data that the USGS provides, which is constantly being updated as the USGS collects and uploads more elevation data to their elevation data server.
In addition, keep in mind that in a region where 1 meter data are available, 3 meter data are not available. Similarly, where 3 meter data are available, 1 meter data are not available.
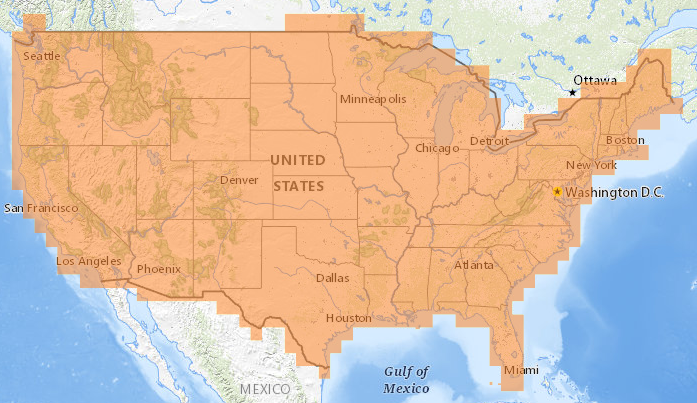
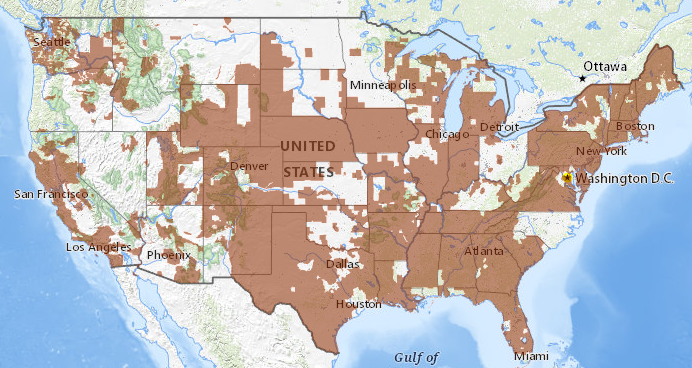
For example, the USGS lists 10 meter elevation data available everywhere in the USA.
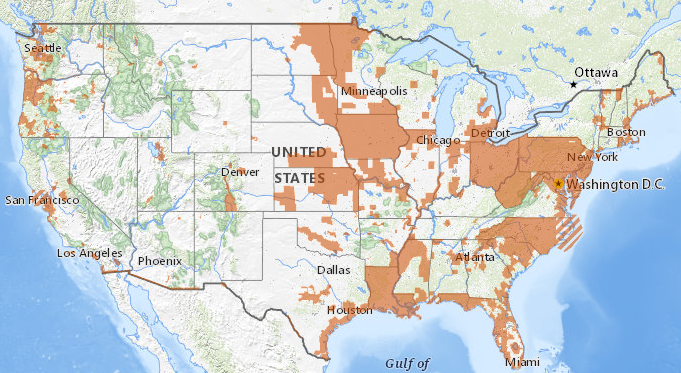
3 meter elevation data are available in the regions shown below.
1 meter elevation data are available in the regions shown below.
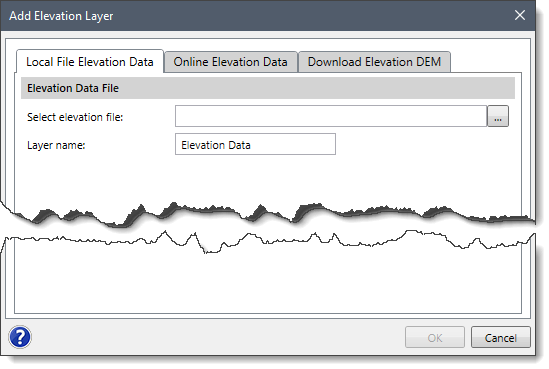
Adding Local Elevation Grid Data
CivilGEO’s software supports most major elevation grid data file formats, such as:
- ArcInfo ASCII Elevation Grids
- ArcInfo Binary Elevation Grids
- GeoTIFF Elevation Grids
- USGS DEM Elevation Grids
- USGS NED Elevation Grids – BIL Format
- USGS NED Elevation Grids – Float Format
To add elevation data using a local elevation grid data file, follow the steps below:
- Right-click on the Map Data Layers panel and select Add Elevation Layer from the displayed context menu.
- The Add Elevation Layer dialog box will be displayed.
- From the Local File Elevation Data tab, click on the […] browse button beside the Select elevation file and select the elevation grid data file to load.
- Provide the name for the layer group in the Layer name input field. By default, the layer name is set to Elevation Data, which can be changed by the user.
- Click the [OK] button.
- The software will load the elevation grid data file as an elevation terrain surface and place the Elevation Data as a new layer in the Map Data Layers panel.
Using Other Elevation Data
Other local elevation data files can be processed within the software to create an elevation terrain surface. This includes:
- ArcInfo Contour Shapefiles
- ArcInfo Elevation Point Shapefiles
- ArcInfo GDB File Geodatabases
- ArcInfo MDB Personal Geodatabases
- AutoCAD Civil 3D Terrain Surfaces†
- AutoCAD Contours
- Bentley MicroStation Terrain Surfaces†
- Bentley MicroStation Contours
- LandXML Terrain Models
- XYZ ASCII Point Terrain Data
†Civil 3D and Bentley MicroStation terrain surfaces imported as LandXML terrain models.


