
Welcome to CivilGEO Knowledge Base
Welcome to CivilGEO Knowledge Base
Our software is licensed as either a Node-Locked Workstation License, Floating Network License, or Cloud License.
Cloud Licensing utilizes a Network License Server hosted in the cloud that manages pools of licenses. This type of license can be used by multiple users wherever they are located, as long as they have access to the Internet.
This article describes how to activate a Cloud License.
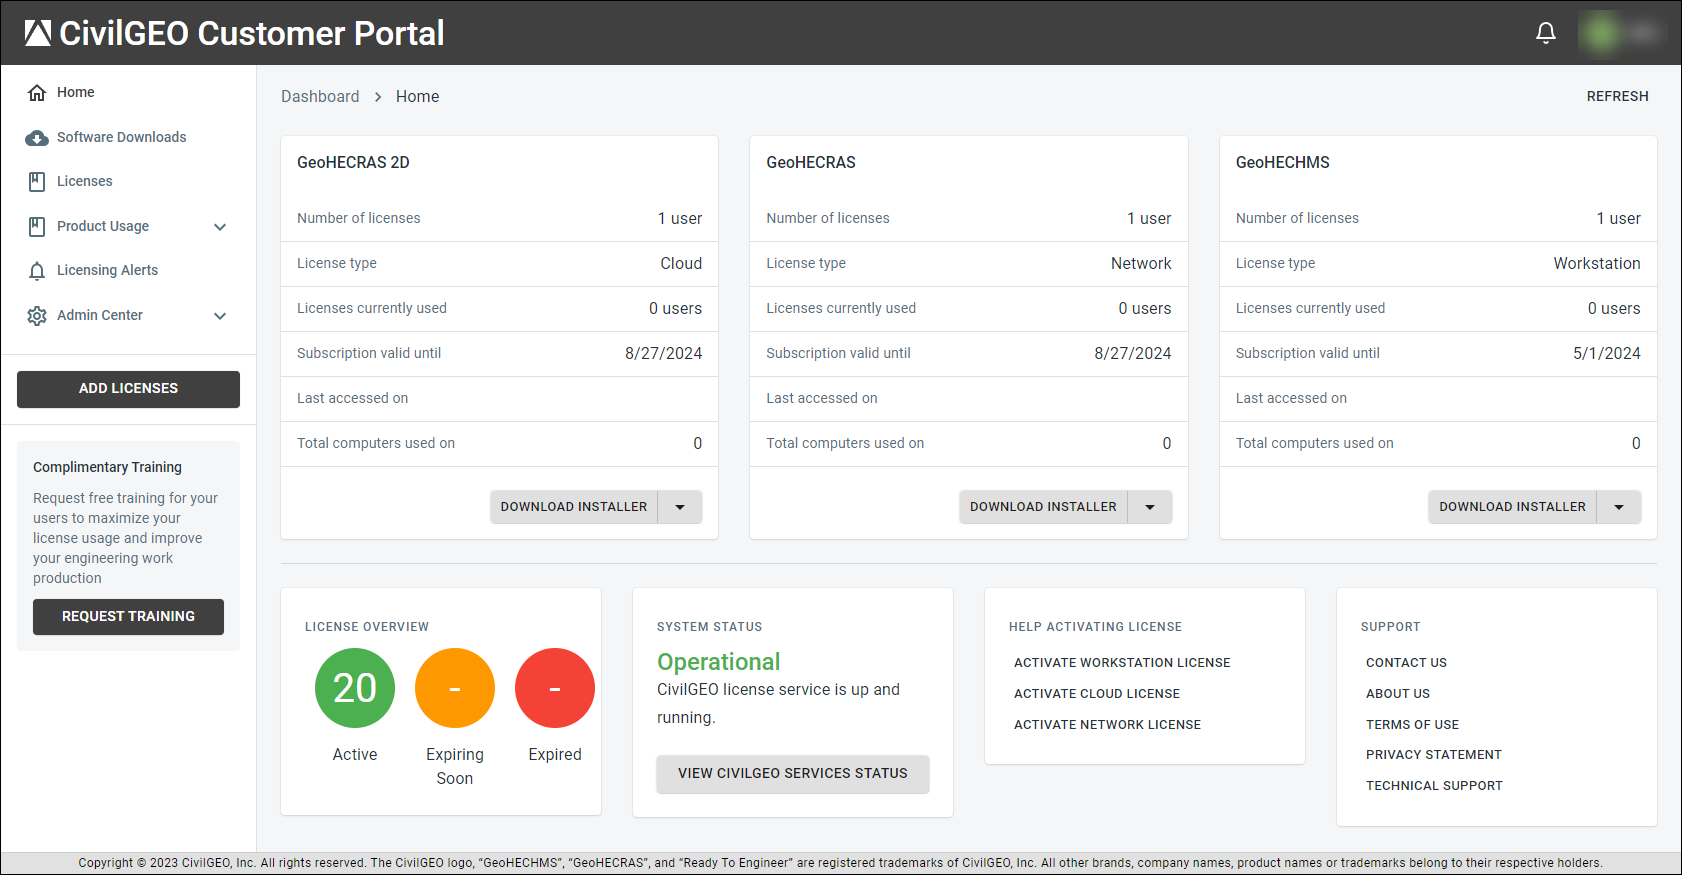
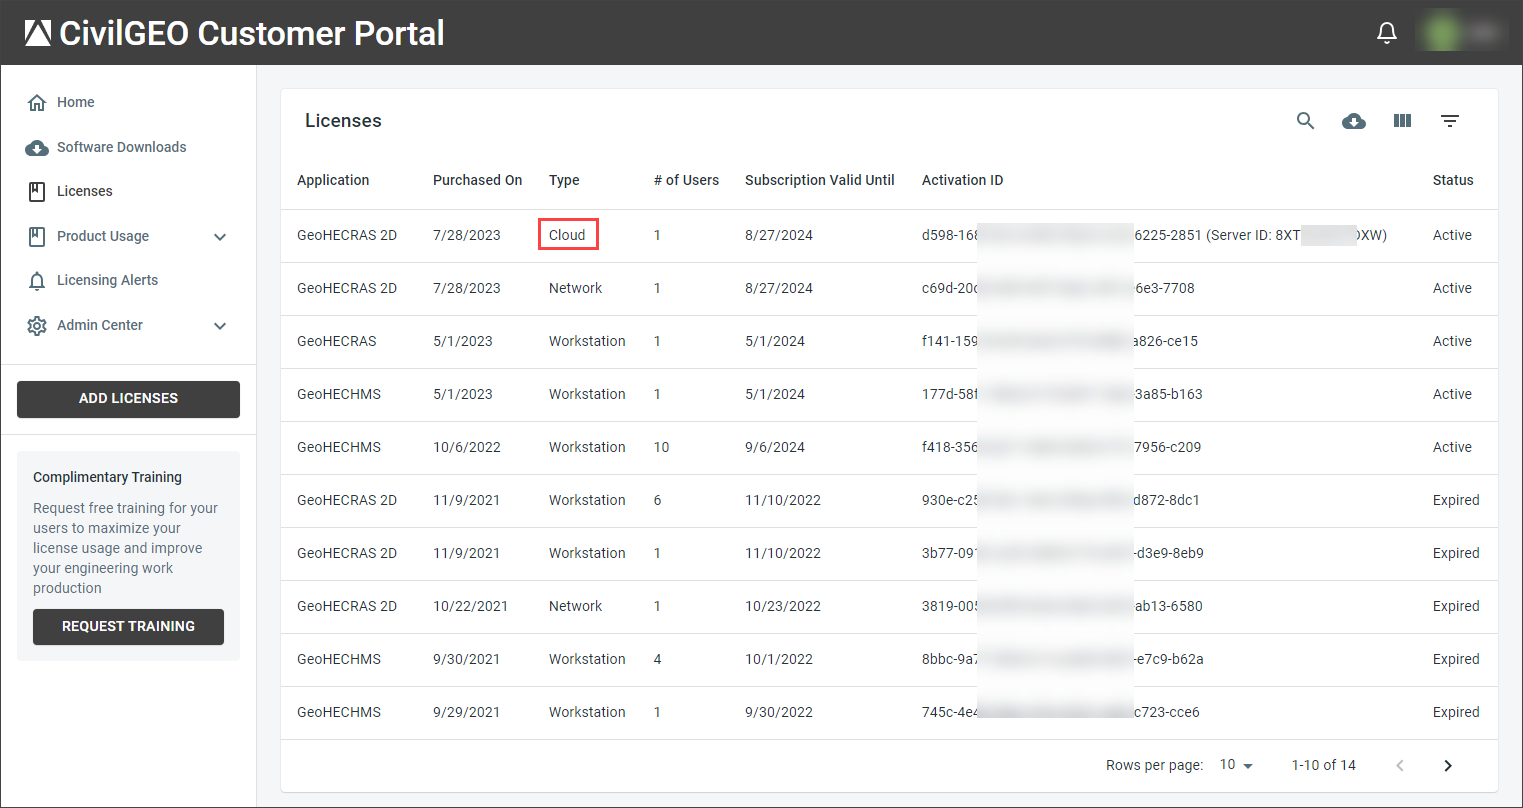
Before activating a Cloud License, you need to have the Server ID of the Cloud License Server. The Server ID will be provided to you by the CivilGEO Licensing team or CivilGEO Customer Portal (in the form of an email). You can also access your Server ID from the CivilGEO Customer Portal.
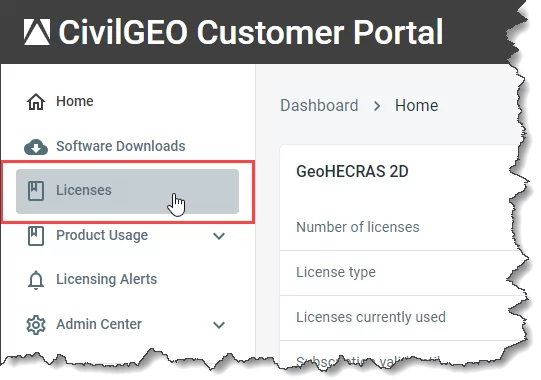
To retrieve the Server ID through the CivilGEO Customer Portal, follow the steps below:
 Alternatively, start up CivilGEO’s software and select the Software Portal command from the Help ribbon menu.
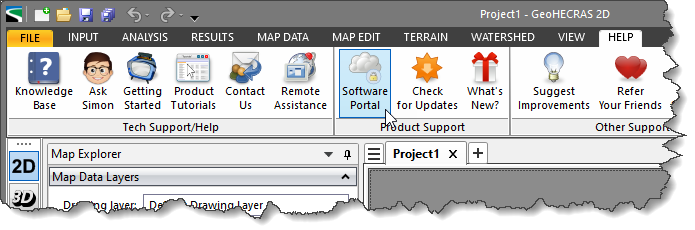
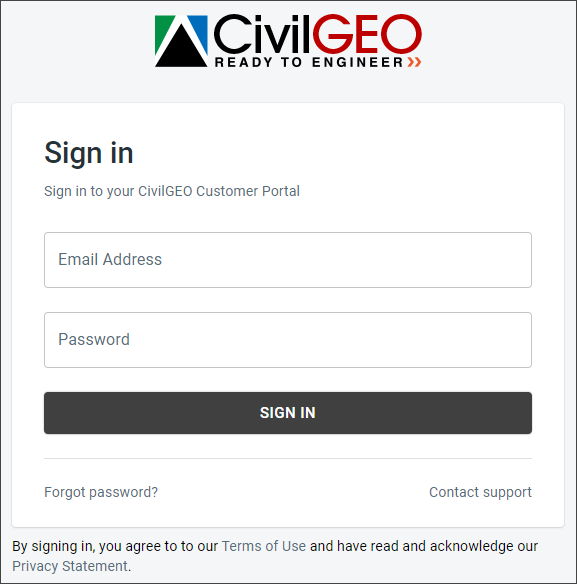
![[SIGN IN] button](/wp-content/uploads/sites/25/2023/10/Activating-a-Cloud-License-Screen-Capture-3.png)

To activate the Cloud License, first make certain that the software has been successfully installed on the computer on which it is to run. Then, start up the software and follow the steps below:
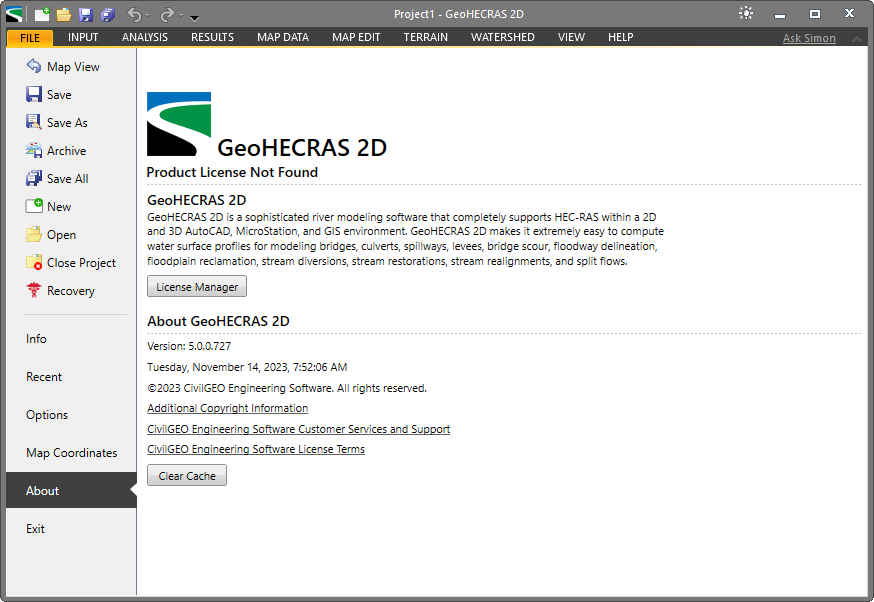
![[License Manager] button](/wp-content/uploads/sites/25/2023/10/Activating-a-Cloud-License-Screen-Capture-9.png)
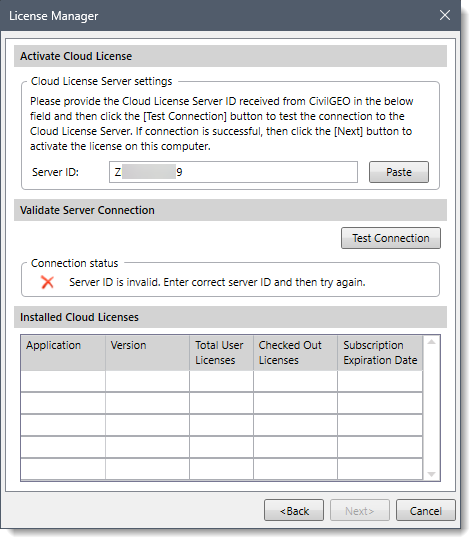
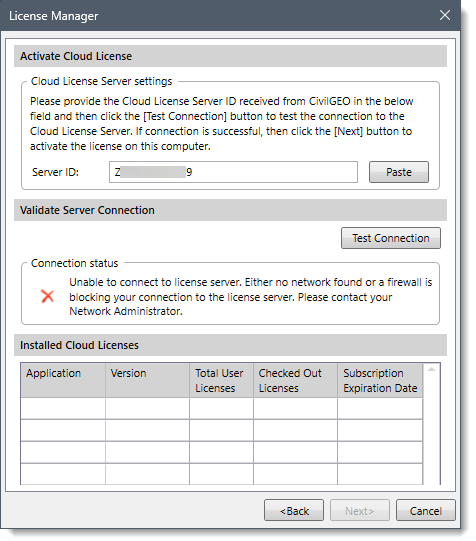
![[Test Connection] button](/wp-content/uploads/sites/25/2023/10/Activating-a-Cloud-License-Screen-Capture-11.png)
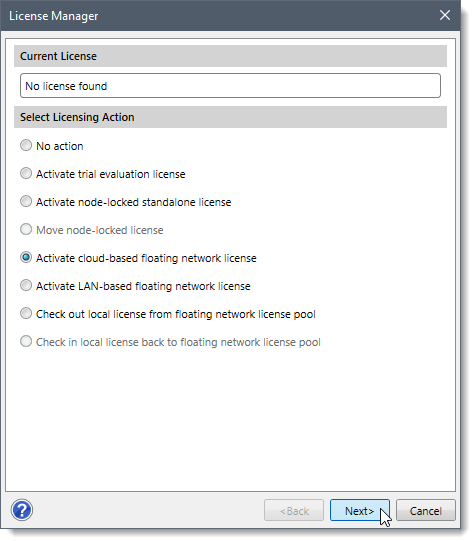
![[Next>] button](/wp-content/uploads/sites/25/2023/10/Activating-a-Cloud-License-Screen-Capture-12.png)
![[Done] button](/wp-content/uploads/sites/25/2023/10/Activating-a-Cloud-License-Screen-Capture-13.png)


CivilGEO G2 Reviews
4.8/5.0 Rating, Over 230 Reviews

GeoHECRAS is recognized as the top Civil Engineering Design Software with an average of 4.8 out of 5.0 rating from over 230 real user reviews on G2.


We use cookies to give you the best online experience. By agreeing you accept the use of cookies in accordance with our cookie policy.
When you visit any web site, it may store or retrieve information on your browser, mostly in the form of cookies. Control your personal Cookie Services here.


